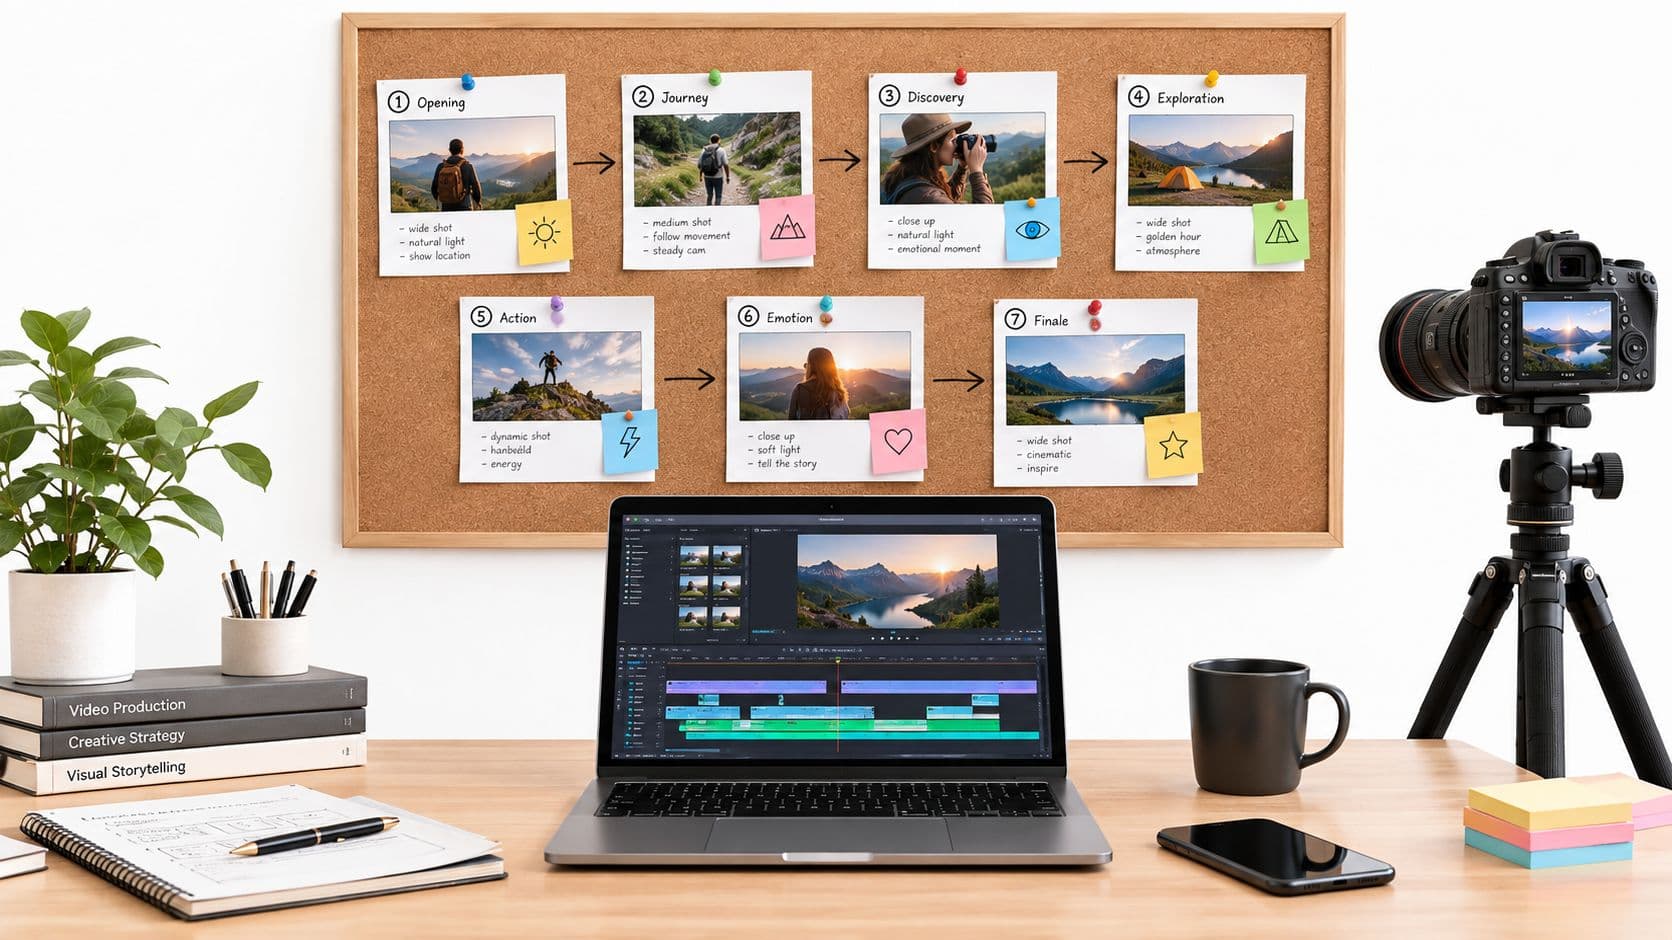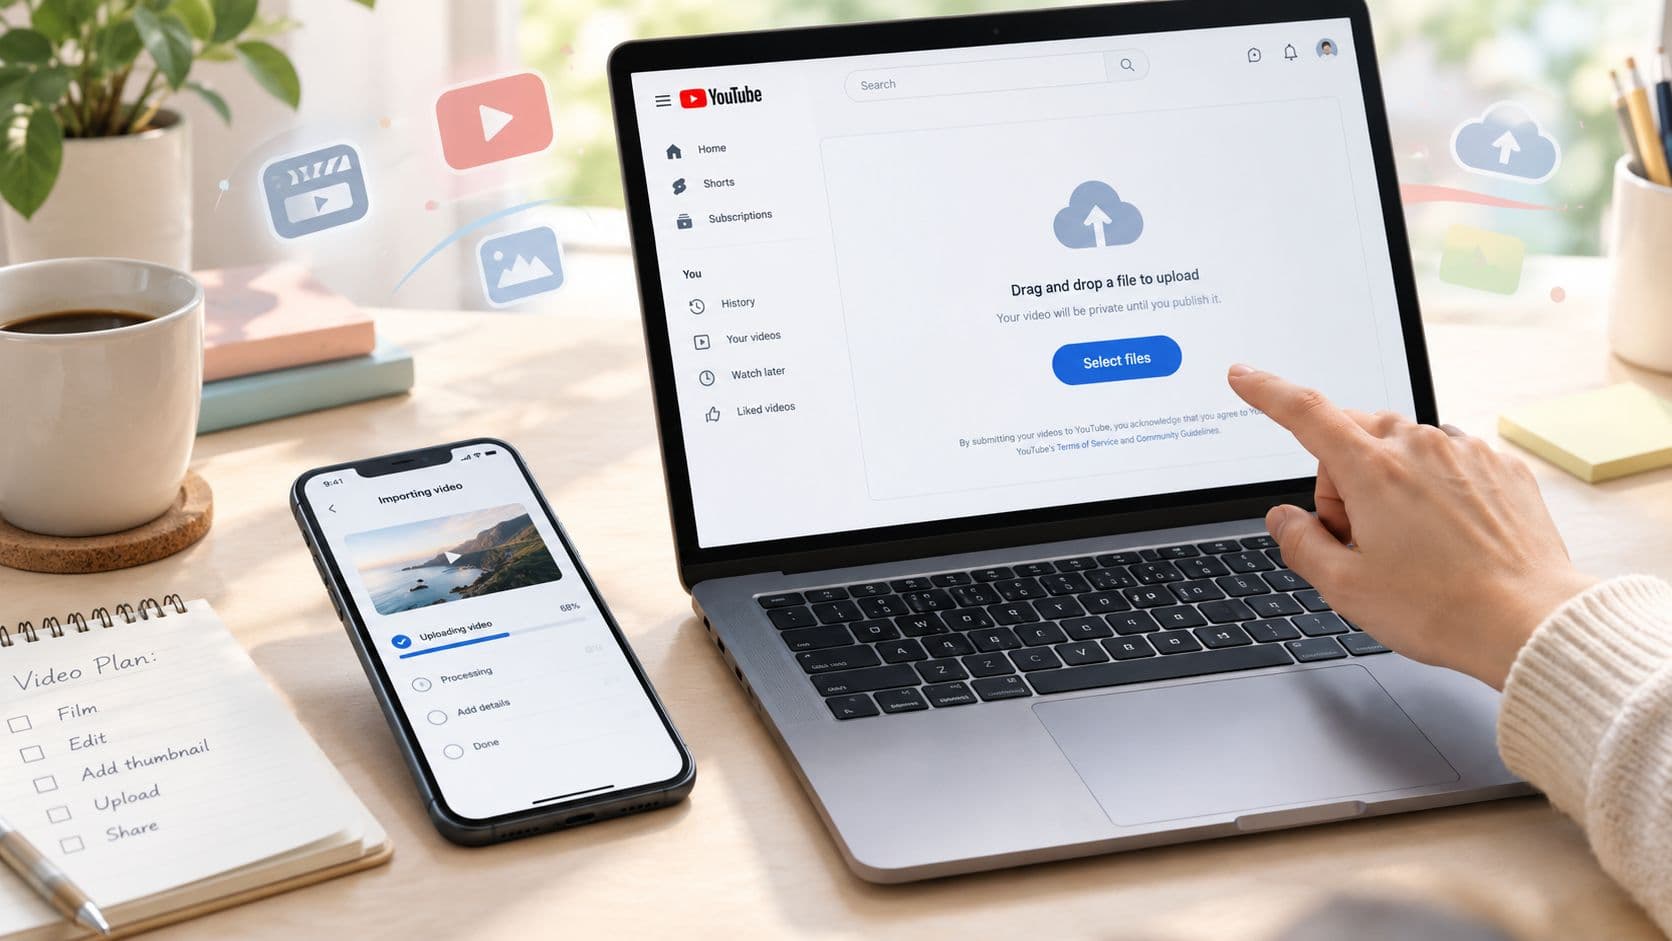
You've finished editing your first video, opened YouTube, and suddenly you're looking at visibility settings, captions, thumbnails, playlists, scheduling, and monetization options. The upload button is simple. Building a repeatable publishing process is where most new creators get stuck.
Posting video on YouTube works best when you treat each upload as a small production system. Prepare the file, upload it through the right workflow, package it for discovery, check the release settings, and review performance before making the next version. The platform is crowded, with about 720,000 hours of new content uploaded every day, according to a 2026 YouTube statistics roundup. A reliable process keeps avoidable mistakes from competing with the quality of your video.
Getting Started With Posting Video On YouTube
A new creator often approaches the first upload like this: export the video, click Create, fill in a title, and publish as quickly as possible. Then the questions arrive. Should the video be public or unlisted? Is the channel ready for uploads? Why does the thumbnail look wrong? Why is the video still processing?
Start by confirming that you're signed into the correct Google account and YouTube channel. This matters especially when you manage a personal channel and a Brand Account from the same browser or phone. Before uploading, check the channel's feature access and any restrictions that could affect publishing, custom thumbnails, live features, or other tools. YouTube's menus can change, so read the labels on your account rather than relying on an old tutorial.
Build a pre-upload routine
Keep a simple folder for each video containing the final export, thumbnail, caption file, title options, description draft, and any licensing notes. That small habit prevents the common mistake of publishing a rough cut or attaching the wrong thumbnail.
Metadata deserves attention from the first upload. A clear title helps viewers understand the promise, a useful description gives context, and a consistent topic makes it easier to evaluate what your audience responds to. Tags can support organization, but they won't rescue a vague title or a video that loses viewers immediately.
Practical rule: Treat every upload as a testable package, not just a video file.
YouTube's scale explains why consistency matters. The same roundup reports roughly 30,000 hours of new content every hour, alongside a recent 12.2K uploads in a 24-hour snapshot. You don't need to publish constantly, but you do need a workflow you can repeat without skipping essential checks.
Preparing Your Video File For YouTube Upload
A clean upload starts in the editor, not in YouTube Studio. Exporting with the wrong frame size, codec, or audio settings can create unnecessary processing delays, soft images, audio sync problems, or a file that looks different from the timeline.
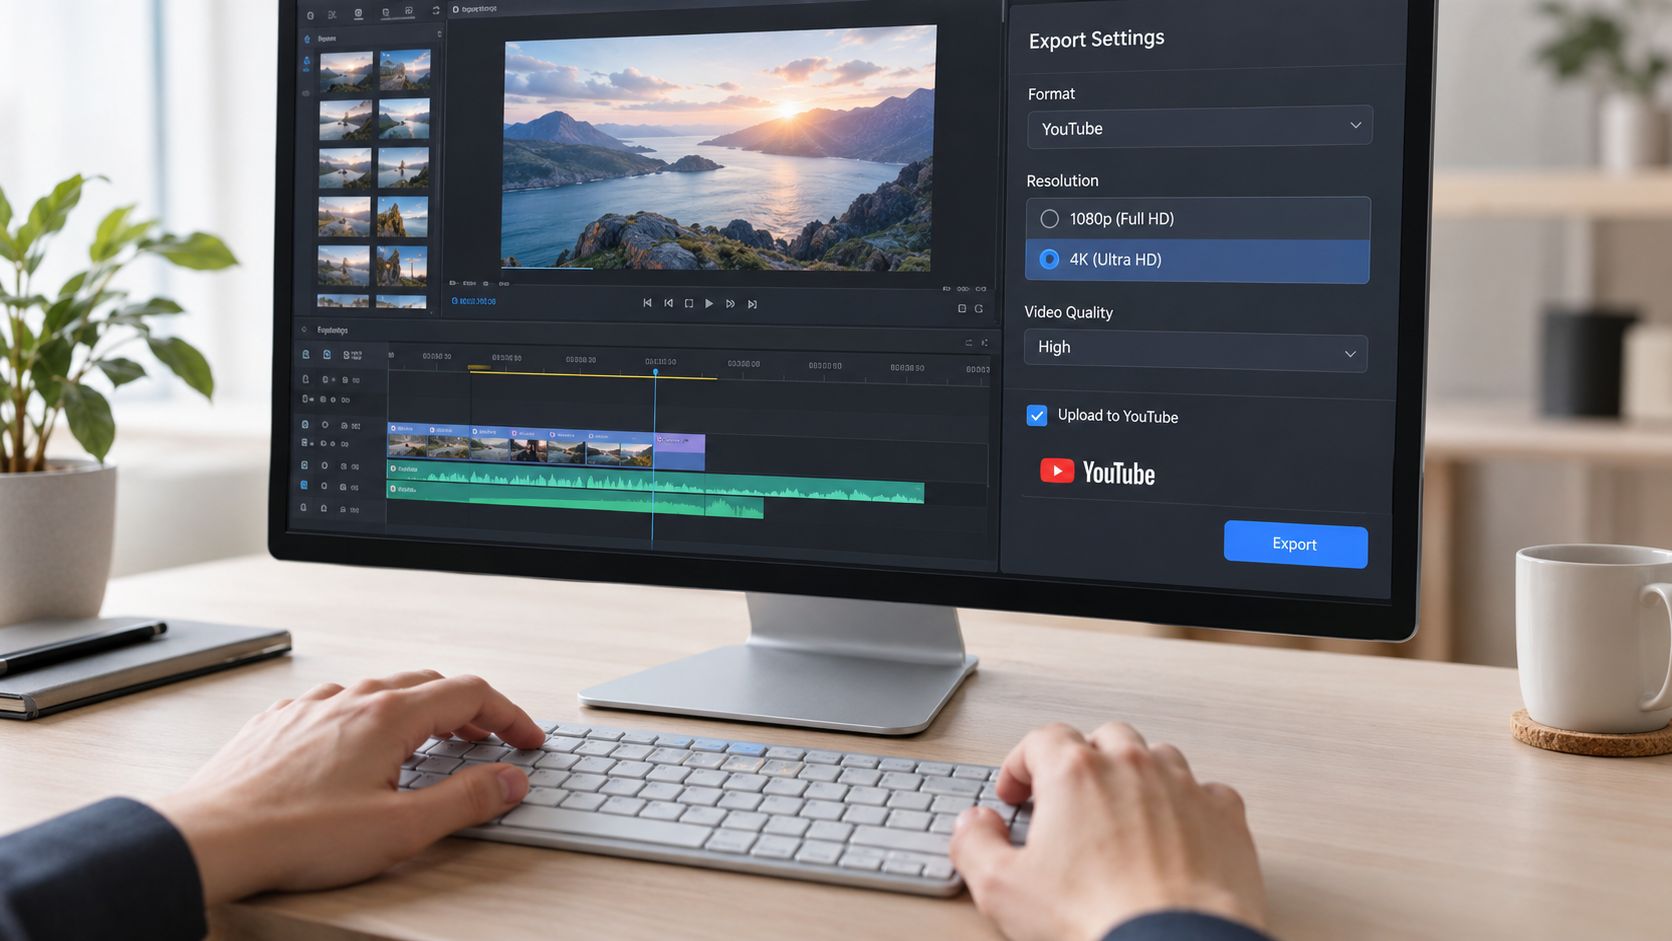
Match the export to the format
For standard horizontal videos, export at the same resolution as your finished edit. 1080p is a practical choice for most channels, while 4K preserves more detail when your source footage and editing computer support it. For Shorts, use a vertical canvas, usually 9:16, and check the crop on a phone before publishing.
Frame rate should match the footage whenever possible. If you recorded at 24, 30, or 60 frames per second, exporting at that same rate usually avoids unnecessary conversion. Don't raise the frame rate during export to make a video look smoother. The editor can't create detail that the camera never captured.
Check codec, bitrate, and audio
H.264 in an MP4 container remains a broadly compatible delivery choice. HEVC can produce smaller files at comparable visual quality, but compatibility and processing behavior can vary across editing tools and devices. If a mobile upload fails, re-exporting a short test in H.264 often provides a useful diagnostic.
Bitrate controls how much visual information the file retains. Too little can create blocky movement and banding, while an excessive setting can produce a large file without a visible benefit. Use your editor's YouTube preset as a starting point, then inspect fast motion, dark scenes, and fine text before uploading.
For audio, export a clean stereo mix and listen through headphones and a phone speaker. Dialogue should remain clear beneath music and effects. If you need a more detailed checklist for dimensions, formats, and export choices, use this YouTube video specifications guide.
Before selecting the file, verify:
- File type: Confirm the export opens correctly and isn't a project file.
- Resolution and orientation: Check horizontal, square, or vertical framing.
- Frame rate: Match the source footage unless your workflow requires conversion.
- Audio: Listen for clipping, silence, missing channels, or delayed dialogue.
- Final review: Watch the exported file from beginning to end, not just the edit timeline.
Uploading Videos On Desktop And Mobile
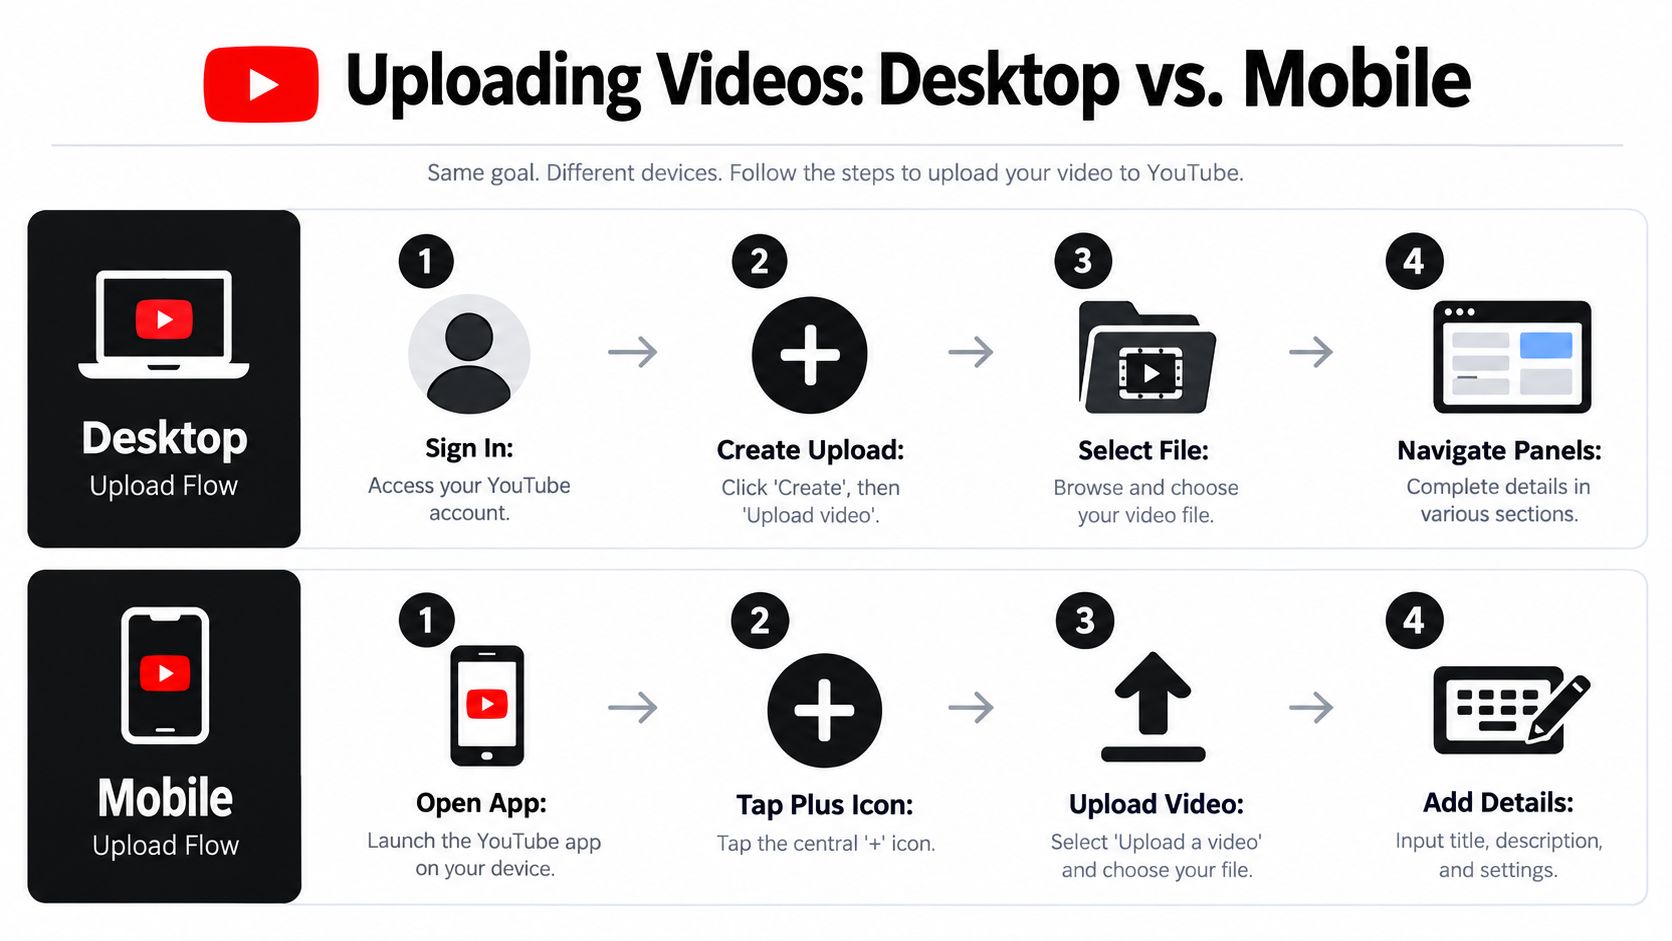
Desktop and mobile uploads complete the same basic job, but they suit different publishing situations. Desktop is better for careful metadata, bulk preparation, caption files, and managing several assets. Mobile is useful when the video is already on your phone and speed matters more than detailed editing.
Desktop workflow
- Sign in: Open YouTube Studio and confirm the channel name and profile image before you begin.
- Start the upload: Select Create, then Upload videos, and choose the exported file.
- Complete the details: Add the title, description, thumbnail, playlist, audience setting, and other requested information.
- Review the checks: Wait for processing and copyright checks to update before choosing visibility.
- Publish or schedule: Select public, private, unlisted, or scheduled release according to your launch plan.
Keep the upload panel open until the file finishes transferring. Processing can continue after the transfer, but closing the browser too early can interrupt the upload itself. If you're preparing a batch, name files clearly before selecting them so you don't confuse versions.
Mobile workflow
Open the YouTube app, tap the plus icon, choose Upload a video, and select the clip from your camera roll. Review the trim, audience, title, description, and visibility fields before posting. Mobile interfaces may show fewer advanced controls than Studio, so move to desktop when you need precise scheduling, caption management, or more extensive metadata.
The most common mobile mistake is uploading from the wrong account. Tap your profile image first, verify the active channel, then select the video. Use a stable connection and keep the app open during the transfer, particularly for large files.

Optimizing Metadata And Thumbnail Images
Your title and thumbnail make the first promise. The opening seconds decide whether the video earns the chance to deliver on it. Good packaging isn't clickbait. It gives the right viewer a clear reason to choose your video.
Write for search and the viewer
A useful title combines the subject with a specific outcome. For example, “How to Post a Video on YouTube From Your Phone” tells the viewer exactly what they'll learn. A curiosity-led version might be “The YouTube Upload Settings New Creators Miss”. Both are stronger than “My New Video” because they identify a problem or benefit.
Put the important phrase near the beginning, but don't turn the title into a list of keywords. The description should explain the video in natural language, place the main context near the top, and include relevant links only where they help the viewer. Add chapters when the video has distinct topics, using clear labels that match what viewers will find.
Tags can help clarify spelling variations and narrow topics, but they shouldn't replace a strong title. For hashtag decisions, this guide to good hashtags for YouTube offers a practical reference.
Design the thumbnail around one idea
Use one focal subject, strong contrast, and a short text element that remains readable at small sizes. Don't repeat the entire title on the image. Compare the thumbnail against other videos in the same search or recommendation area, because a design that looks attractive alone may disappear beside brighter competitors.
For Shorts, judge the opening frame as carefully as the thumbnail. A practical benchmark recommends above 70% average percentage viewed, above 80% retention in the first three seconds, and below 30% swipe-away rate, as documented in these YouTube Shorts benchmarks. Use those measures diagnostically. Low early retention usually points to a slow introduction, unclear promise, or weak first visual.
Configuring Privacy Scheduling Captions And Monetization
The final settings determine who can watch the video and when it becomes available. Choose them deliberately rather than selecting public because it's the default.
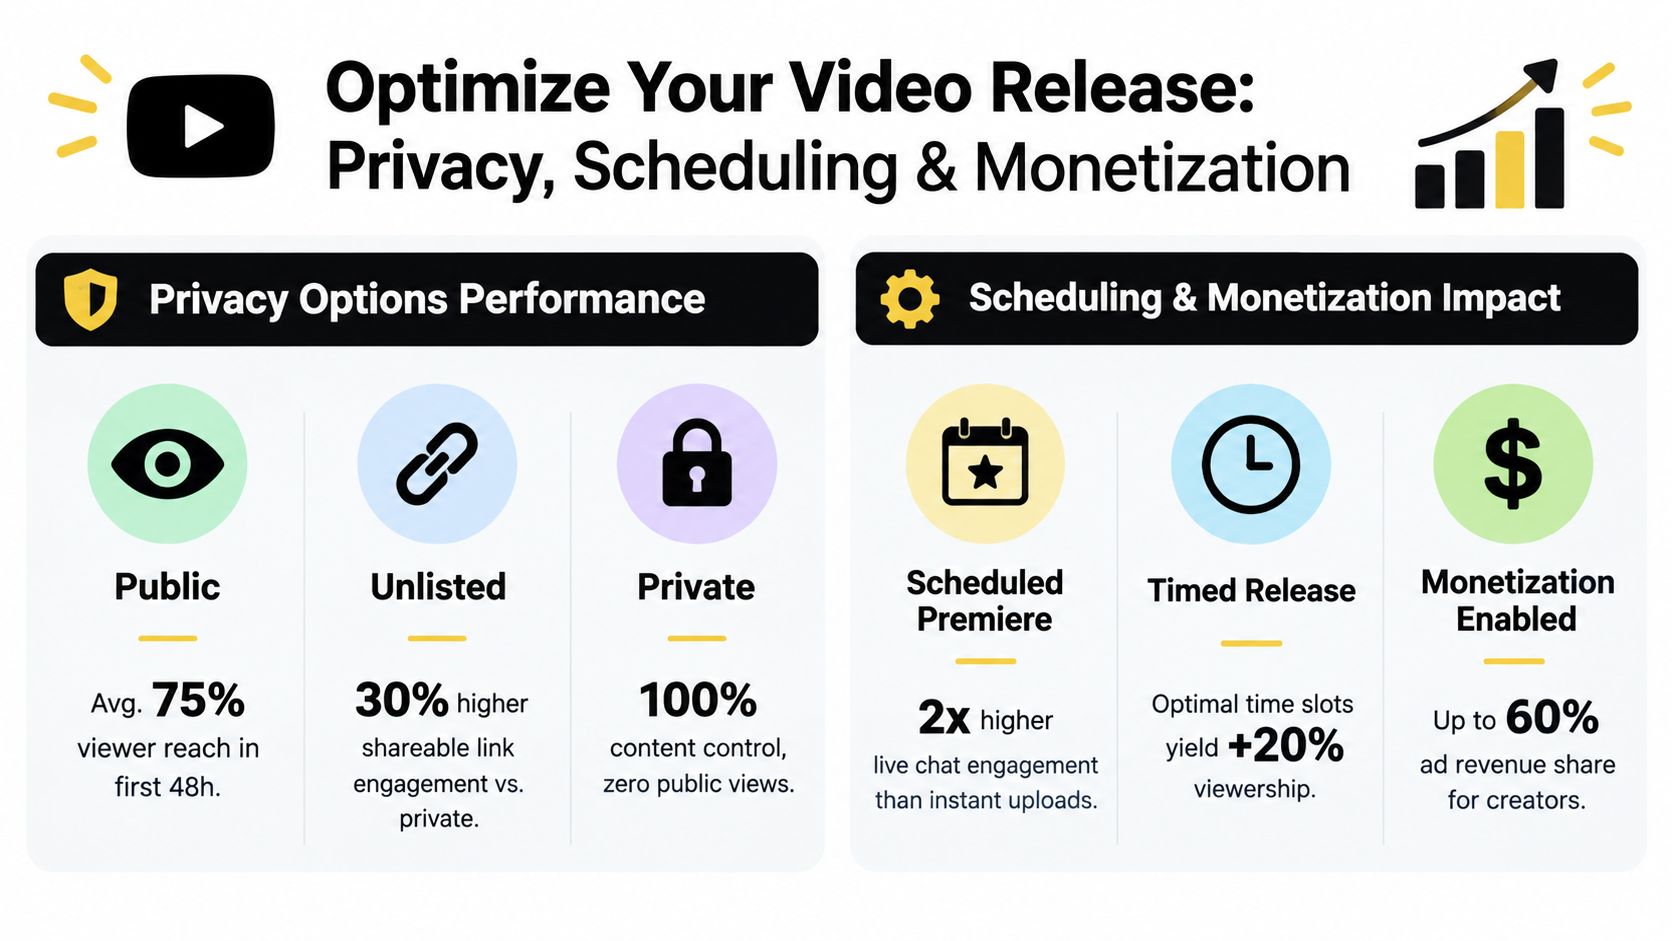
Public makes the video discoverable through your channel and YouTube surfaces. Unlisted allows anyone with the link to watch, which works well for client review, course access, or sending a video to a small group. Private keeps the video restricted to approved viewers and is useful while you're checking the final file, captions, or rights.
Schedule around the format
Long-form and Shorts shouldn't automatically share the same release time. Recent guidance generally places long-form uploads one to three hours before peak viewing, while Shorts often fit midday or evening scrolling windows, with several recommendations clustering around 12 PM to 5 PM local time in the format-specific timing guidance.
Timing is a starting hypothesis, not a permanent rule. For subscriber audiences, weekday uploads between 12 PM and 3 PM have earned 2 to 3 times the early views of early-morning uploads, according to recent scheduling analysis. Shorts often show weaker timing sensitivity than long-form videos, so content quality and viewer response remain the stronger levers.
Add captions and revenue settings
Upload a prepared caption file when accuracy matters, then review YouTube's automatic captions for names, technical terms, and punctuation. An SRT file creator can help prepare a structured caption file before you add it in Studio.
If music is part of the video, confirm that your license covers YouTube publishing and the intended use. Creators who need background tracks can review royalty-free music for YouTube videos before finalizing the edit.
Monetization options depend on channel eligibility and the video's content. If the account qualifies, review ad settings and any other available revenue features before publishing. On mobile, some advanced controls may be easier to find or manage in YouTube Studio on desktop.
Troubleshooting Common Upload Issues
A failed upload doesn't always mean YouTube is broken. The faster approach is to separate transfer problems, processing problems, and performance problems, because each category needs a different fix.
When the file won't upload
If the upload stalls, first confirm that the exported file plays locally from start to finish. Then retry with a stable connection, restart the browser or app, and remove unnecessary browser extensions if Studio behaves strangely. A private browsing window can help identify a session or cache issue without changing the file itself.
Codec problems often appear as failed processing, missing audio, or a video that never completes its checks. Export a short test using a standard MP4 workflow with H.264 video and a clean stereo audio track. If the test succeeds, compare its settings with the original export instead of repeatedly uploading the same failed file.
When the video processes but gets no reach
Don't assume the upload time caused the problem. A video can be technically perfect and still struggle because the title attracts the wrong viewer, the thumbnail lacks a clear promise, or the opening takes too long to reach the subject.
Shorts distribution is especially uneven. A comparative ACM study of Shorts and regular videos found that 1% of Shorts attracted 63% of Shorts views. That concentration means one weak result isn't enough evidence to abandon a topic or channel.
Use a troubleshooting loop:
- Check the first response: Review impressions, clicks, retention, and swipe behavior where available.
- Find the drop: A sharp opening decline points to the hook, while later decline may indicate pacing or structure.
- Change one variable: Test a different opening, title, visual sequence, or thumbnail rather than changing everything at once.
- Keep a record: Note the format, topic, hook, and result so the next upload becomes a controlled comparison.
Best Practices For Discoverability And Next Steps
Posting regularly matters, but repetition without analysis creates a larger archive of the same mistakes. Build a schedule that separates long-form experiments from Shorts experiments, then compare each format against its own audience behavior.
Shorts offer substantial discovery potential. One 2026 industry summary of short-form video reports over 200 billion daily YouTube Shorts views globally, with 74% coming from non-subscribers. That makes Shorts useful for reaching people who haven't encountered your channel, while long-form videos can provide deeper context and stronger pathways into playlists.
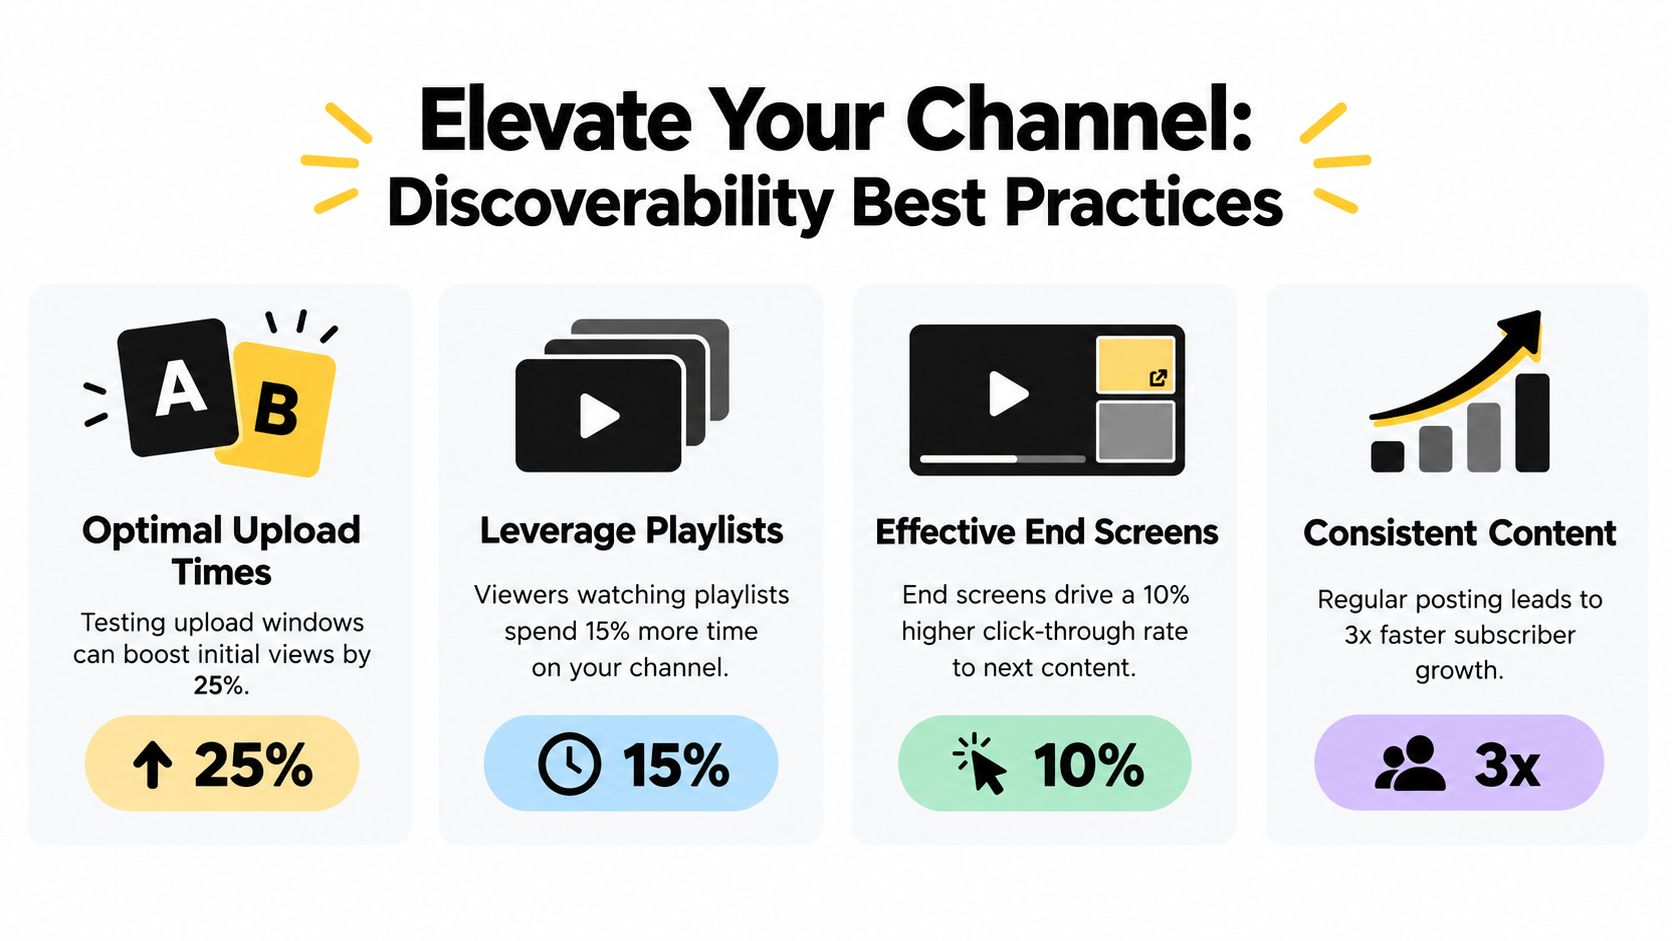
Create playlists around viewer intent, add end screens that lead to the next relevant video, and review Analytics after each release. Test timing by format and local audience rather than copying a universal schedule. If your content includes music, the music marketing and selling guides can provide useful context for connecting publishing with broader promotion.
For creators producing faceless short-form videos, ClipCreator.ai can generate scripts, story-aligned visuals, voiceovers, subtitles, and scheduled publishing for connected YouTube accounts. Use a content calendar to decide the topics and review the output before release, even when automation handles the repetitive production steps.
ClipCreator.ai helps turn repeatable ideas into faceless short-form videos with generated scripts, visuals, voiceovers, subtitles, and scheduled YouTube publishing. If you want to spend less time assembling every upload manually, visit ClipCreator.ai and test it within your next posting workflow.

Create your first video in under 2 minutes
Pick a niche, and ClipCreator.ai generates and auto-posts faceless videos to your channels every day.
Join ClipCreator.ai