You're standing there with your phone open, the Reel camera ready, and a half-formed idea in your head. Maybe you already filmed two clips and you're wondering if this is going to turn into a good post or just another draft you forget about tomorrow. If that sounds familiar, this guide will walk you through how to post Instagram Reels the same way I'd talk a friend through it on my own phone, from the first setup choice to what to check after it goes live.
Why Posting Reels Is Worth the Effort
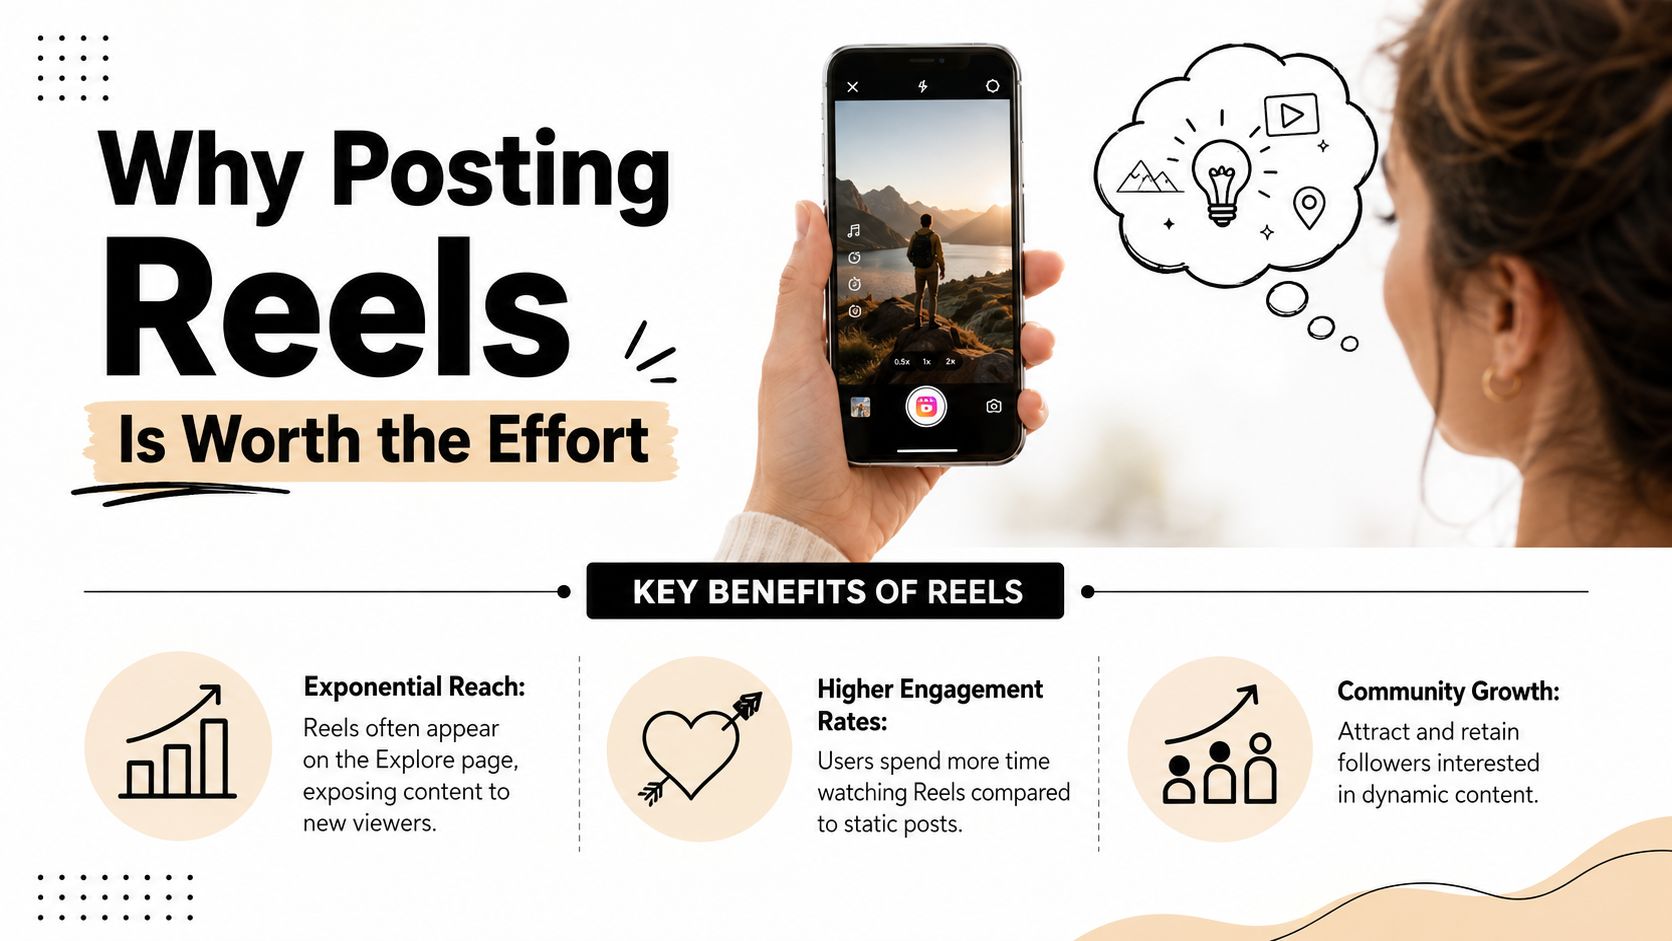
Open the camera, and the difference shows up fast. A Reel is not just another post, it is the format Instagram pushes hardest when it wants people to find new accounts, so the way you prepare, publish, and review it matters from the start. Meta chief Mark Zuckerberg said Instagram and Facebook were seeing more than 200 billion combined daily Reels plays by late 2025, up from roughly 100 billion a year earlier, which shows where a large share of attention has shifted on the platform (source).
Why Reels beat static posts for discovery
Independent benchmark data points in the same direction. Reels average 1.23% engagement per post, ahead of image posts at 0.70% and carousel posts at 0.99%, so they are not only being watched, they also tend to prompt more interaction. Another benchmark set found Reels generate 1.36 times the reach of carousel posts and 2.25 times the reach of single-photo posts, which is why many creators treat them as a core reach format rather than an occasional test (source).
Length still affects what happens after you publish. In the same benchmark set, Reels in the 15 to 30 second range reached about 5.8% engagement, while Reels longer than 90 seconds fell to around 3.2% (source). A longer Reel can still work, but the point is to decide what the clip needs to do before you record, not to film a loose version and hope the edit fixes the pacing.
Practical rule: Treat the full process as one path, from filming to publishing to reading the signals after it goes live.
If you want to place short-form video inside a wider creator plan, this overview of Instagram Reels monetization is a useful next read once publishing feels comfortable.
Preparing Your Camera, Framing, and Length
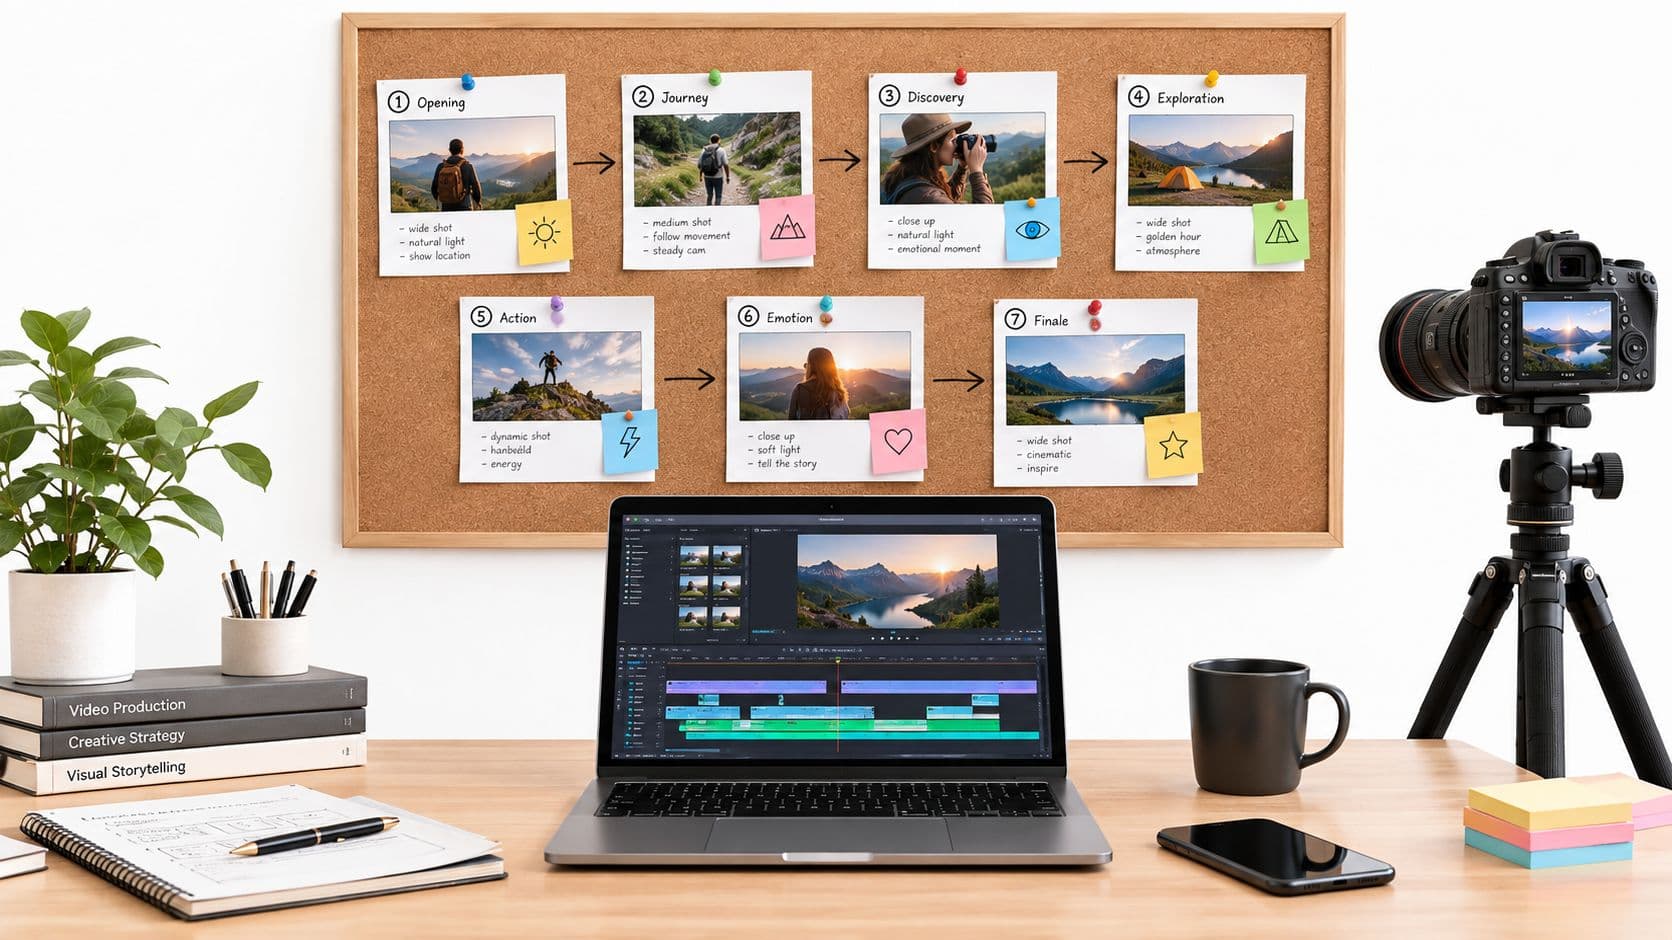
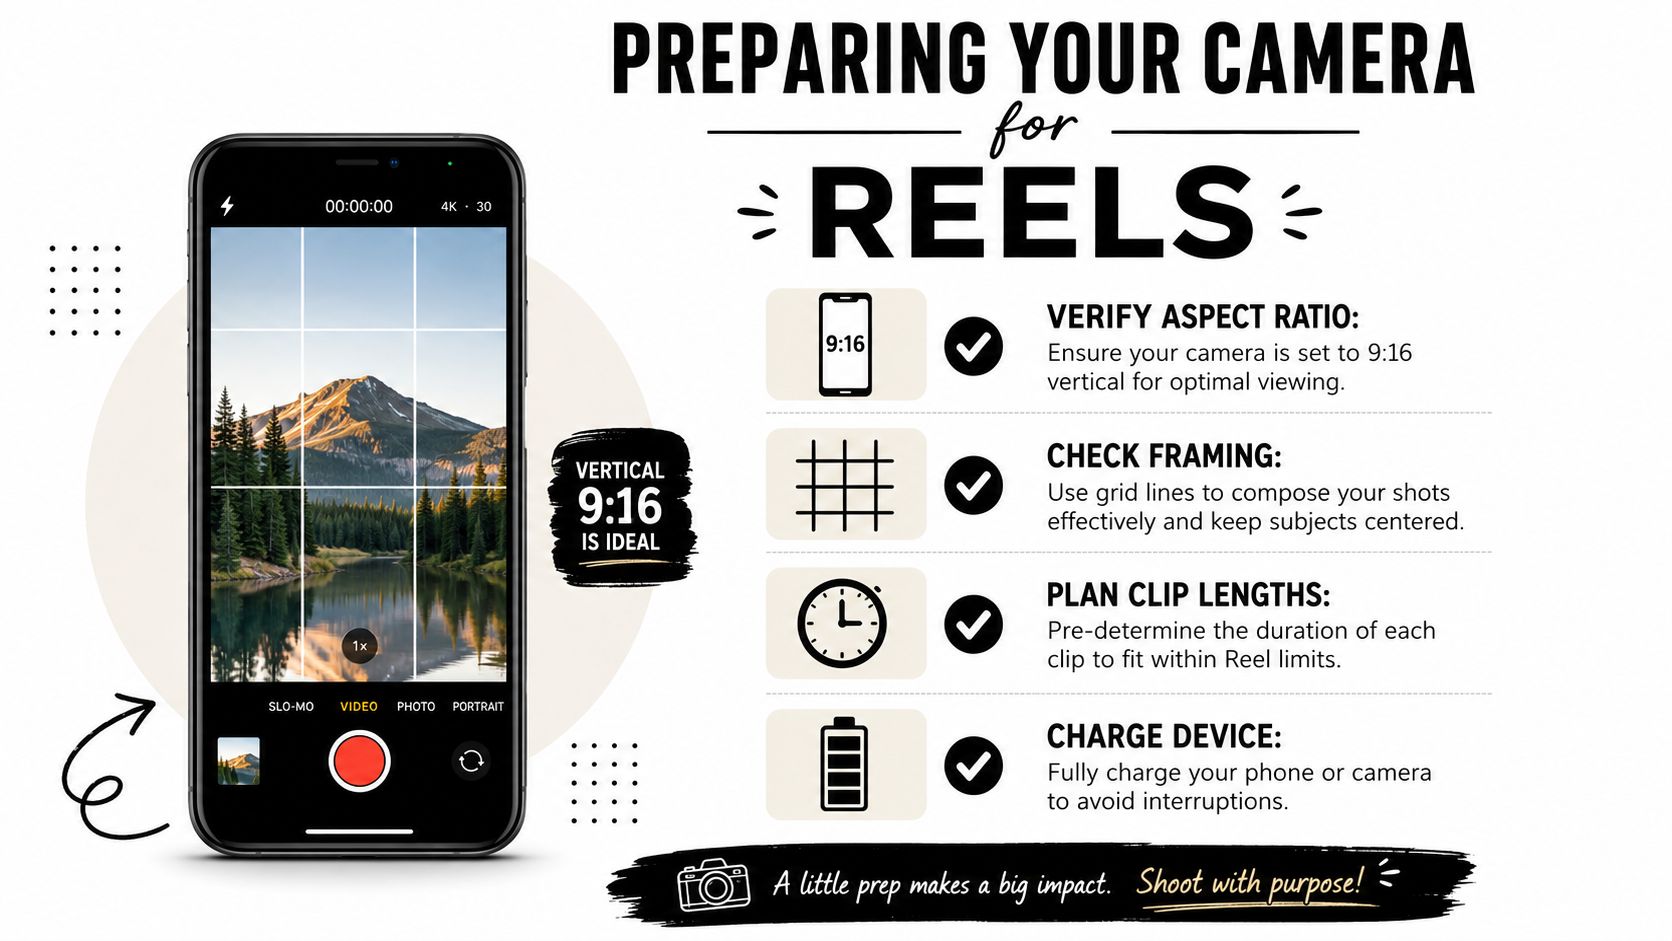
The biggest mistake usually happens before the edit screen ever opens. Someone films horizontally, leaves the subject too low in frame, or records too much footage without deciding what the Reel is supposed to feel like. If you get the setup right first, the rest of the process gets much easier.
Start with the format Instagram expects
Meta's documented Reel format supports 9:16 aspect ratio and videos from 3 seconds to 15 minutes (source). The vertical frame matters because Reels are built for full-screen mobile viewing, and a sideways clip forces you to crop, zoom, or hide parts of the shot later. If you want a cleaner visual reference for the format itself, Optimal Instagram video specs is a handy specs page to keep nearby while you shoot.
Shoot vertical first. Don't “fix” a horizontal video later unless you absolutely have to.
That same format choice affects everything else. Your text placement, your subject framing, and even your background clutter need to work inside a tall rectangle. If the top or bottom of the screen is crowded, Instagram's own crop can make captions and faces look awkward after posting, which is why the setup matters more than many creators anticipate.
Choose a length before you record
A usable target helps you avoid wandering footage. Meta's format allows long uploads, but the benchmark data above suggests the 15 to 30 second range is the most efficient place to start if you want a compact Reel that people finish and interact with (source). Longer Reels can still work when the topic needs room, but they ask more from the viewer, so the first few seconds need to earn attention quickly.
Lighting and audio also deserve attention before you hit record. Face a window if you can, keep the main light source in front of you rather than behind you, and test audio with a short sample before you commit to a longer take. A clean, bright frame with understandable sound will save you more editing time than any effect pack.
A quick pre-flight check
- Aspect ratio: Confirm the phone is set for 9:16 vertical video.
- Frame: Keep the subject centered enough that Instagram's crop won't cut off important text.
- Length: Decide whether this Reel is a tight clip or something longer before you start filming.
- Audio: Do a quick test recording so you know the room noise isn't wrecking the take.
- Power: Charge the device first so you're not rushing at the end.
If you want a second reference point for the screen proportions and visual layout, the internal guide on Instagram Reels dimensions pairs well with the camera setup phase.
Editing in the Instagram App With Music, Captions, and Effects
Once the footage is in your camera roll, the Reel starts becoming a post instead of just a clip. The in-app editor is where a lot of creators lose momentum because they overcomplicate it, but you can keep the process simple if you focus on the few edits that change how people watch.
Trim first, then add the extras
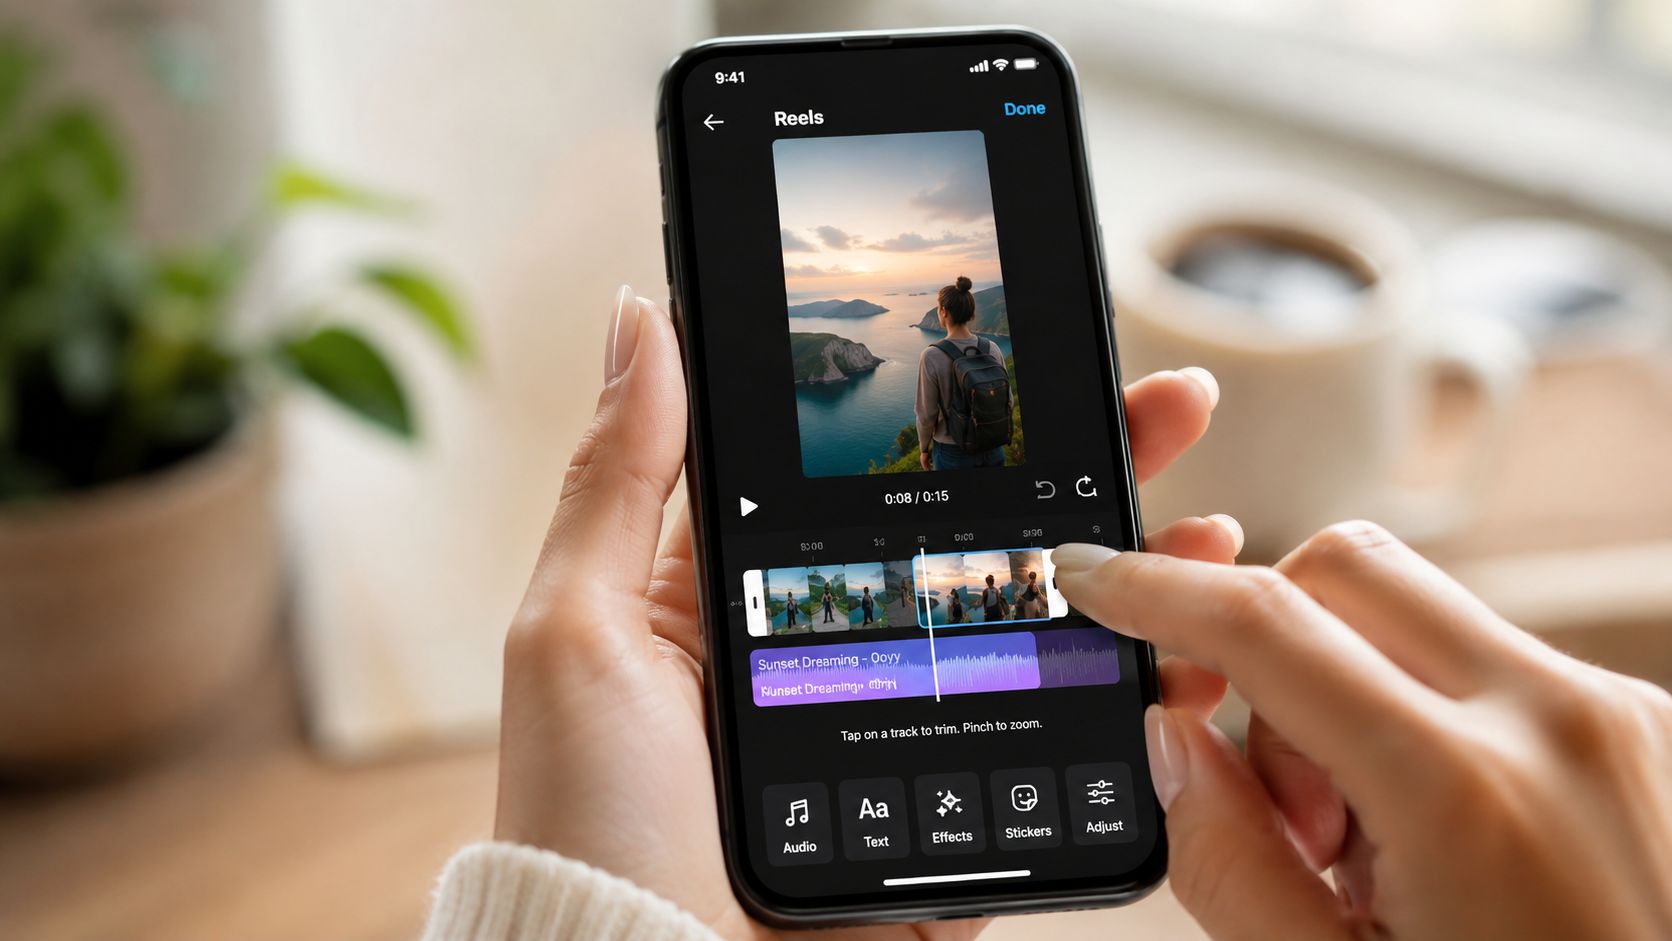
Start by trimming dead space. Open the Reel draft, drag the clip edges so the first frame gets to the point quickly, and remove any pause at the end that doesn't help the loop. If you're using several clips, line up the cuts so they feel intentional instead of random, because the pacing of those cuts usually matters more than the number of effects you stack on top.
Music comes next. Pick audio that supports the rhythm of the clip, then preview the Reel with the beat in mind before you publish. A Reel doesn't need to be loud or trendy to work, but it does need a cadence that feels deliberate, especially if you're showing steps, a transformation, or a before-and-after.
Add text for silent viewing
Text overlays help when people scroll with the sound off. Keep the font large enough to read on a small screen, place the hook line early, and avoid sitting text too close to the top or bottom where Instagram can crop it later. If the hook is buried halfway through the Reel, you've already lost a lot of viewers who were waiting for the point.
Captions matter for the same reason. They give context when the audio is muted and make the post easier to understand at a glance. If Instagram offers automatic captioning on your account, use it, then scan for timing mistakes and fix the words that land late or too early.
If the Reel only makes sense when someone hears every word, it's too fragile for a mobile feed.
A few effects can help, but keep them in service of the message. A subtle transition, a speed change, or one clean text reveal is usually enough. Over-editing makes the post feel busy, and busy posts are harder to read in the first second.
To see the editor in motion, the walkthrough below shows a basic Reel editing flow on a phone.

Choosing a Cover, Settings, and the Publish Screen
This is the point where the Reel either goes out cleanly or gets held up by one forgotten setting. The publish screen looks simple, but it hides a few choices that affect how sharp the post looks, where it appears, and how easy it is for people to recognize it later.
Turn on the quality setting first
Before you publish, go into Settings and privacy, then Media quality or Data usage and media quality, and enable Upload at highest quality (source). That setting is easy to miss, but it matters because a polished Reel can still look soft if Instagram compresses it more than you want. I always check this before I record anything serious, not after the edit is done.
Once the setting is in place, go back to the Reel and tap Next. If Instagram offers choices like sharing to Story or cross-posting to Facebook before publishing, decide based on whether you want more surfaces or a cleaner rollout. Use the extra placements when the content benefits from repeated exposure, not because the buttons are there.
Treat the caption like a title card
The cover frame is the first visual people see on your profile grid, so choose one that looks readable at a glance. You can pull a frame from the video or upload a custom image, but either way the cover should make the topic obvious without requiring someone to play the Reel first. A blurred action frame usually works worse than a clear still with one direct visual cue.
Write the caption with a strong first line, then keep the rest clear and specific. For discoverability, recent guidance says 3 to 5 relevant hashtags are enough and stuffing more doesn't help reach the way people used to think it did (source). Use tags that describe the topic, not a laundry list of broad terms.
Finish the final taps in order
- Select the cover: Pick a frame that matches the message.
- Write the caption: Put the most important idea in the first line.
- Add hashtags: Use a few relevant ones, not a pile.
- Tag collaborators: Include anyone who should be credited.
- Choose sharing options: Decide on Story and Facebook before you publish.
- Tap Share: Publish once the preview looks right.
If you're publishing through a business or creator workflow and want to compare what the app is doing with what an API-based pipeline can do, the Instagram API developer guide is a useful technical reference.
Scheduling and Auto-Posting Without Manual Uploads
Posting one Reel is easy. Posting on a rhythm is the harder part, and that's where scheduling saves a lot of half-finished drafts from dying in your camera roll. If your goal is consistency, it helps to choose a publishing method before you get buried in content.
Use Instagram's built-in scheduler when you want simplicity
Instagram lets you schedule a Reel directly in the app by turning on Schedule this reel on the publishing screen and choosing a date and time. The scheduling window goes up to 75 days in advance (source). That's enough for most creator calendars, and it keeps the process inside Instagram instead of pushing you to manage another tool.
Native scheduling works well when you want one platform, fewer moving parts, and a quick setup. It's also the least complicated way to keep a queue moving if you're only posting on Instagram and don't need a broader distribution system.
Compare the main options
| Method | Platforms Covered | Best For | Trade-off |
|---|---|---|---|
| Instagram native scheduler | Simple one-platform planning | Less flexible for multi-channel workflows | |
| Third-party social tools | Multiple social accounts | Teams that manage several profiles | Another tool to maintain |
| AI-driven publishing systems | TikTok, YouTube, Instagram, depending on the setup | Consistent, hands-off short-form pipelines | Less manual control over each post |
For creators who want a broader publishing system, third-party tools can help centralize the workflow. On the automation side, ClipCreator.ai is one option that generates short videos and can schedule them for multiple platforms, which matters if you're managing a steady content calendar rather than uploading one Reel at a time. If you want to compare this approach with platform-native posting, the how to schedule Instagram Reels guide shows the basic route inside the app.
Choose the route that matches your cadence
If you're posting a few times a week, native scheduling is usually enough. If you're managing several accounts, client work, or a repeatable short-form pipeline, a broader system can remove a lot of manual repetition. The main question isn't whether automation sounds advanced, it's whether it removes enough friction that you keep posting.
After You Hit Share, Reading the Signals That Matter
The post isn't finished when the Reel goes live. That's when the useful feedback starts, and it's usually better to learn from a few clean signals than to stare at every metric Instagram shows you.
Recent guidance pushes back on the old habit of cramming in hashtags. 3 to 5 relevant hashtags is enough, and adding more no longer improves reach the way people used to assume (source). So instead of treating hashtags like a magic lever, focus on what people do after the Reel lands.
Look at behavior, not just approval
In Instagram Insights, pay attention to saves, shares, and watch behavior first. Those actions tell you the Reel was useful, worth passing along, or strong enough to hold attention, which is much more useful than a quick like from someone scrolling past. Reach to non-followers matters too, because that's the closest sign that the Reel traveled beyond your current audience.
Then do one small review. Ask whether the opening frame was readable, whether the hook appeared early enough, and whether the Reel was vertically framed and captioned in a way that made sense on mute. Those are the parts that usually change future distribution more than a cosmetic tweak in the edit.
For creators who want to use the Reel again elsewhere, a practical guide for creators to embed video can help turn a finished post into something you can place on a site or landing page later.
Use a simple post-publish routine
- Check watch behavior first: See whether people stayed long enough for the idea to land.
- Scan saves and shares: These usually say more than likes.
- Review the opening: Make sure the first seconds gave people a reason to stay.
- Log one lesson: Write down one thing to repeat or change next time.
- Leave the post alone when it's working: Don't keep editing a Reel that's already getting the right signals.
The goal is a feedback loop, not a one-time upload. If you can tell why one Reel got saved and another didn't, your next post will be stronger before you even open the editor.
If you want a faster way to create short-form videos without starting from scratch every time, ClipCreator.ai can generate and schedule Reels as part of a repeatable workflow. It's built for creators who want to keep posting without managing every edit by hand, so visit ClipCreator.ai and see how it fits your next Reel.

Create your first video in under 2 minutes
Pick a niche, and ClipCreator.ai generates and auto-posts faceless videos to your channels every day.
Join ClipCreator.ai