You're halfway through a late-night scroll when a grainy hallway appears, a whisper says your name, and the video cuts away before the door opens. You know it's probably generated, but the combination of a fast hook, familiar setting, and unfinished threat still makes you watch to the end.
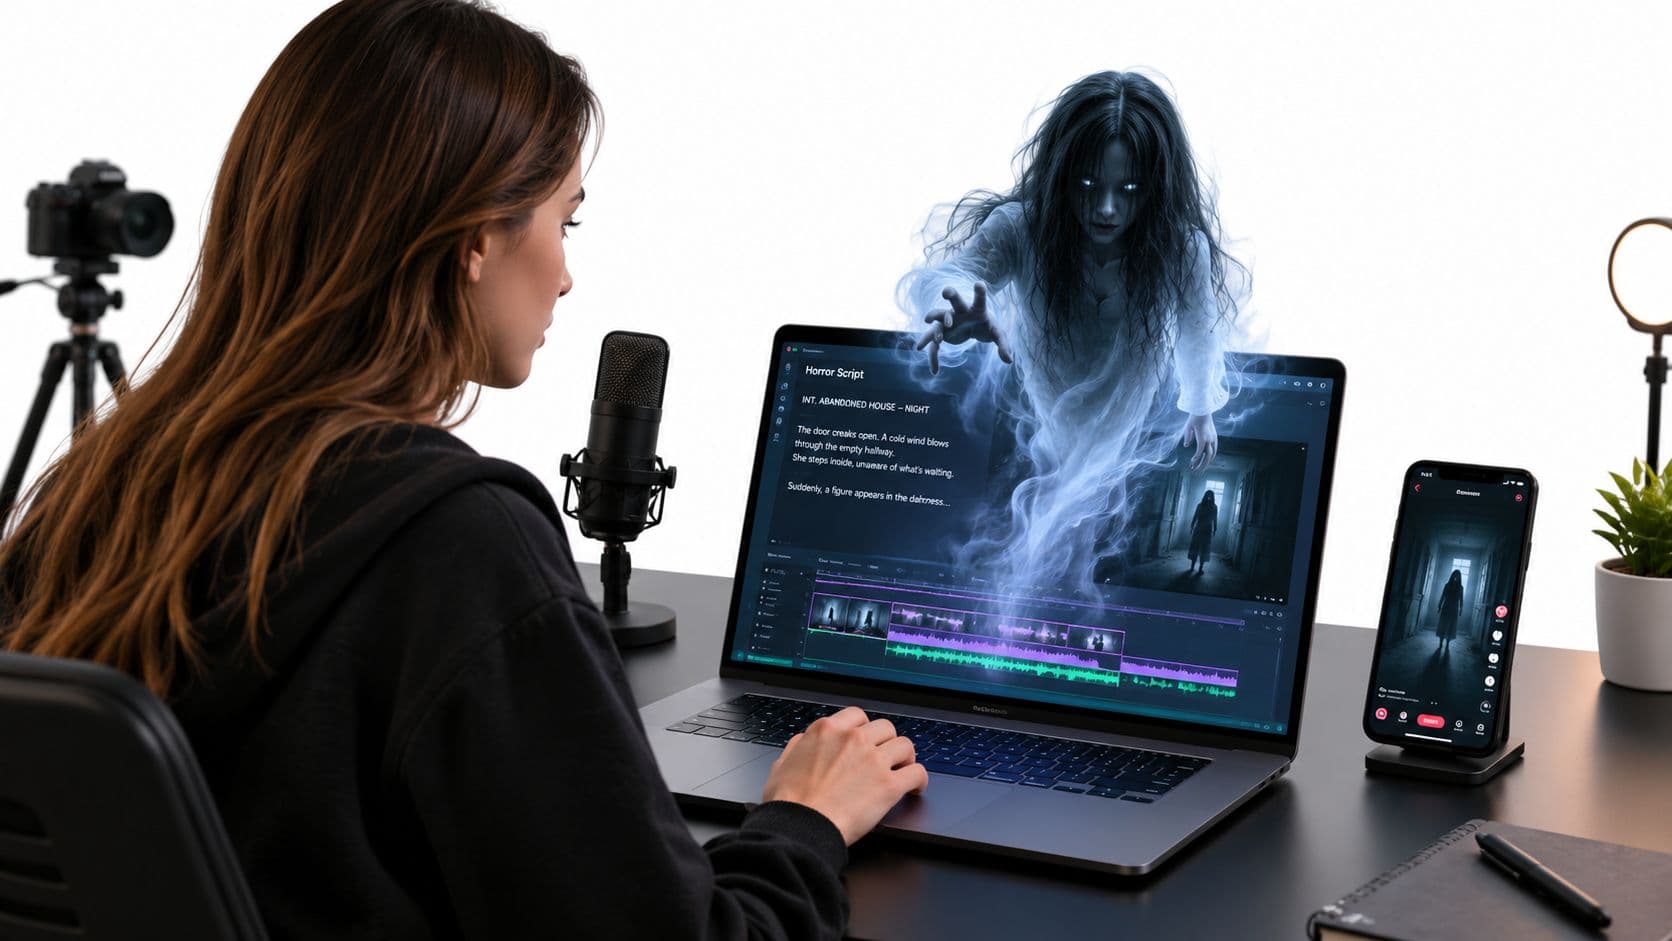
That's the working advantage of horror story video AI. A faceless creator can turn a short script into narration, images, subtitles, sound design, and a vertical edit without filming actors or building a set. The process only works, though, when the story is stronger than the tool. Weak hooks, inconsistent characters, flat pacing, and misleading realism will sink a video faster than imperfect visuals.
The opportunity is real. The AI video generator market is forecast to reach about 847 million in 2026** and **3.35 billion by 2034, with an implied 18.8% compound annual growth rate, according to Fortune Business Insights data summarized by AI Business Weekly. A broader category including AI editing, captioning, and avatars is estimated at about $3.67 billion in 2026, which shows that AI-assisted production already has a substantial commercial base.
This guide focuses on the part most tutorials skip: creating scary shorts people finish, share, and discuss, while keeping realistic fiction clearly fictional.
Why Horror Story Video AI Works Right Now
A horror short can succeed with a simple production shape: one unsettling premise, a few story-aligned visuals, a voiceover that leaves space for tension, and captions that stay readable on a phone. You don't need a visible host. You need a reason to keep watching after the first sentence.
AI helps because it shortens the distance between idea and testable video. You can try a strange late-night voicemail, a security camera that records tomorrow, or an elevator that stops at a floor missing from the building directory. If one version feels slow, you can rewrite the opening and regenerate the weak scene instead of reshooting a production.
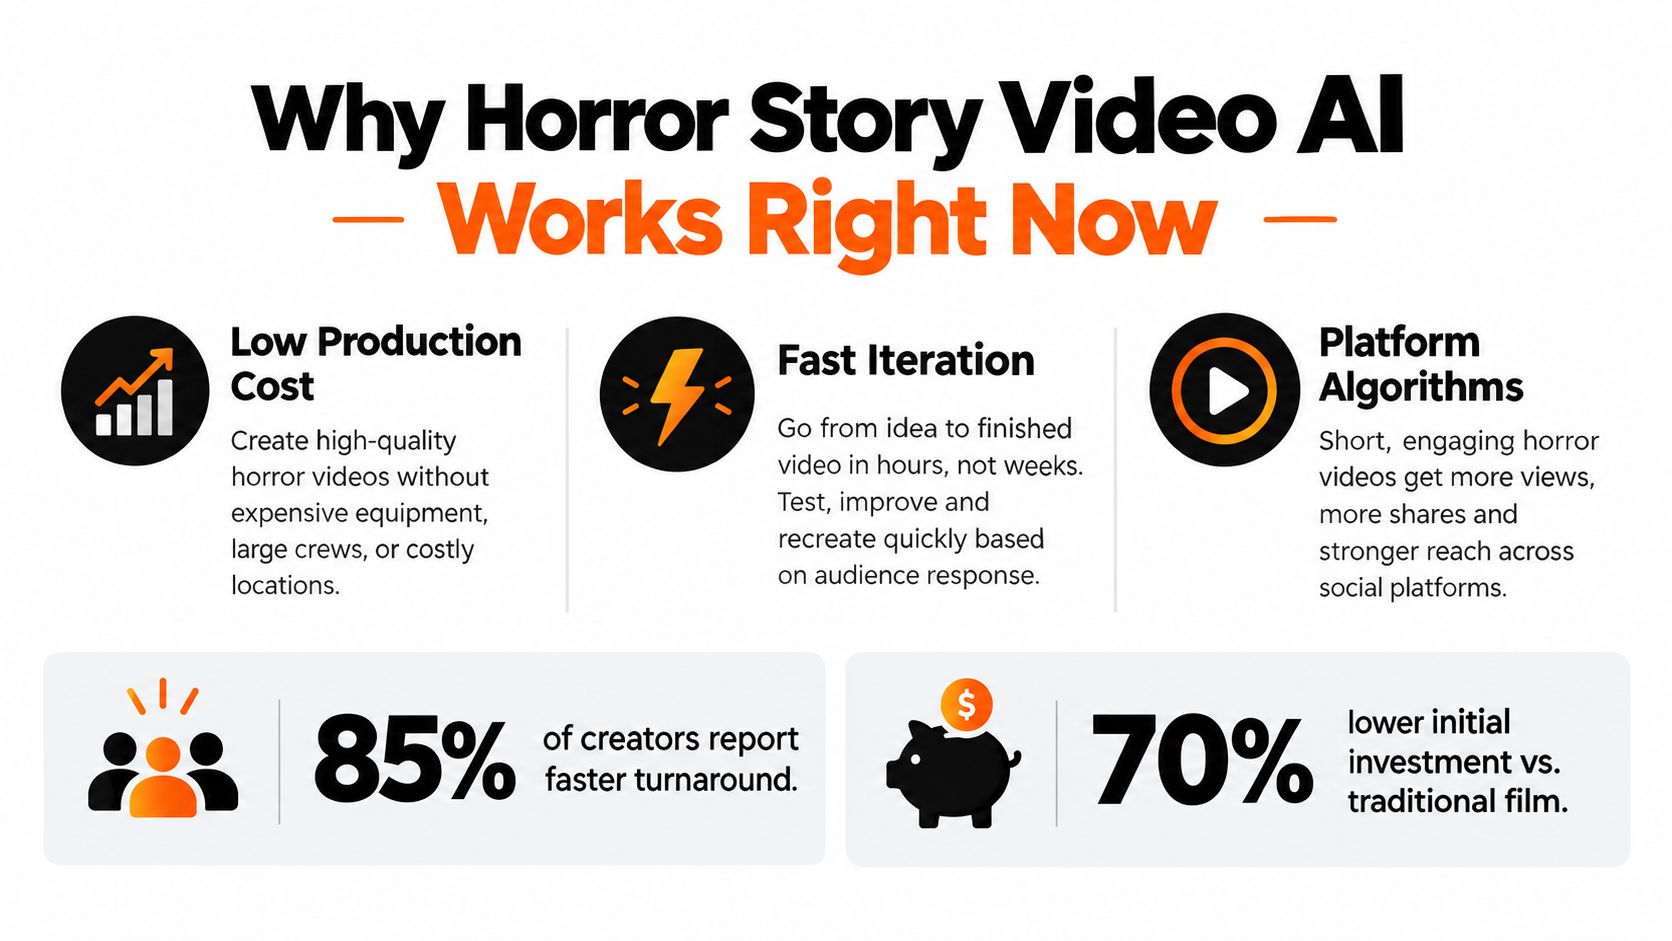
The underlying creator behavior has changed too. AI video platform usage surpassed 124 million monthly active users in January 2026, and one AI video product reportedly generated 1.245 billion videos in that month, according to Pictory's 2026 AI video statistics summary. The same summary reports that 63% of video marketers use AI tools to help make or edit videos, up from 51% the previous year. Those figures don't guarantee reach, but they explain why template-driven production is now practical for solo channels.
The repeatable production loop
A finished horror short usually moves through these stages:
- Premise: Choose one fear, setting, and unanswered question.
- Script: Write a compact narration with an immediate disruption and a controlled reveal.
- Visual plan: Assign an image or motion treatment to each story beat.
- Audio: Generate a voice with deliberate pauses, emphasis, and room for ambience.
- Captions: Create subtitles from the final voice track, not from an earlier draft.
- Quality control: Check continuity, timing, legibility, and fiction labeling.
- Publishing: Release variations, then use retention and interaction signals to guide the next script.
A tool such as ClipCreator.ai's guide to AI-generated video content can support parts of this workflow by connecting scripts, visuals, voiceovers, subtitles, and publishing. You can also assemble the pipeline manually with a writing model, an image generator, a text-to-speech service, a mobile editor, and native platform schedulers.
The useful outcome isn't one lucky scare. It's a format you can reproduce without making every upload from scratch. Build a recognizable series style, keep the production rules stable, and change the premise, setting, or audience interaction each time.
Crafting Prompts That Nail Creepy Tone and Structure
A prompt that says “write a scary story about a haunted house” gives the model too much freedom. It may produce familiar clichés, vague imagery, and a final line that explains the mystery instead of intensifying it. Horror needs constraints because suspense depends on what the story withholds.
Start by defining five things:
- Audience: Specify whether the story targets fans of paranormal fiction, urban legends, analog horror, dark comedy, or interactive scenarios.
- Emotional beat: Choose one dominant feeling, such as dread, paranoia, grief, or helpless curiosity.
- Setting: Use a concrete location with visual identity, like a laundromat after closing, an apartment intercom, or a rural bus stop.
- Escalation: Decide what changes after the first warning and what the protagonist loses control over.
- Final scare: Describe the type of payoff, not every detail. The ending might reveal a second observer, a repeated event, or a familiar voice coming from the wrong place.
A practical prompt can look like this:
Write a vertical horror narration for a faceless short-form video. Target audience: viewers who enjoy realistic urban legends. Emotional beat: growing paranoia. Setting: an apartment building where the intercom rings from empty units. Protagonist: a night-shift tenant who records every call. Structure: open with the most disturbing discovery, establish the normal routine, introduce one impossible detail, escalate through three short beats, then end on a visual reveal that changes the meaning of the opening. Use compact spoken sentences, no exposition dump, no comedy, and no explanation after the final scare. Add scene breaks with a visual description for each beat.
That prompt gives the model a narrative spine and a production brief. It also prevents a common failure: a script that reads well but can't be illustrated consistently.
Weak prompt versus usable prompt
A weak version says:
Write a creepy story about a ghost in a school.
A stronger version says:
Write a first-person horror short about a substitute teacher covering an empty classroom. The first line must reveal that the attendance sheet contains the narrator's name before they arrive. Keep the threat mostly off-screen. Use five scene beats, each with a location, lighting direction, character action, and one recurring visual object. End with the attendance sheet showing a second name written in the narrator's handwriting.
The second prompt gives you story logic, visual continuity, and an edit map. Ask for scene descriptions that repeat stable character details, including clothing, age range, hairstyle, and lighting. If the protagonist changes from a red raincoat to a blue hoodie between generations, viewers stop thinking about the threat and start noticing the error.
For more prompt variations, these horror short story prompts can provide starting structures. Treat them as raw material, not finished formulas. Replace generic haunted-house language with a specific audience, a precise setting, and a final image that can carry the last moment without additional explanation.
Prompt rule: Ask for the hook, escalation, and final image separately. A model that knows the ending can plant details early instead of adding a random twist at the last line.
Generating Images Voiceovers and Subtitles That Stay in Sync
The asset stage fails when creators treat images, narration, and captions as separate deliverables. A beautiful image doesn't help if it depicts the wrong beat. A convincing voice doesn't help if the subtitle file follows an outdated script. Keep one approved script as the source of truth, then build every asset from that version.
For each scene, write a compact visual brief:
- Subject: Who or what appears?
- Action: What changes in the frame?
- Environment: What location details establish the story?
- Lighting: Is the scene lit by a phone screen, sodium streetlight, moonlight, or a failing fluorescent tube?
- Camera behavior: Should it feel like a locked security camera, a handheld recording, or a slow push toward a doorway?
- Continuity markers: Which clothing, object, or background detail must remain unchanged?
Don't ask an image model to “make it scarier” after every failed generation. That instruction produces random intensity. Tell it what to preserve and what to alter, such as “keep the same woman, red raincoat, wet hair, and apartment corridor; move the shadow one doorway closer.”
Voice design carries the dread
Choose narration for control, not theatrical excess. A restrained voice with clean pauses usually supports realistic horror better than constant whispering. Mark pauses in the script, shorten sentences before a reveal, and leave a brief opening around a sound cue or visual change.
Generate the voiceover only after the script stops changing. If you revise the narration afterward, the original captions and scene durations become unreliable. ClipCreator.ai's text-to-speech voice guide is relevant for creators comparing narration workflows, but the same production principle applies to any voice tool: approve the words first, then render the audio.
A connected workflow can pair the narrative with generated images, lifelike narration, and subtitles. ClipCreator.ai is one option that supports faceless story videos, story-aligned visuals, voiceovers, subtitles, HD output up to 90 seconds, and scheduling. Manual workflows can achieve similar control, but they require you to maintain filenames, scene order, audio versions, and caption exports yourself.
Generate captions from the final audio
Subtitle errors often appear after a small edit. A pause gets shortened, a sentence is removed, or a proper noun is pronounced differently from the transcript. Export captions from the final voice track, then watch the video with sound muted. If the story still makes sense visually and through text, the edit has a stronger chance of surviving casual viewing conditions.
Use one visual language across the video. Repeating the same character description, lens style, aspect ratio, and lighting vocabulary helps the audience stay inside the fiction. Variation belongs in the threat, not in the identity of the protagonist.
Editing for Pacing Sound and Perfect Subtitle Timing
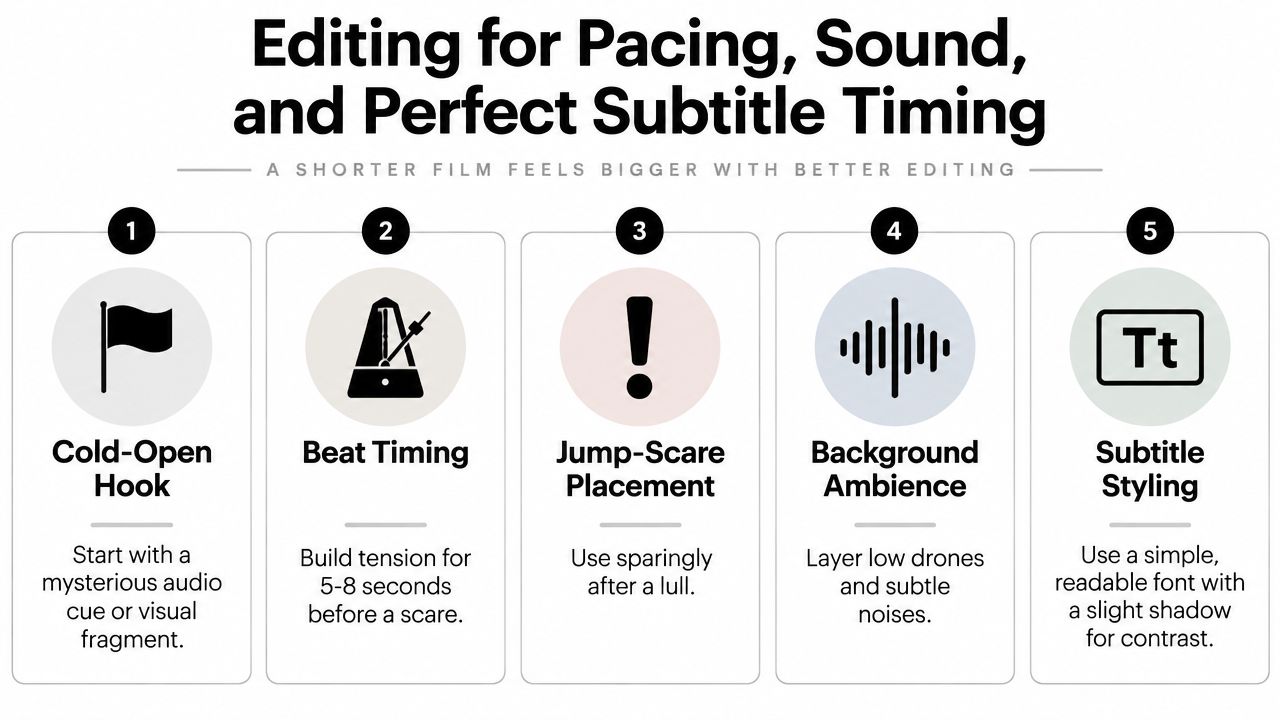
Horror editing depends on controlled information. Show enough to create a question, then delay the answer. A cold open might begin with a door already open, a voice saying “don't turn around,” or a fragment of footage that only makes sense after the story catches up.
Build tension through contrast. Let an ordinary room stay quiet before introducing a small wrong detail, such as a light switching on in an empty unit or a reflection moving late. A sudden scare has more force after a lull, but repeated jump scares train viewers to expect the same interruption and reduce the value of the next one.
Build the cut around the narration
Use the voice track as the timeline spine. Place scene changes on meaningful words or completed thoughts rather than cutting every time the narration pauses. For a compact short, the edit might follow this shape:
- Cold open: Present the disturbing consequence before the context.
- Normal pattern: Establish the routine in a few efficient images.
- Violation: Introduce the detail that shouldn't exist.
- Escalation: Change the location, behavior, or evidence.
- Payoff: Reveal the threat through an image or sound.
- Aftershock: End on a detail that keeps the question alive.
Sound should remain subtle enough to protect the voice. Low room tone, a distant mechanical hum, a soft electrical buzz, or a barely audible movement can make a still image feel active. Don't bury every gap under music. Silence gives the viewer space to anticipate the scare.
For practical editing workflows, FindClout editing tips offer useful context on tightening cuts and structuring short videos. Apply those principles to horror by removing anything that repeats information the viewer already understands.
Diagnose subtitle problems before changing timestamps
AI narration and subtitle systems commonly fail through timing drift, punctuation segmentation, incorrect proper nouns, and mismatched cue lengths. The production guidance in this subtitle timing discussion recommends identifying whether the issue comes from an offset, drift, or structural mismatch before editing individual timestamps.
Run a final check:
- Audio: Listen for unnatural pauses, clipped words, or a voice that rushes the reveal.
- Visuals: Confirm that each frame depicts the line being spoken.
- Captions: Check that text enters with the phrase, breaks at natural punctuation, and remains on screen long enough to read.
- Mobile view: Watch at small size and verify contrast against dark backgrounds.
- Ending: Make sure the final scare doesn't disappear under a logo, interface element, or premature cut.
The goal isn't maximum effects. It's a clean chain from spoken clue to visual evidence to final implication.
What Horror Formats Actually Go Viral on TikTok and YouTube
Straightforward ghost stories still have an audience, but they face heavy competition because the premise is instantly familiar. Recent independent coverage of TikTok horror found that the top five videos in one roundup ranged from 4.3 million to 24.5 million views, while one creator reached 10.6 million views with fewer than 600 followers. The same coverage found that comedic subversions and interactive scenario clips outperformed straightforward ghost-story posts. See the documented TikTok horror roundup for the examples behind that pattern.
That doesn't mean every creator should turn horror into comedy. It means the format needs a sharper participation or framing device. A viewer may ignore “a ghost appears in an old house,” but pause for “choose which door the night guard should open,” or “the security footage is funny until you notice who is missing.”
Formats worth testing
| Format | Why it earns attention | Practical execution |
|---|---|---|
| Interactive scenario | Viewers can argue about the choice or predict the outcome | End with two options and make each one reveal a different clue |
| Comedic subversion | Surprise comes from breaking the expected horror response | Let the protagonist react incorrectly, then make the consequence serious |
| Zero-context clip | The unexplained image creates immediate curiosity | Start with the impossible frame and explain only enough to sustain the question |
| Meme-framed AI visual | Familiar internet language lowers the barrier to an unusual visual | Use the meme structure as packaging, while keeping the horror beat coherent |
| Found-footage fiction | Handheld imperfections can make a fictional event feel immediate | Add a clear fiction label and avoid presenting real places or events as evidence |
The strongest test compares hooks, not just finished videos. Keep the central scare stable while changing the opening line, first frame, narrator attitude, or viewer prompt. Track retention, watch time, shares, comments, and likes, the metrics highlighted in guidance on short-form narrative optimization. Comments can reveal whether viewers understood the premise, missed the reveal, or believed the footage was real.
Realism creates a duty to label
Realistic AI horror can trigger confusion when it resembles documentary footage. Coverage of a UK and Ireland “Cat in the Hat” horror trend described police reassurance after AI-generated scenes caused public concern, with the images created by placing a fictional character into real locations. The lesson for creators is direct: immersion shouldn't depend on deception.
Label AI-generated fiction in the caption and, where appropriate, on-screen. Avoid real emergency scenes, recognizable public landmarks, child-facing imagery, or claims that imply an actual crime occurred. Don't use a real person's likeness as the monster or narrator without permission.
For broader publishing context, this guide on how to blow up on TikTok can help with packaging and audience behavior. Growth tactics matter, but clear fictional framing protects the audience relationship that makes a horror channel sustainable.
Publishing Scheduling and Growing Your Horror Channel
A horror channel grows through a feedback loop, not a single polished upload. Publish a premise, inspect how viewers respond, identify the point where attention drops, and change one variable in the next version. If the opening works but the ending loses viewers, rewrite the payoff. If viewers comment on the visual but ignore the story, strengthen the narration and scene logic.
Use a simple testing board with columns for premise, opening line, format, visual style, ending, and audience response. Record qualitative observations alongside platform metrics. “Viewers debated whether the narrator should open the door” tells you more than a vague note that a video “did okay.”
Build a manageable release rhythm
Choose a cadence you can maintain without lowering quality. ClipCreator.ai's plans support publishing from three times per week to twice daily, according to the publisher information, but the right schedule depends on your ability to review every script and final export. Automation should remove repetitive uploading, not remove editorial judgment.
A practical weekly system looks like this:
- Batch premises: Create several concepts around one series identity, such as “night-shift recordings” or “messages from empty rooms.”
- Approve scripts: Reject stories with interchangeable settings, unexplained twists, or unsafe realism.
- Generate assets: Keep character references and visual instructions together.
- Review exports: Check narration, subtitles, continuity, and labels before scheduling.
- Compare variants: Change one hook or structural choice at a time.
- Refresh winners: Rework a strong premise with a new setting or audience interaction instead of reposting an identical file.
Schedule separately for TikTok and YouTube when the opening, caption style, or title needs platform-specific treatment. Cross-posting saves time, but identical packaging can make a video feel native to neither platform.
Publishing rule: Never automate the approval step. A scheduled horror short still represents your channel, especially when realistic visuals could be mistaken for real footage.
Start with two videos, not an oversized content library. Give each a different subformat, such as an interactive scenario and a zero-context found-footage fiction, then compare viewer response. Keep the stronger structure, replace the premise, and repeat until the channel has a recognizable promise.
ClipCreator.ai can turn a custom horror prompt or a scary-story template into a faceless video with generated script, story-aligned visuals, lifelike voiceover, subtitles, and scheduling support. Visit ClipCreator.ai to create your first two fictional, clearly labeled horror shorts and begin testing which format your audience finishes.

Create your first video in under 2 minutes
Pick a niche, and ClipCreator.ai generates and auto-posts faceless videos to your channels every day.
Join ClipCreator.ai