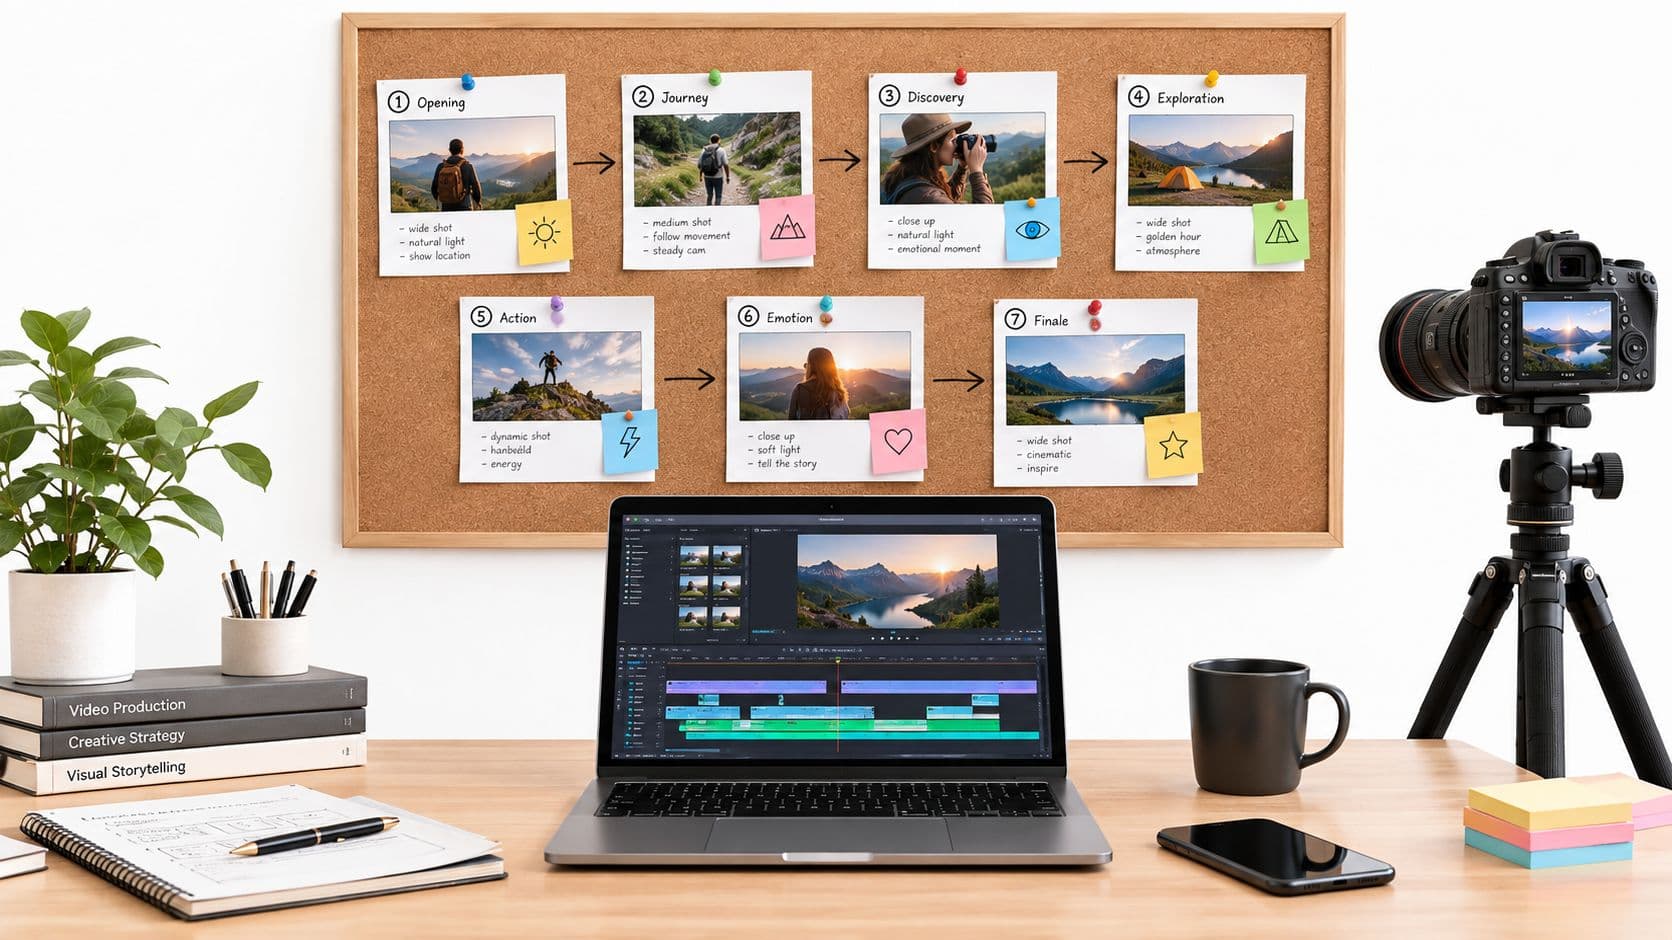
You open the app, hit the Reels camera, and then stare at a blank draft while the clock keeps moving. That's the bottleneck for most creators, not editing skill or camera gear, but the lack of a repeatable system that turns an idea into a post without starting from zero every time. The creators who make Reels consistently are usually running a pipeline, not chasing inspiration.
The Pipeline Mindset Behind Every Reel That Performs
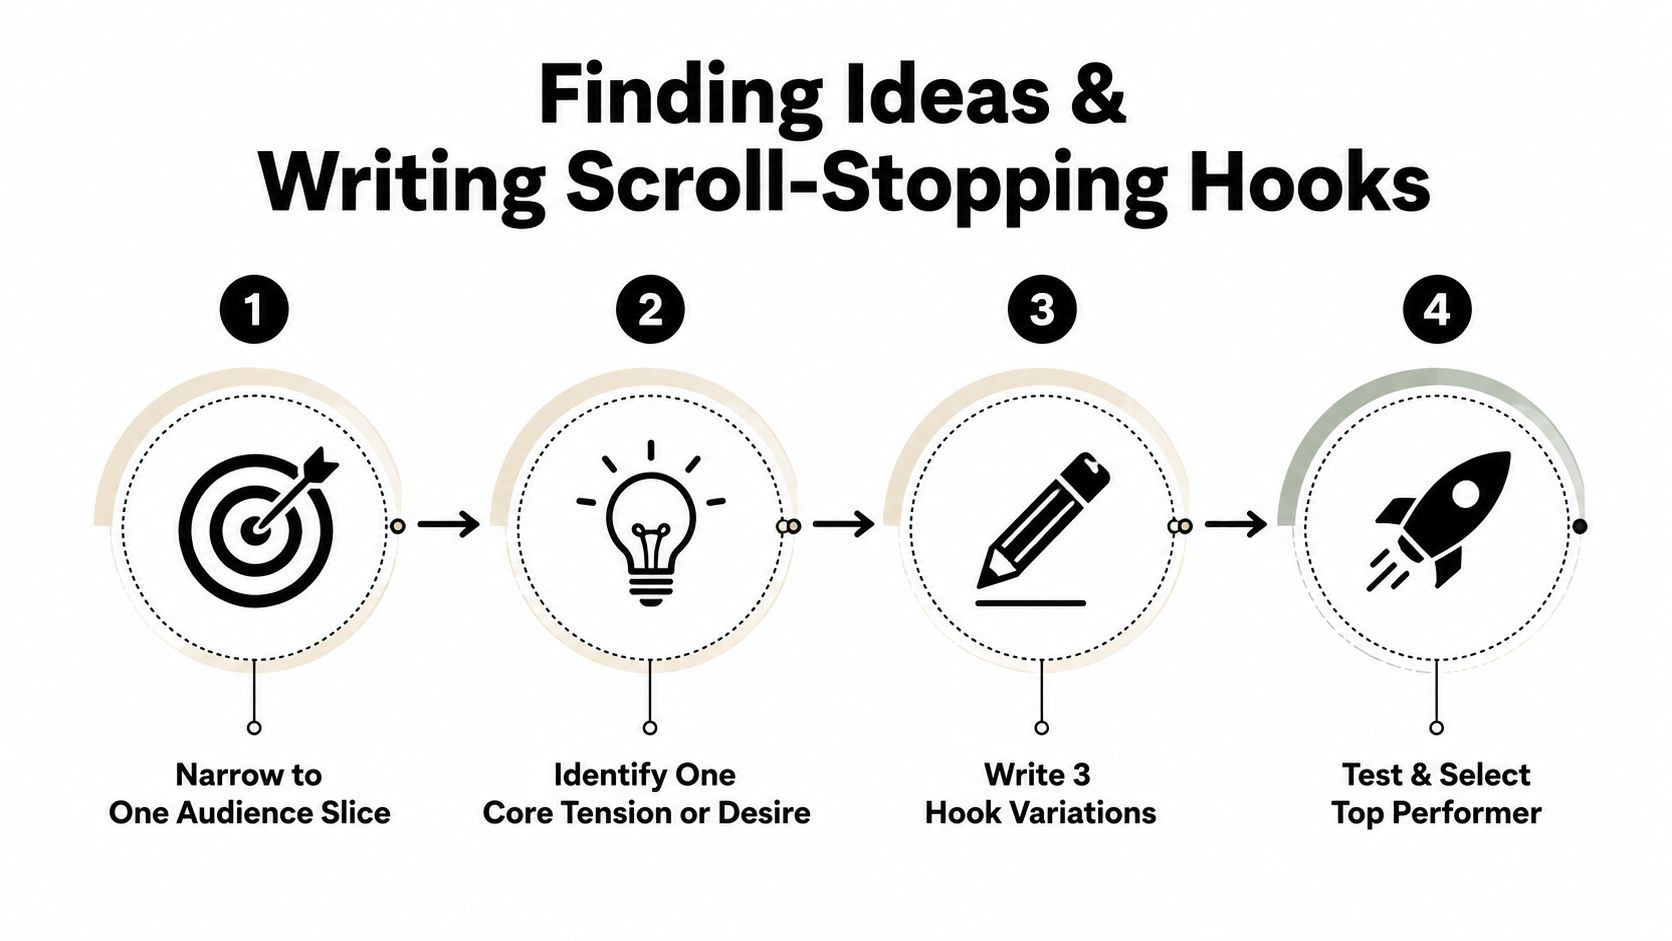
A Reel that performs rarely starts with the recording button. It starts with a small decision, one audience slice, one tension point, one format, one hook, one clear next step. That sequence matters because how to make Reels efficiently is really a question of how to remove friction from each stage before the app ever opens.
Build the week before you build the clip
Treat ideas like inventory. Save potential angles in a running list, sort them by audience pain point, then turn the strongest ones into short scripts before you film or generate anything. That kind of system is also why a guide on creating viral posts is useful outside of Reels, the mechanics of attention stay similar even when the format changes.
Practical rule: If an idea can't be explained in one sentence, it's not ready for a Reel yet.
The best short-form workflows move in a straight line. Idea capture feeds hook writing, hook writing feeds production, production feeds scheduling, and scheduling feeds review. I keep that loop tight because random creation leads to random output, while a pipeline gives you repeatable pace and cleaner decisions.
One useful way to think about it is this. You are not making “a Reel,” you are making one asset inside a weekly production rhythm that has to survive busy days. That's the reason a workflow like video creation workflow matters more than a one-off burst of motivation.
Think in batches, not in moments
Batching reduces context switching. If you script three hooks together, shoot three clips in one sitting, and edit them in one pass, you spend less time reloading the same creative state. That's also how creators avoid the trap of polishing one video for too long while the posting schedule goes quiet.
The test is sustainability. A system you can repeat every week beats a perfect plan you abandon by Wednesday. Once you start thinking this way, the question shifts from “What should I post today?” to “What content can I pull forward from the pipeline already in motion?”
Why Reels Are Worth a Dedicated Workflow in 2026
A Reel can look simple and still carry a lot of reach pressure. Meta has said users watch over 200 billion Reels daily, and industry tracking places Reels at roughly 2 billion monthly users and about 35% of time spent on Instagram; that scale changes the standard for anyone trying to grow on Instagram and Facebook (Instagram Reels stats). Reels ads also reach about 726.8 million people, so the format matters on both the organic and paid sides.
Scale changes the production standard
Once a format gets that much audience attention, “post something polished” is not enough. Reels under 15 seconds can reach about 72% completion, while longer Reels can fall to 46%, which is a clear sign that pacing matters more than elaborate setups (Instagram Reels stats).
That does not mean every clip has to be tiny. It means the opening has to earn the rest of the video quickly, and the edit cannot wander. A concise frame, a visible point, and a fast payoff usually beat a longer intro that looks impressive but loses people early.
Consistency beats overproduction
Posting rhythm matters for the same reason. Industry reporting has put average Instagram Reels engagement at 1.23%, with Reels outperforming photos at 0.70% and carousels at 0.99% in one analysis, and other reporting suggests that posting 4+ Reels per week can lift engagement by 23% (Instagram Reels stats).
The format rewards volume only when the volume is structured.
That is the trade-off. More output helps only if the ideas stay narrow, the hooks stay sharp, and the edits stay tight enough to keep the viewer moving. The format is large enough to justify a dedicated workflow, but it is not forgiving enough to reward random posting.
Finding Ideas and Writing Hooks That Stop the Scroll
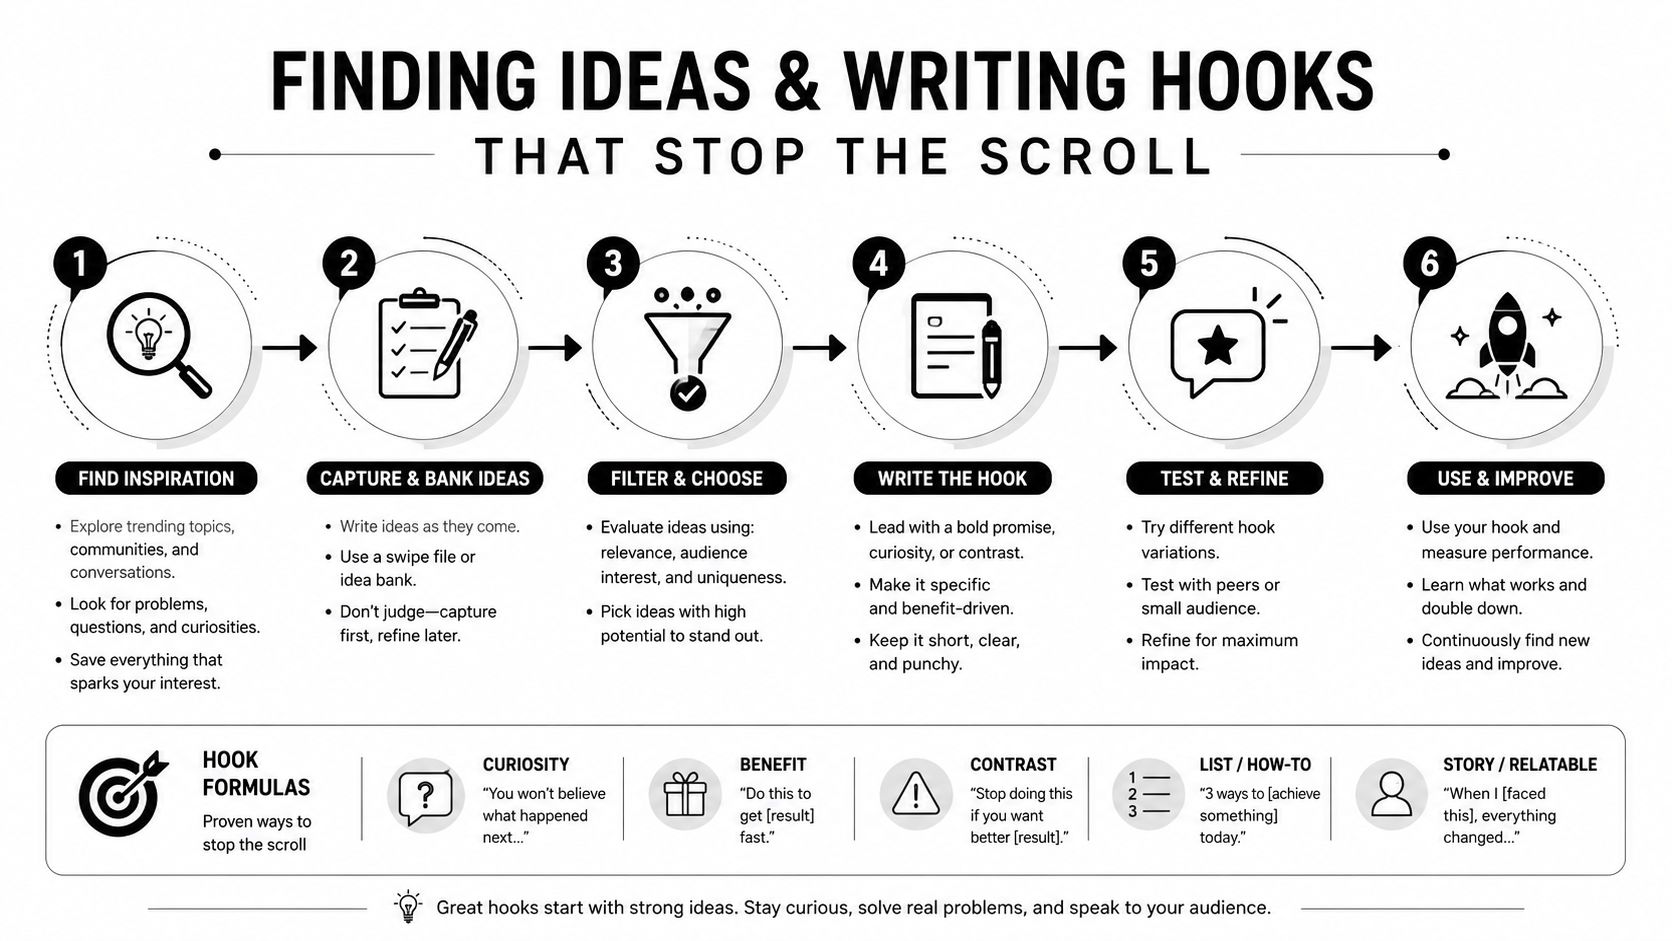
The fastest way to make better Reels is to stop writing for “everyone who might like this.” Start with one audience slice, one problem, one emotional tension. If you're talking to beginners, don't write like you're teaching pros. If you're speaking to hobbyists, don't bury the payoff under jargon they don't need.
Narrow first, then choose the angle
A Reel needs a reason to exist in a single feed swipe. That reason usually lands best through one of a few angles, tutorial, breakdown, reaction, before-and-after, or story. For faceless channels, the story angle is especially useful because the voice can carry the arc even when the creator never appears on screen.
A clean hook follows the same logic every time. State the tension, promise the payoff, then move into the value. That's the hook → value → action structure, and it keeps short clips from drifting into a bunch of half-finished thoughts.
Practical rule: Write the ending before you write the first line, because the CTA determines what the Reel is really for.
A useful hook bank saves time later. Keep lines that open loops, challenge assumptions, or frame a common mistake. “You do X wrong” works when you can prove the correction in the clip. “I stopped doing X after this” works when the payoff is concrete and specific. “You've probably seen this, but…” works only when what follows is surprising.
Build hooks that sound like a human, not a caption generator
For faceless content, the strongest hooks often come from curiosity gaps, niche myths, or strange but relevant facts. The point isn't to be mysterious for its own sake. The point is to make the next second feel necessary.
A practical script pass looks like this. Write three hook variations, cut the one that feels generic, then choose the one that creates the cleanest expectation. If the hook overpromises, viewers leave. If it underpromises, nobody clicks in the first place.
For script structure and tighter phrasing, the techniques in tips for script writing line up well with short-form work because they force you to trim the filler before it reaches the timeline. That matters more than clever wording.

Producing Reels Without Showing Your Face
A faceless workflow only works if it lowers production effort without flattening the brand voice. I've seen teams spend more time “automating” clips that still need heavy cleanup, and I've also seen channels stall because every post had to be filmed and edited by hand before it could go out. The right setup depends on whether the content is personality-led or volume-led, because those two models do not need the same amount of control.
What a faceless stack looks like, concretely
A practical faceless pipeline usually starts with a script prompt, then moves into story-aligned visuals, voiceover, and captions. That flow works well for narrative channels, education clips, and repetitive niche content because the process stays consistent even when the topic changes. For a clothing brand, a resource like ai video generator for clothing brand shows how product storytelling can be built without a camera crew.
Some creators keep the process manual on purpose. They write the script themselves, record their own voice, and build every visual from scratch because the brand needs a very specific tone. Others use a platform such as ClipCreator.ai once the format is established, because it can generate the script, voiceover, and visuals in one pass and export a platform-ready short video. That kind of tool is useful when the content is formulaic and the goal is steady output, not handcrafted control.
For voice work, a good text-to-speech setup matters more than people expect, especially if you want the delivery to sound natural instead of synthetic. A resource on AI text-to-speech voice options helps when you need to match pacing and tone without recording every line yourself.
Where automation helps and where it gets in the way
Automation saves the most time when the clip structure repeats. It helps with bedtime stories, niche explainers, and themed micro-lessons where the audience expects a familiar rhythm. It saves less time when the video depends on precise visual taste, product nuance, or a brand voice that shifts from one campaign to the next.
The risk is letting the tool decide the creative angle. A faceless system still needs a clear premise, a defined audience, and a specific payoff. Otherwise you just produce faster content that still feels vague.
Useful test: If you'd be embarrassed to send the script to a real editor, it's not ready to automate.
Match the workflow to the content goal
Brand-led content usually deserves more manual control because the visuals and tone need to stay consistent. Volume-driven niches can use templates, voice generation, and auto-subtitles more aggressively because the format matters more than one-off originality. A hybrid setup often works best, with manual script approval, automated assembly, then a quick human review before publishing.
The internal question is simple. Do you want complete control, or do you want consistent output? You rarely get both at full speed, so choose the constraint that fits the channel. The right tool removes busywork, but it cannot replace a clear angle or a believable voice.
Technical Settings That Survive Mobile Compression
A Reel can fail after export even if the idea is solid. The clip may look soft, crop badly, or feel visually crowded once Instagram compresses it and adds its own interface. That makes the technical baseline worth getting right, especially if you reuse footage across platforms.
Start with the frame, not the filters
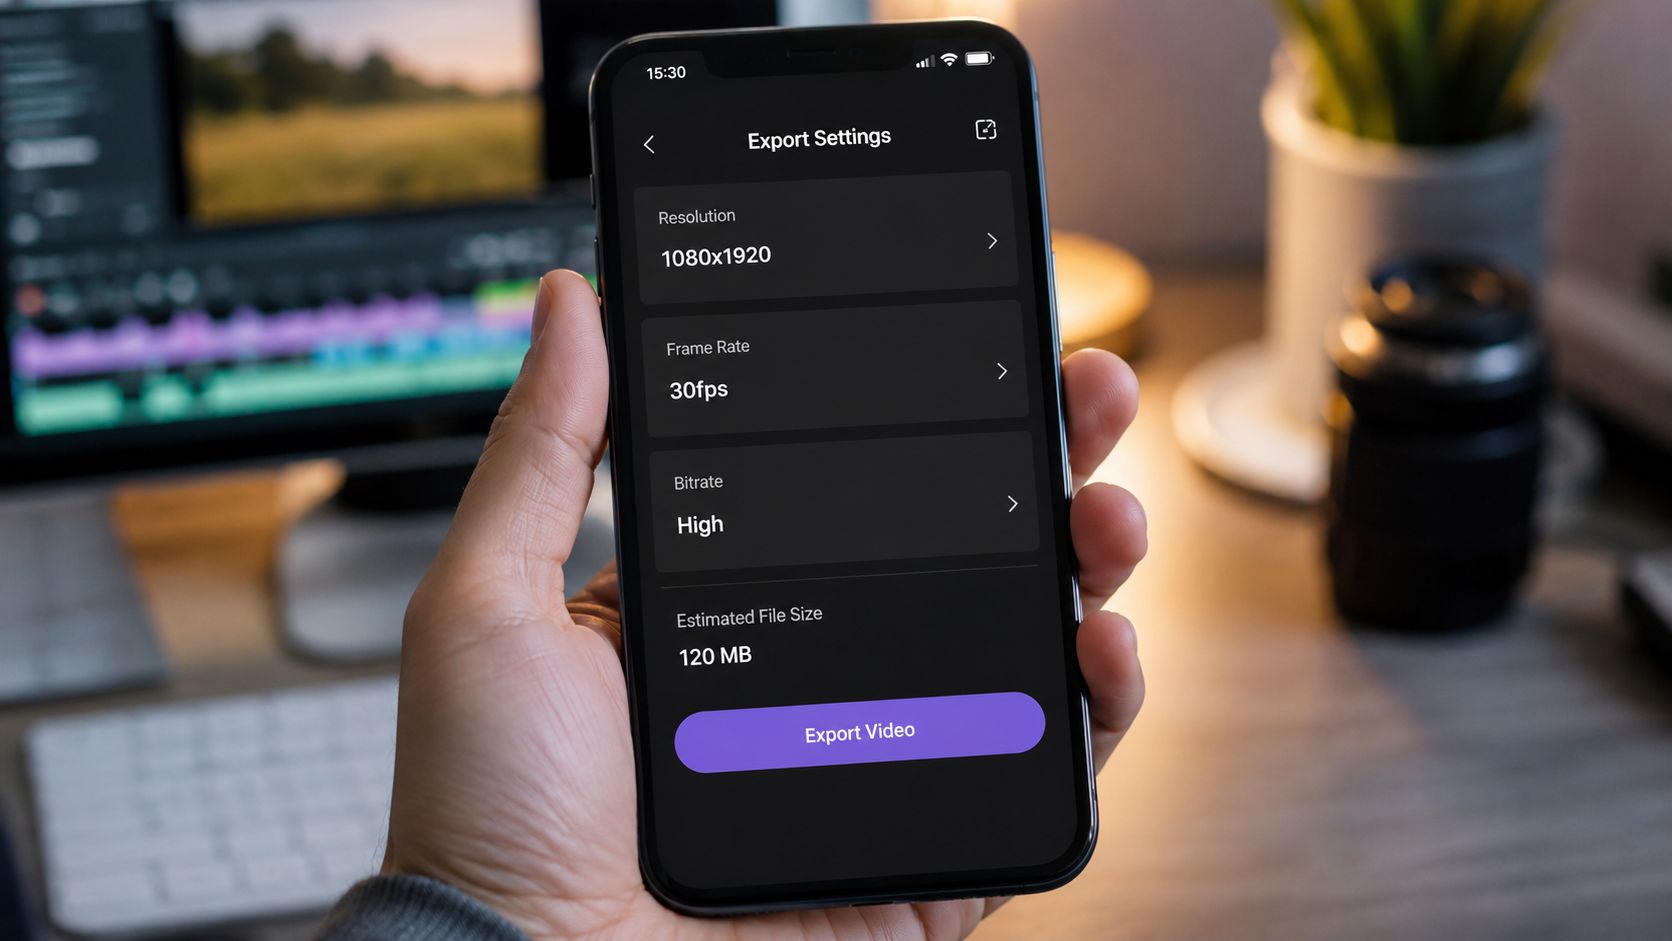
Shoot vertically in 9:16 at 1080x1920 px. Keep the hook in the first 1.5 to 3 seconds, because the opening has to work before the scroll moves on (best practices). Keep faces and important text out of the bottom 20% safe zone, since that area competes with platform UI and subtitles.
Concise captioning helps too. Sound-off viewing is still normal on short-form feeds, so the visual story has to hold up without audio.
For talking-head content, side light usually survives compression better than flat light because low-contrast footage tends to look mushier after export. Low ISO, 4K capture downscaled for export, and 24 fps are common technical choices in expert guidance because they preserve texture before the file gets squeezed for mobile playback (best practices).
Repurposing old footage without making it look awkward
This is the part many “how to make Reels” guides skip. Horizontal footage does not deserve a forced crop just to fill the frame. Center-cropping works when the subject stays central, split-screening can preserve more context, and sometimes the cleanest move is pulling several vertical moments from one wider clip.
A wide clip can become a Reel, but only if the subject, subtitles, and breathing room all survive the crop.
Edit for the new aspect ratio, not just the file size. If the original shot puts important action near the edges, a center crop can erase the point. If the clip feels too static, a split-screen or vertical reframing pass can fix the composition without inventing fake motion.
Use export settings that do not fight the platform
The goal is simple. Export something clean enough that Instagram does not have to rescue it, because platforms usually do not. Whether you are editing in CapCut, uploading from a phone, or sending a rendered file from an automation tool, keep the framing vertical, the captions readable, and the subject separated from the UI. When the file arrives in good shape, the Reel looks intentional instead of processed.
If you are comparing launch tooling for founders, browse launch features for founders can help you sort the publishing side, but the export itself still needs to survive compression first.
Posting Cadence, Scheduling, and Multi-Platform Distribution
A finished Reel sitting in your camera roll doesn't help anyone. Distribution is part of production, and creators who separate the two usually stay more consistent because they're not making timing decisions under pressure. The data already points toward regular output, and the workflow should reflect that.
Batch the work, then schedule it
The practical case for batching is straightforward. If 4+ Reels per week is a useful engagement target in the data above, then your system has to produce in groups, not one clip at a time (Instagram Reels stats). One shoot can cover multiple hooks, and one editing block can finish multiple exports before the week even starts.
That approach is also where scheduling helps. Tools that connect TikTok or YouTube accounts and publish on a set schedule remove a lot of repeat labor, especially for solo creators and small teams. If you want to compare launch tooling for founders, browse launch features for founders can be useful context, but the bigger point is simple, scheduled publishing beats daily scramble.
Keep manual posting for the moments that need it
Not every Reel should be on autopilot. Product launches, trend-jacking, and community replies still benefit from manual timing because those posts depend on what's happening right now. Scheduled content works best for recurring value clips, evergreen tips, and story-based formats that don't need live reaction.
A realistic weekly rhythm looks more like a production block than a daily grind. Film or generate in batches, queue the posts, then reserve a small window for comments and adjustments. That leaves you time to review what got saved, shared, and watched through instead of using up your day inside the app.
Your First Week of Reels, Step by Step
By day one, pick one audience slice and one problem you can speak to without improvising. On day two, write a small hook bank and choose the angles you'll reuse. Days three and four are for producing a first batch of three to five Reels, either by filming manually or by using an automation tool for the faceless parts.
| Day | Focus | Output |
|---|---|---|
| 1 | Pick niche slice | One audience and one tension point |
| 2 | Build hook bank | Three to five hook drafts |
| 3 | Produce batch | First set of clips |
| 4 | Edit and polish | Ready-to-publish Reels |
| 5 | Set scheduling | Queue posts for the week |
| 6 | Publish | First live Reel and notes |
| 7 | Review | Retention, saves, shares |
Day five is for scheduling, so the work keeps moving even when you're busy. Days six and seven are for review, not guesswork, because the next batch should follow what viewers responded to. That loop is how a loose idea turns into a repeatable system.
If you want a faster way to turn one idea into a full Reel pipeline, ClipCreator.ai handles the script, voiceover, visuals, subtitles, and scheduling in one workflow. It's built for creators who want to ship consistently without rebuilding the same short-form process every week, so if that matches how you work, visit ClipCreator.ai and see how it fits your next batch.

Create your first video in under 2 minutes
Pick a niche, and ClipCreator.ai generates and auto-posts faceless videos to your channels every day.
Join ClipCreator.ai