You've got an idea, a phone full of clips, and an editing app open. Then the questions start: should you film vertically, how long should the video be, and can you use the music you've already picked? It's easy to spend an afternoon editing before discovering that the footage doesn't fit the frame or the soundtrack creates a copyright problem.
Learning how to make a YouTube Shorts video starts before you press Record. Decide what the viewer will get, how much time that requires, and which assets you can legally use. Then build the smallest production that delivers the promise clearly.
Check Shorts Specs Before You Film
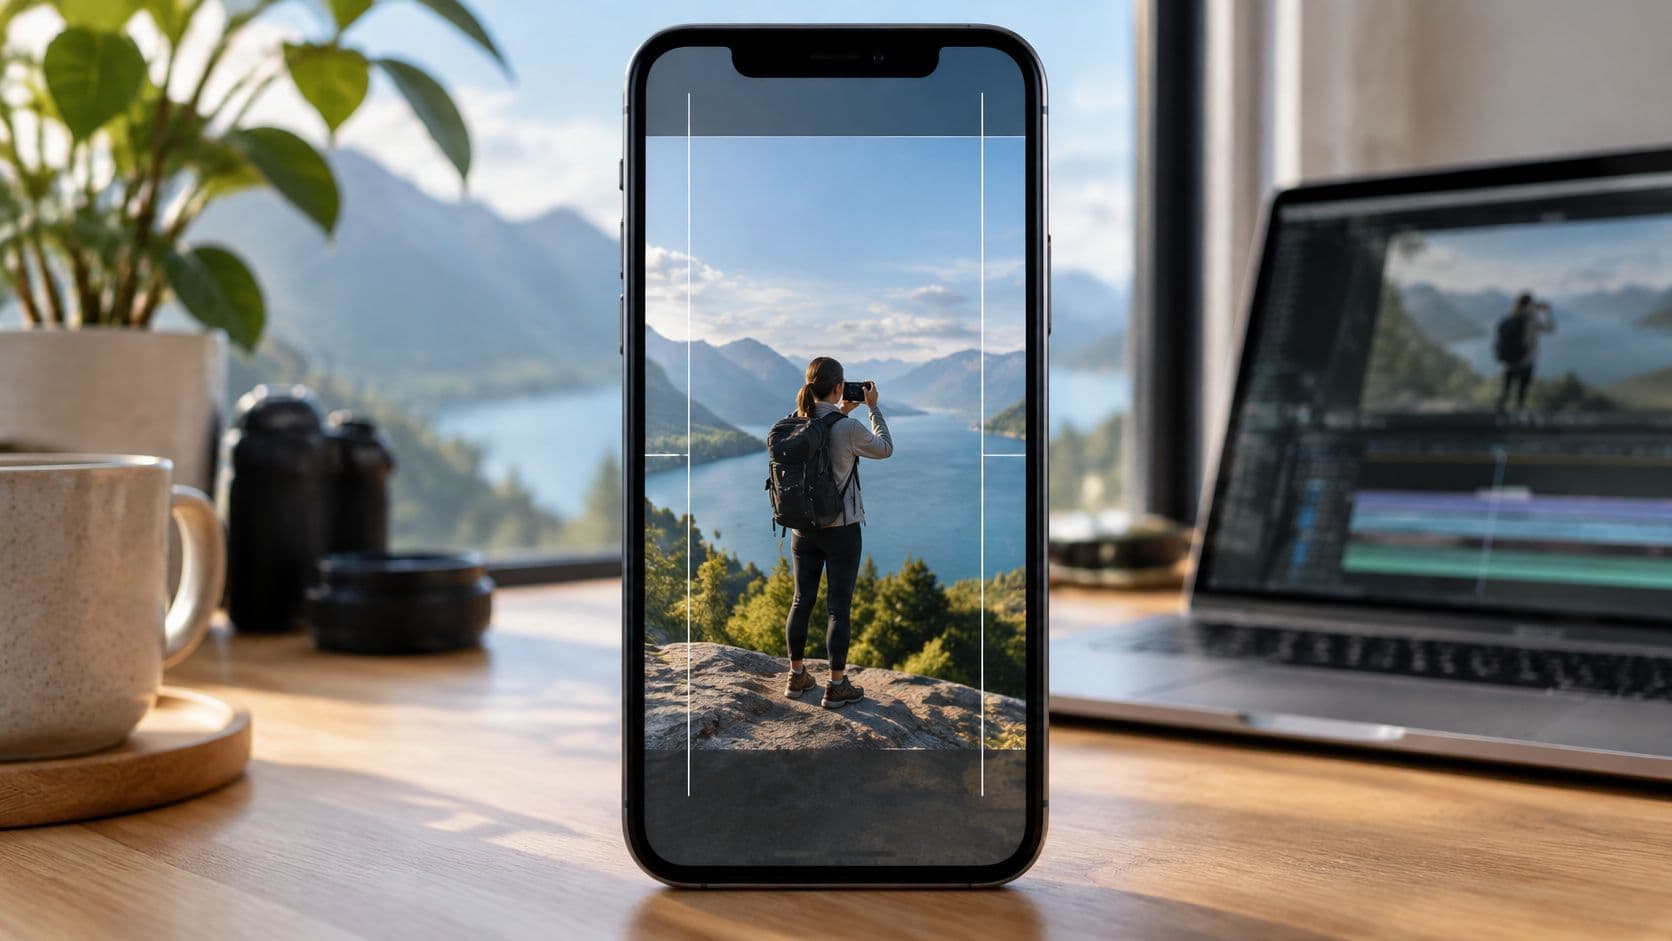
Use a vertical frame by default. According to YouTube's Shorts creation guide, square or vertical videos uploaded on or after October 15, 2024 can qualify as Shorts at up to 3 minutes, and its documented creation workflow supports a maximum upload resolution of 1080p.
Check the aspect-ratio row first. A horizontal recording can leave you choosing between cropping out important action and shrinking the picture inside a vertical canvas. Set your project orientation before collecting footage.
YouTube Shorts specs at a glance
| Spec | Requirement | What to do |
|---|---|---|
| Aspect ratio | Vertical 9:16 recommended; square also eligible | Frame every shot vertically from the start |
| Maximum length | 3 minutes for square or vertical uploads from October 15, 2024 | Check the exported file's duration before uploading |
| Maximum upload resolution | 1080p | Export at 1080x1920 for 9:16 |
| Mobile app path | Create, then Short, then Capture | Record in segments and review before uploading |
| YouTube Studio path | Upload a finished vertical file | Use when editing in another app |
| Draft | Save and finish later | Review the cut the next day before publishing |
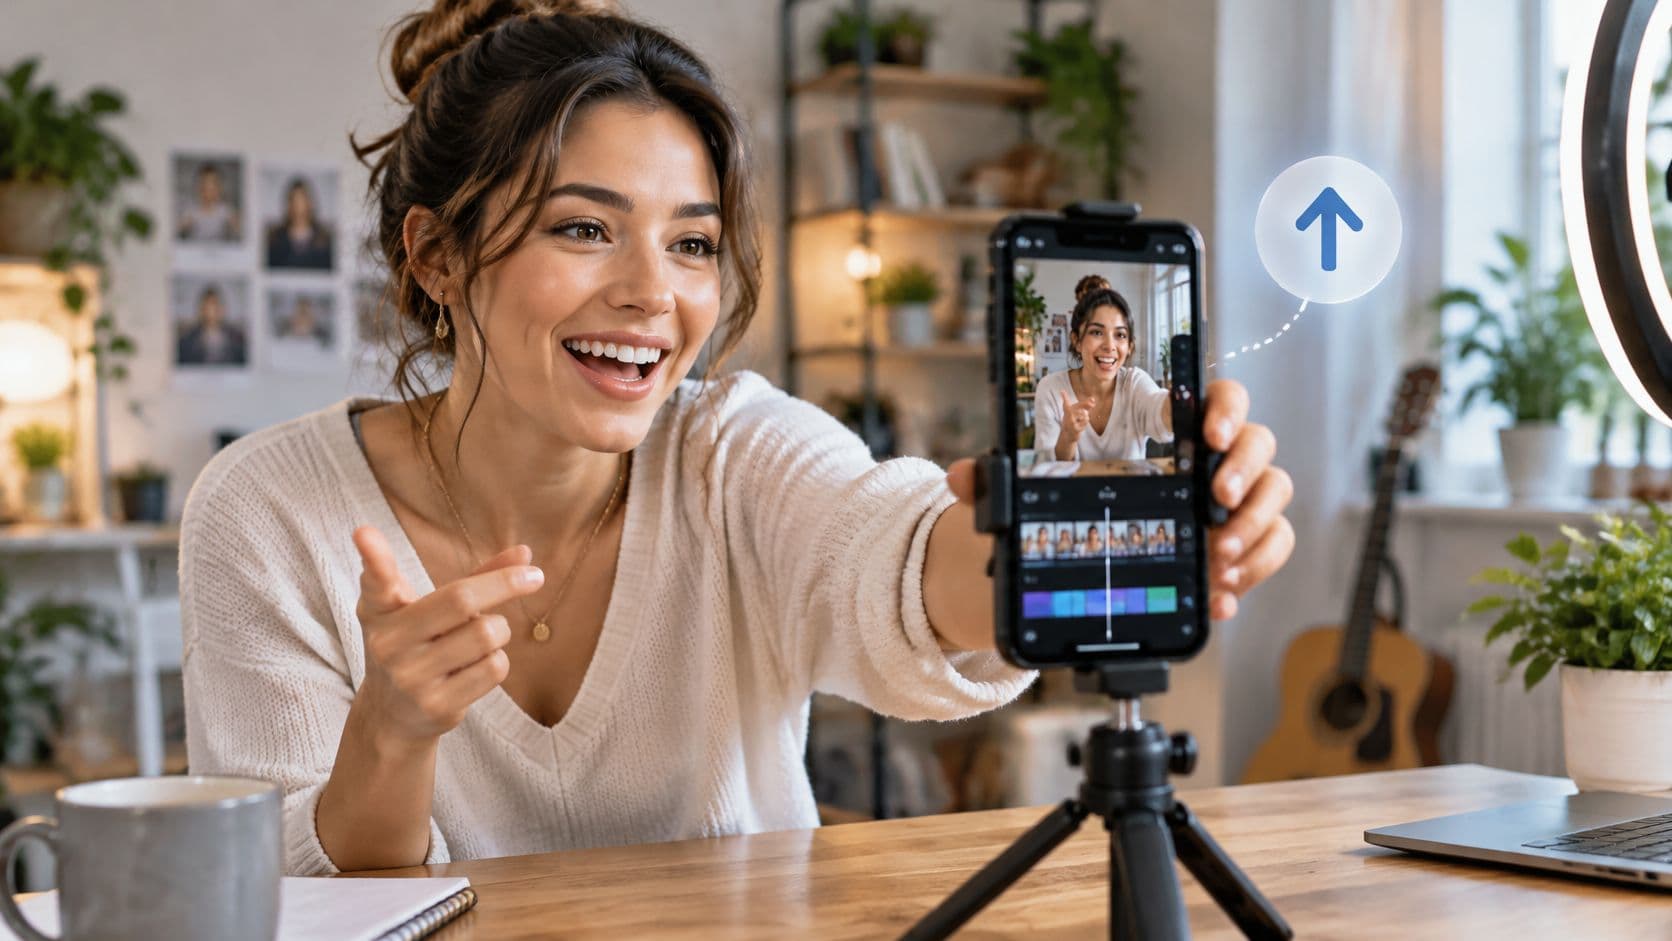
The mobile route suits a straightforward demonstration or talking-head video. Sign in, tap Create, choose Short, and use Capture to assemble separate segments instead of relying on an uninterrupted take. Save a draft if you need to finish later.
For a file edited elsewhere, upload through YouTube Studio. Before filming additional material, inspect a test export's orientation and duration, not just the settings shown in your editor.
Check the canvas before the camera
Use our YouTube Shorts video size guide when setting up your project. If you're also preparing other video formats, MyKaraoke Video's reference on YouTube video resolution and aspect ratios provides useful framing context.
Write the target runtime at the top of your script. Length should be a production decision, not something you discover after editing.
Decide the Idea Runtime and Rights First
Start with an idea the viewer could repeat in a sentence. “Fix uneven lighting on a desk” is a workable premise; “everything you need to know about filming” isn't. Narrow the subject before opening a timeline.
The expanded format isn't an invitation to fill every available second. Longer videos require more explanation, more usable footage, and more assets to clear. Additional runtime increases production exposure, even when it doesn't trigger a separate platform rule.
When a longer cut earns its place
A longer version makes sense when the viewer needs:
- A complete demonstration: Removing a required step would make the result difficult to reproduce.
- A developed story: The setup changes how the viewer understands the payoff.
- Necessary context: An answer without its qualification would be confusing or misleading.
Otherwise, start with a compact discovery cut. For example, demonstrate the lighting adjustment and its result rather than adding an introduction to your equipment collection.
Runtime test: Name what the additional footage teaches. If you can't, don't shoot it.
Clear the assets before scripting around them
YouTube's guidance on three-minute Shorts states that a Short longer than one minute with an active Content ID claim can be blocked globally, made unplayable and unrecommended, and excluded from monetization.
That threshold isn't permission to use unlicensed material in a shorter video. Plan original narration, music cleared for the intended use, and visuals with documented commercial-use rights. Keep license records beside the assets, rather than trying to reconstruct permissions after an upload is flagged.
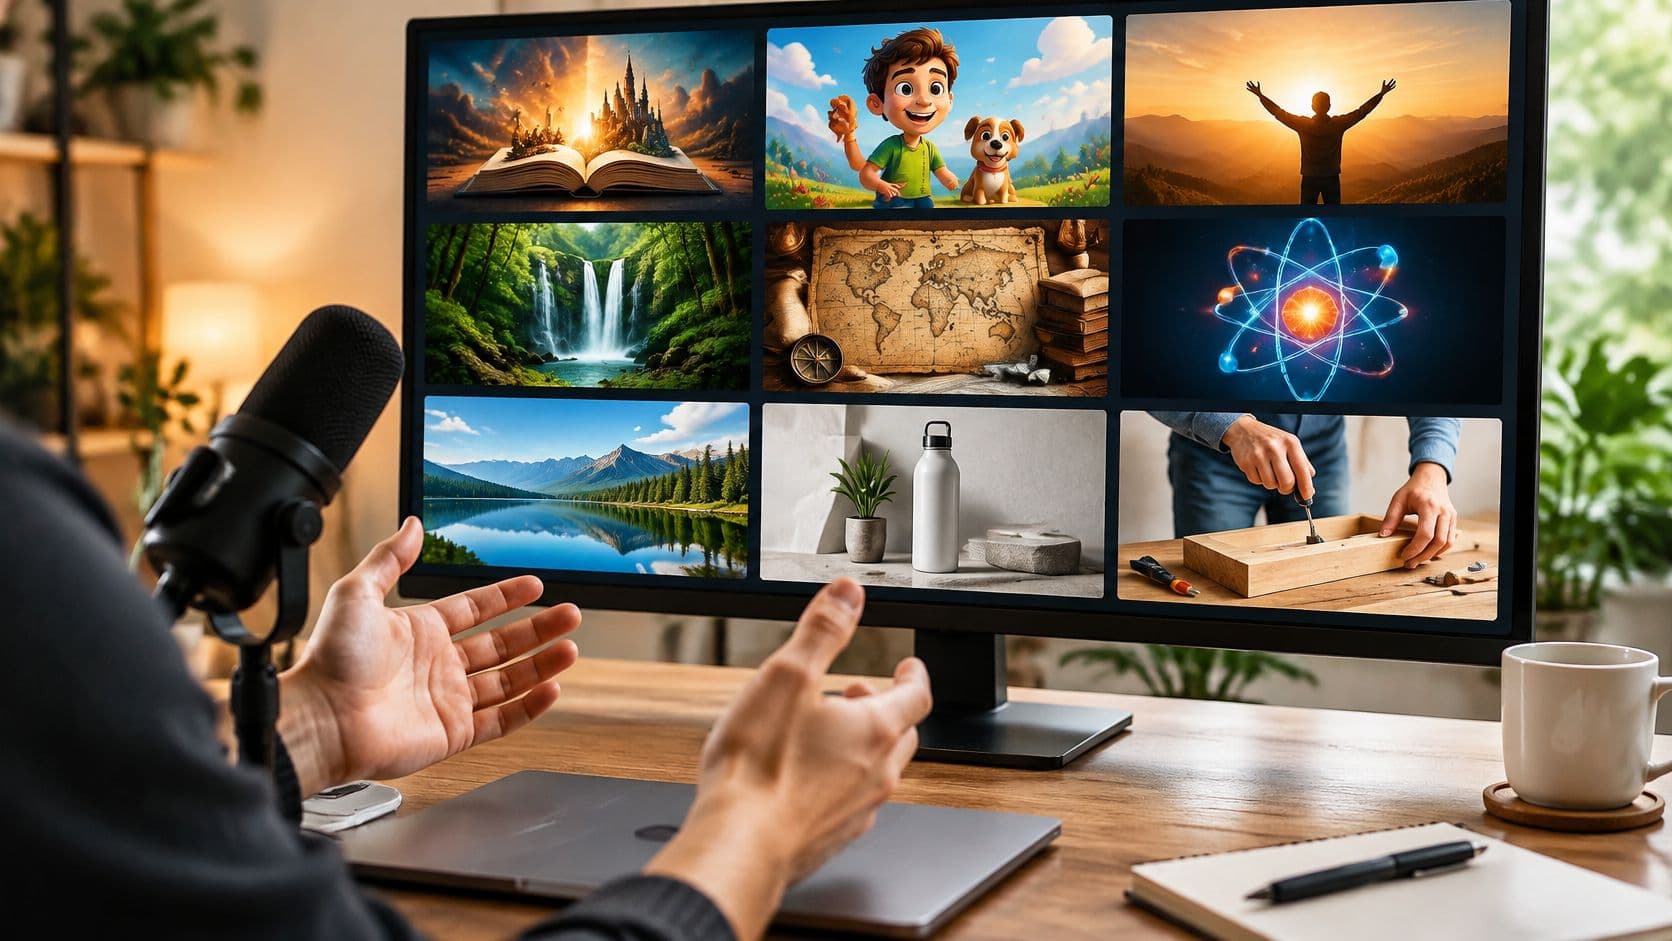
For a faceless format, assess each planned scene by its job: demonstrate the claim, advance the story, or clarify a transition. Decorative footage can look polished while adding nothing.
Before committing, ask: What does the extra runtime add, and is every asset cleared? An unclear answer means shortening or replacing material before production begins.
Script a Short That Holds Attention
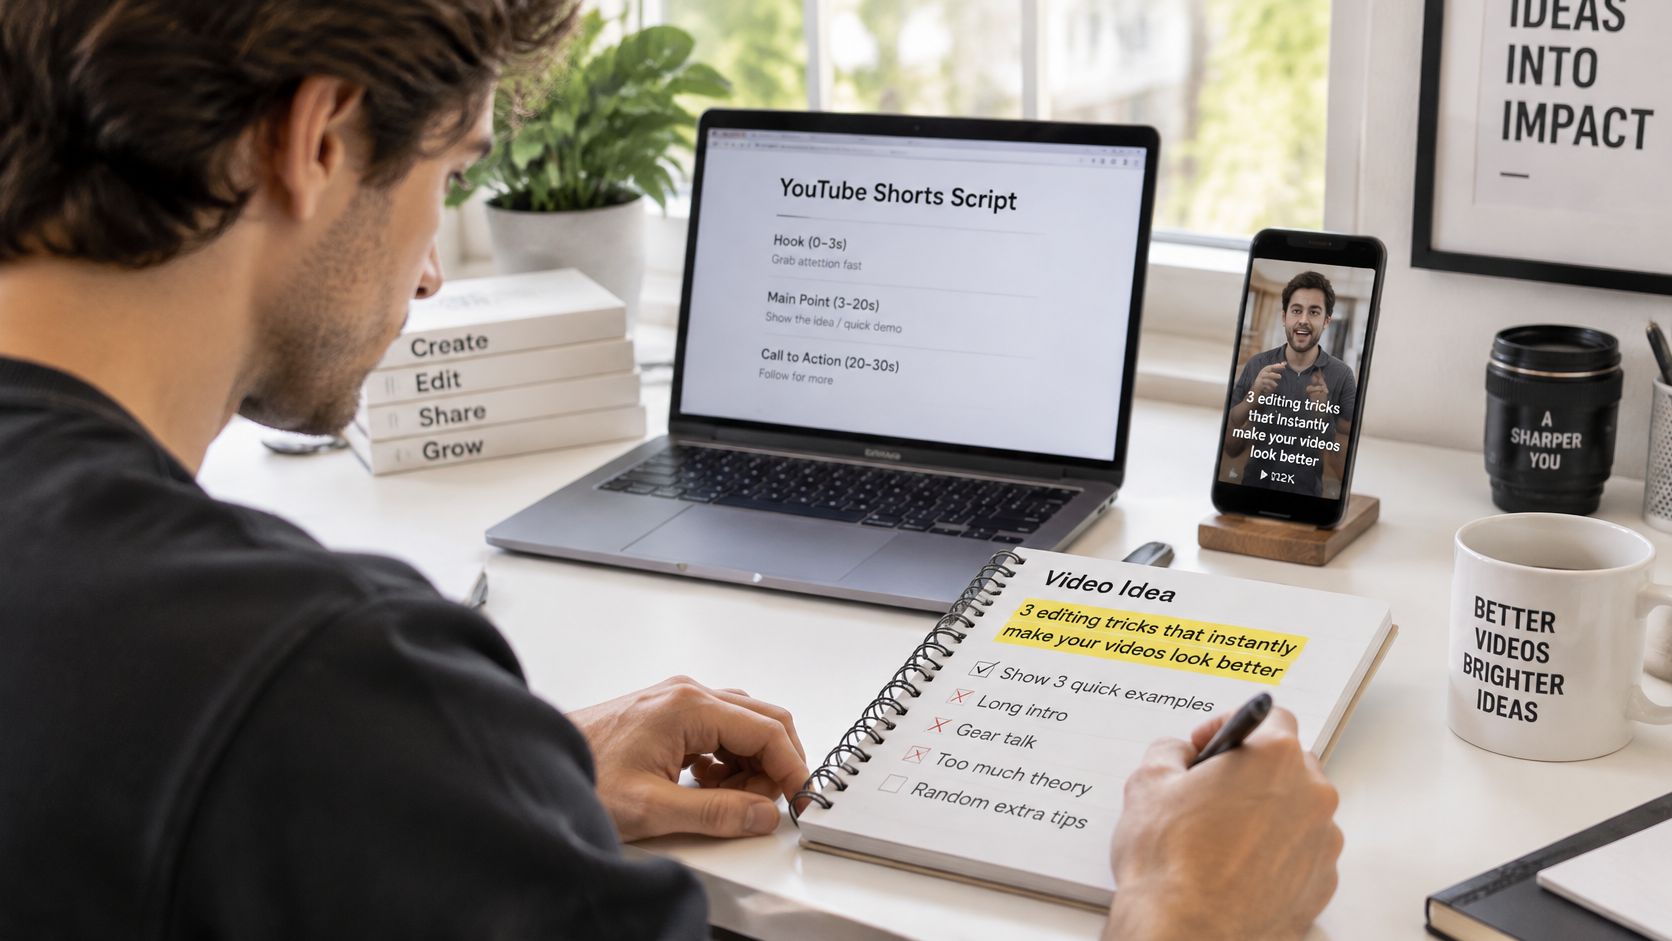
Write the viewer's promised outcome before writing dialogue. It should tell you what belongs in the video and, equally, what doesn't. An opening greeting, a channel introduction, and background information all need to justify their place.
Keep your planning simple enough to revise quickly.
Pair spoken lines with visible evidence
Use a script with narration beside its matching shot. This is particularly important for faceless videos, where a narrator can make a specific claim while unrelated stock footage fills the screen.
For example, a hypothetical explainer about a phone's exposure control could use this structure:
| Script beat | Narration draft | Visual cue |
|---|---|---|
| Opening problem | Your phone keeps making this shot brighter while you film. | Show brightness changing across the same scene |
| Action | Set the exposure before recording, then lock it using your camera app's controls. | Screen recording of the relevant control |
| Demonstration | Move your hand through the frame and check whether the background stays consistent. | Show the test |
| Payoff | Now the brightness stays where you intended. | Compare the unstable and controlled clips |
Check the actual phone's controls before recording the demonstration. Don't write a universal instruction around a gesture that only works in your own camera app.
A useful script has an opening reason to watch, distinct developments, and a visible result. Our guide to how to script a video can help turn that outline into recordable lines.
For an additional video reference:

Read it aloud before recording
Read the draft at a comfortable speaking pace and time the performance. If it runs long, remove repeated explanations before speeding up the delivery.
- Premise: Every line serves the same subject.
- Promise: The opening accurately describes what follows.
- Payoff: The viewer gets an answer, result, or completed story.
- Runtime: The spoken draft fits the planned cut without rushing.
A loop back to the opening can work, but don't withhold the answer just to manufacture a replay.
How to Record and Edit Your Short
Record with the edit in mind. You need footage that proves each point, clean narration, and enough room in the composition for readable text. A complicated transition won't rescue a missing demonstration.
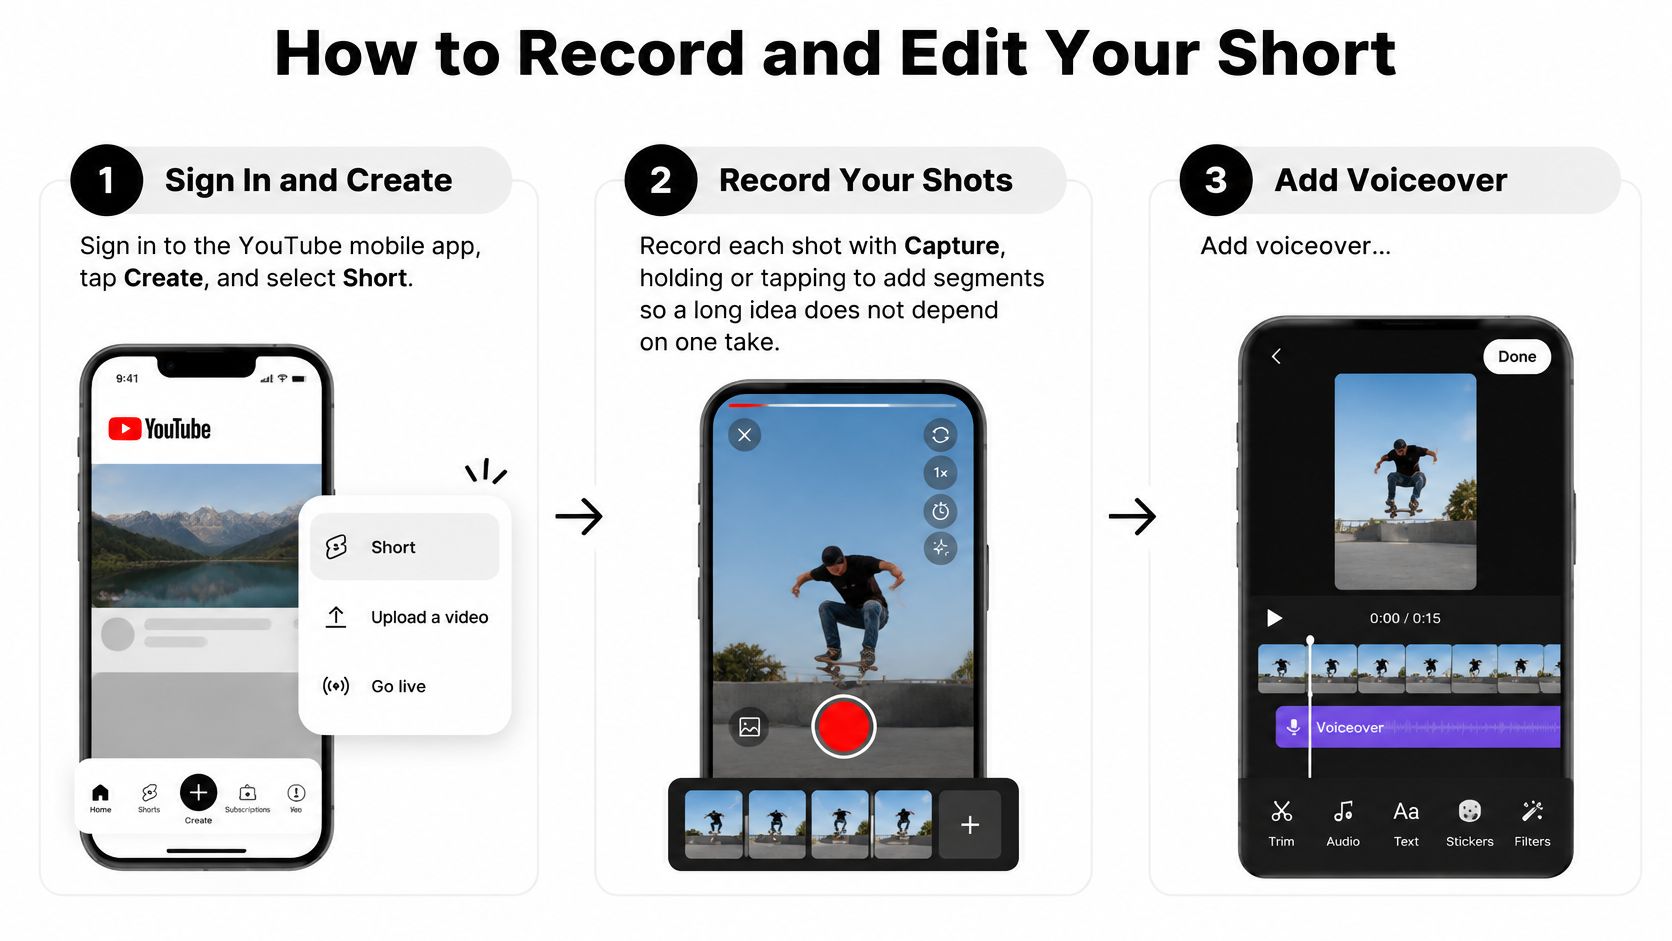
The mobile workflow starts with capture, segmented recording, and narration.
Capture usable material
- Open the recording workflow. Sign in to the YouTube mobile app, tap Create, and select Short. If you're editing elsewhere, open your phone camera with the intended framing already set so you aren't composing a different video from the one you'll publish.
- Record each planned shot with Capture, holding or tapping to add segments. Separate takes let you replace a weak line without repeating the whole performance, and they make demonstrations easier to assemble cleanly.
- Record narration in a quiet space. Listen through headphones for room echo, clothing noise, and changes in microphone distance before continuing. The opening line should make sense by itself, while the remaining narration should describe what the viewer can see.
For product footage, lock the phone on a stable support and keep the working area consistently lit. For screen recordings, hide notifications and move the pointer deliberately. These small decisions save more editing time than collecting extra effects.
Assemble for clarity
- Add readable captions. Place large, high-contrast text in the central area, away from edges and interface controls, and break sentences into readable phrases. Captions help viewers follow without sound, but they shouldn't cover the action they're explaining.
- Cut dead air, repeated setup, and unsuccessful actions that don't teach anything. Change the shot when the information changes, not because the timeline looks too static; a clear close-up can be more useful than unrelated movement.
- Export using your project's vertical delivery settings, then watch the entire file on a phone. Check caption spelling, cropped hands, screen-recording legibility, and whether music masks speech at normal listening volume. Review the exported file rather than assuming the editor preview represents the final result.
- Upload the finished cut through your chosen route, or save the mobile project as a draft. A later review is useful when you've heard the narration so often that you start overlooking missing words or awkward joins.
A finished edit should remain understandable when you're not there to explain what the viewer is supposed to notice.
Don't confuse fast pacing with constant cutting. Leave a demonstration on screen long enough for someone to follow the action, then trim the wait before the next useful moment. Your final shot should fulfill the promise, not just show an end card after an unfinished explanation.
Upload and Publish With the Right Settings
Publish directly from the mobile Shorts workflow when you've recorded and finished there. Use YouTube Studio on a computer when you've edited a finished file in desktop software. Choose the route that avoids unnecessary transfers and makes final review easiest.
Before entering metadata, confirm you're uploading the intended export. Similar filenames can send an outdated caption track or unfinished ending live, so use a descriptive filename that identifies the subject and revision.
Write metadata that describes the result
Put the outcome near the beginning of the title. For the exposure example, Stop Your Phone Video Changing Brightness tells the viewer more than A Camera Tip You Need. Specific wording also makes it easier to compare the title's promise with what the video delivers.
Write a short description that names the topic naturally and adds a reason to watch. Explain the use case or an important limitation rather than repeating the entire narration. Use relevant hashtags sparingly; a list of loosely related topics makes the description less useful to a person deciding whether the video answers their question.
- Title check: Does it describe the actual outcome without exaggerating?
- Description check: Does it add context the viewer can use?
- Audience setting: Select the setting that accurately reflects the content and intended audience.
- Visibility check: Confirm whether you intend the upload to remain private, go public, or publish on a schedule.
Review the upload before release
Check the processed preview for unexpected cropping, audio problems, and unreadable text. Inspect any copyright notices and resolve problems rather than assuming that successful uploading proves an asset is cleared.
Release check: Uploading successfully isn't the same as being ready to publish.
Choose a schedule you can maintain without lowering the review standard. If you want interpretable comparisons, avoid releasing a pile of near-identical variations together and then attributing every difference to the edit.
Record the publish date, revision name, title, and variable changed in a simple tracking sheet. Keep the exported file alongside that record so a later analytics review refers to the exact cut viewers watched.
Fix Weak Shorts Using Retention Data
A Short picks up 40,000 views and holds the average viewer for 12 seconds. Another gets 4,000 views and holds for 40 seconds. The first number says the thumbnail and opening frame did their job. The second says the content did.
Test a focused revision rather than rebuilding the whole video. Change the opening line, the first frame, narration speed, caption treatment, or the ending, and leave everything else consistent. One variable per cut is the only way the comparison means anything. Change four things at once and you cannot attribute the shift to any of them.
Judge revisions on engaged views and audience retention, not the headline view count. Playback starts and replays inflate that headline figure, and a large number of starts does not, by itself, establish that the explanation held attention. Compare the cut that kept people watching against the one that only attracted clicks.
Retention patterns, causes and fixes
Treat these patterns as diagnostic clues, not proven causes. Open the video at the point where viewers leave and inspect what changes there.
| Pattern | Likely cause | Edit to try first |
|---|---|---|
| Sharp drop in the first seconds | Unclear context or slow opening | Open with the payoff or a direct question and cut the setup |
| Drop when text appears | Low caption contrast or captions outside the safe area | Use larger high-contrast captions in the central area |
| Steady decline in the middle | Repeated points or pacing that stalls | Remove a beat and move the strongest line earlier |
| Late drop near the end | Weak call to action or a payoff that arrives late | Land the payoff earlier or loop back to the opening line |
| High views, low engaged views | Starts or replays without sustained viewing | Compare versions by engaged views and retention, not views alone |
An early departure is a clarity problem before it is an effects problem, so test immediate context before adding motion graphics. A text-related departure calls for checking readability and whether the caption covers the demonstration. A middle decline usually means removing repetition, not speeding up the voiceover.
At the ending, check whether viewers already received everything useful before a prolonged sign-off. Where starts are strong but continued viewing is weak, compare the promise in the opening against what the cut delivers.
Match the test to the objective
A music teaser, for example, might need listeners to identify which release they are hearing, not just watch an attractive montage. If that is your use case, you can plan music campaigns with Premierely while keeping the creative test focused on one specific listener action.
Audience mix and distribution also move the numbers, so a small difference is not proof of anything. Revise the segment associated with the departures, publish the new cut, and compare before you change another variable.
Choose Your Length and Publish This Week
Pick an idea small enough to finish this week. Use material you can access and clear now, rather than postponing production for a complicated location, an unavailable contributor, or uncertain music permissions.
Start with the shorter version that delivers a complete result. Our guide to how long YouTube Shorts can be can help you separate format eligibility from the editorial decision about how much explanation your subject needs.
Keep the first production manageable
- Prepare: Finish the premise, asset list, narration, and shot plan before recording.
- Produce: Capture the necessary evidence, assemble the edit, and review the export on your phone.
- Publish and assess: Log the revision and inspect audience response after it has had time to accumulate meaningful viewing.
Only develop a longer version when unanswered viewer questions justify it. If you're allocating production effort across channels, Social Cloud's platform budgeting guidance for growth teams offers a useful planning reference, separate from judging whether an individual edit works.
For a faceless workflow, ClipCreator.ai is an alternative to manual assembly. We generate narratives from templates or custom prompts, pair them with story-aligned images, voiceovers, and subtitles, and handle creation through publishing after you connect a TikTok or YouTube account. Users can create their first video in under 2 minutes; keep the same editorial and rights checks whether you automate production or build the cut yourself.
Turn your short-form idea into a narrated, subtitled faceless video with ClipCreator.ai. Choose a story type or provide a custom prompt, then connect your YouTube account and set a publishing schedule to automate creation and posting.

Create your first video in under 2 minutes
Pick a niche, and ClipCreator.ai generates and auto-posts faceless videos to your channels every day.
Join ClipCreator.ai