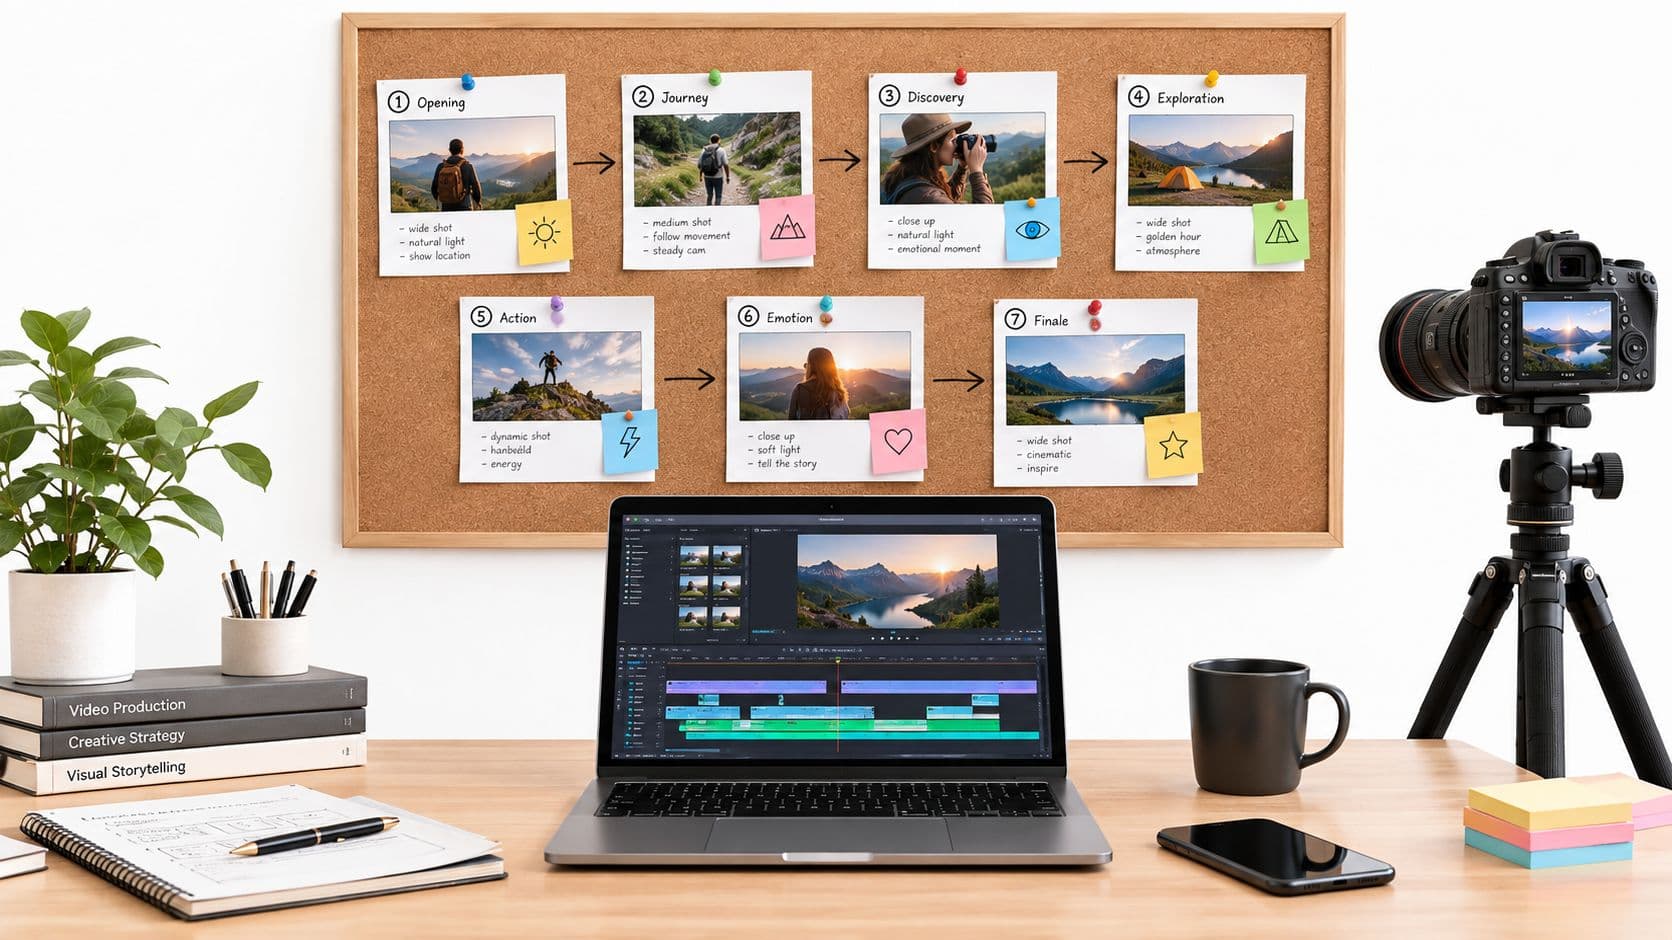
You're standing in Snapchat with a clip that looked fine in the camera roll, then the second you open it in the app, half the frame feels wrong. The subject's off-center, the edges are messy, and you need it to fit a vertical feed fast because the snap has to go out now, not after a full edit session.
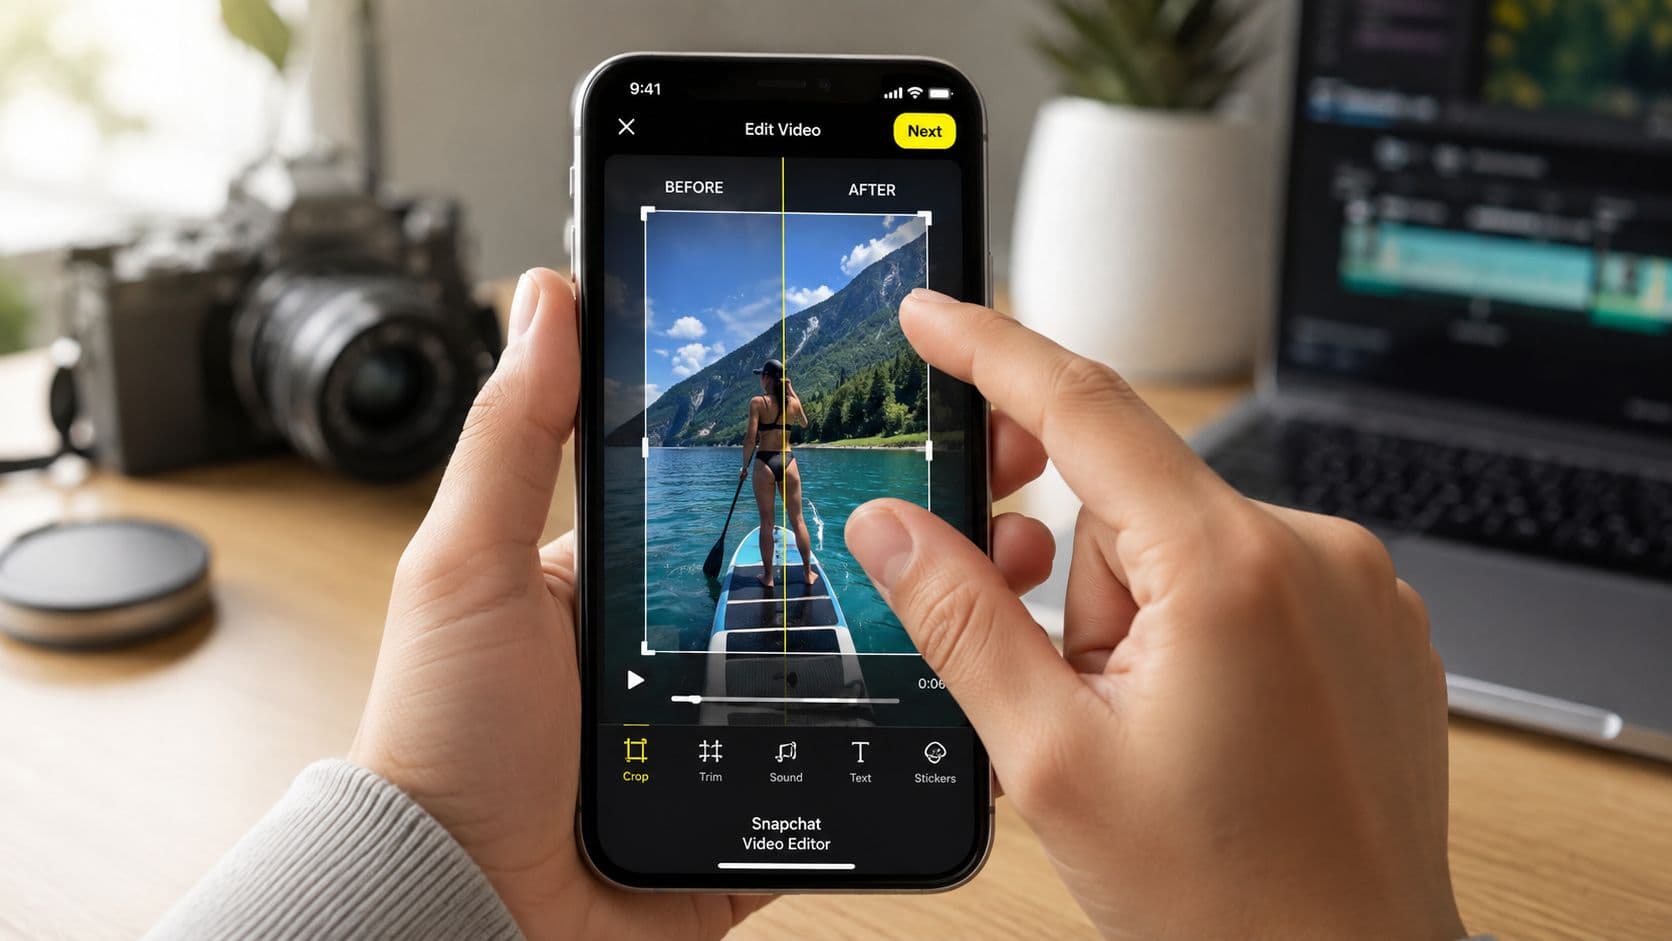
That's exactly why how to crop video on Snapchat still matters. Snapchat built around short, vertical-first posting from the start, and one source notes that the app can shoot 10 seconds of video in a single snap, which helps explain why cropping became a core action rather than a fancy extra. In that same mobile workflow, Snapchat places a Crop tool directly in the right-side toolbar with a blue checkmark to confirm, so the crop is part of publishing, not a separate post-production detour. For creators who post to short-form feeds all day, that changes cropping from a cosmetic tweak into a framing decision that affects where faces, captions, and motion land inside the screen, especially for mobile viewing and the kind of vertical composition discussed in vertical video dimensions.
If you've ever grabbed framing references for short-form delivery, the vertical editing tags at Flexwork Podcast Studios are a useful reminder that the vertical crop is now a production choice, not just an app trick.
Why Cropping Matters in Snapchat's Vertical-First World
A wide clip looks harmless until you drop it into Snapchat and realize the subject is stranded in the middle of a tall frame with dead space on both sides. That's the moment cropping stops being optional. You're not just trimming a border, you're deciding whether the snap reads cleanly in a feed built for upright viewing.
Snapchat's editing habits were shaped by short clips from the beginning, and that history matters because it trained creators to think in tight framing. The app's crop-and-publish behavior became normal long before short-form video spread everywhere else, so a fast reframing pass feels native inside Snapchat instead of bolted on later. That's why the crop tool sits in the main flow rather than hiding behind a desktop-style editor.
Practical rule: crop for the screen you're posting to, not for the screen you recorded on.
That mindset also helps with text placement. If the subject sits too high, a sticker or caption can crowd the face. If the shot sits too low, the bottom UI can swallow the important action.
For creators comparing workflows across tools, the trade-off is simple. Snapchat rewards speed and mobile-native composition. It does not reward indecision. The more you treat the crop as part of framing, the less likely you are to publish a snap that looks awkward the moment it lands.
Recording and Cropping a New Snap in the App
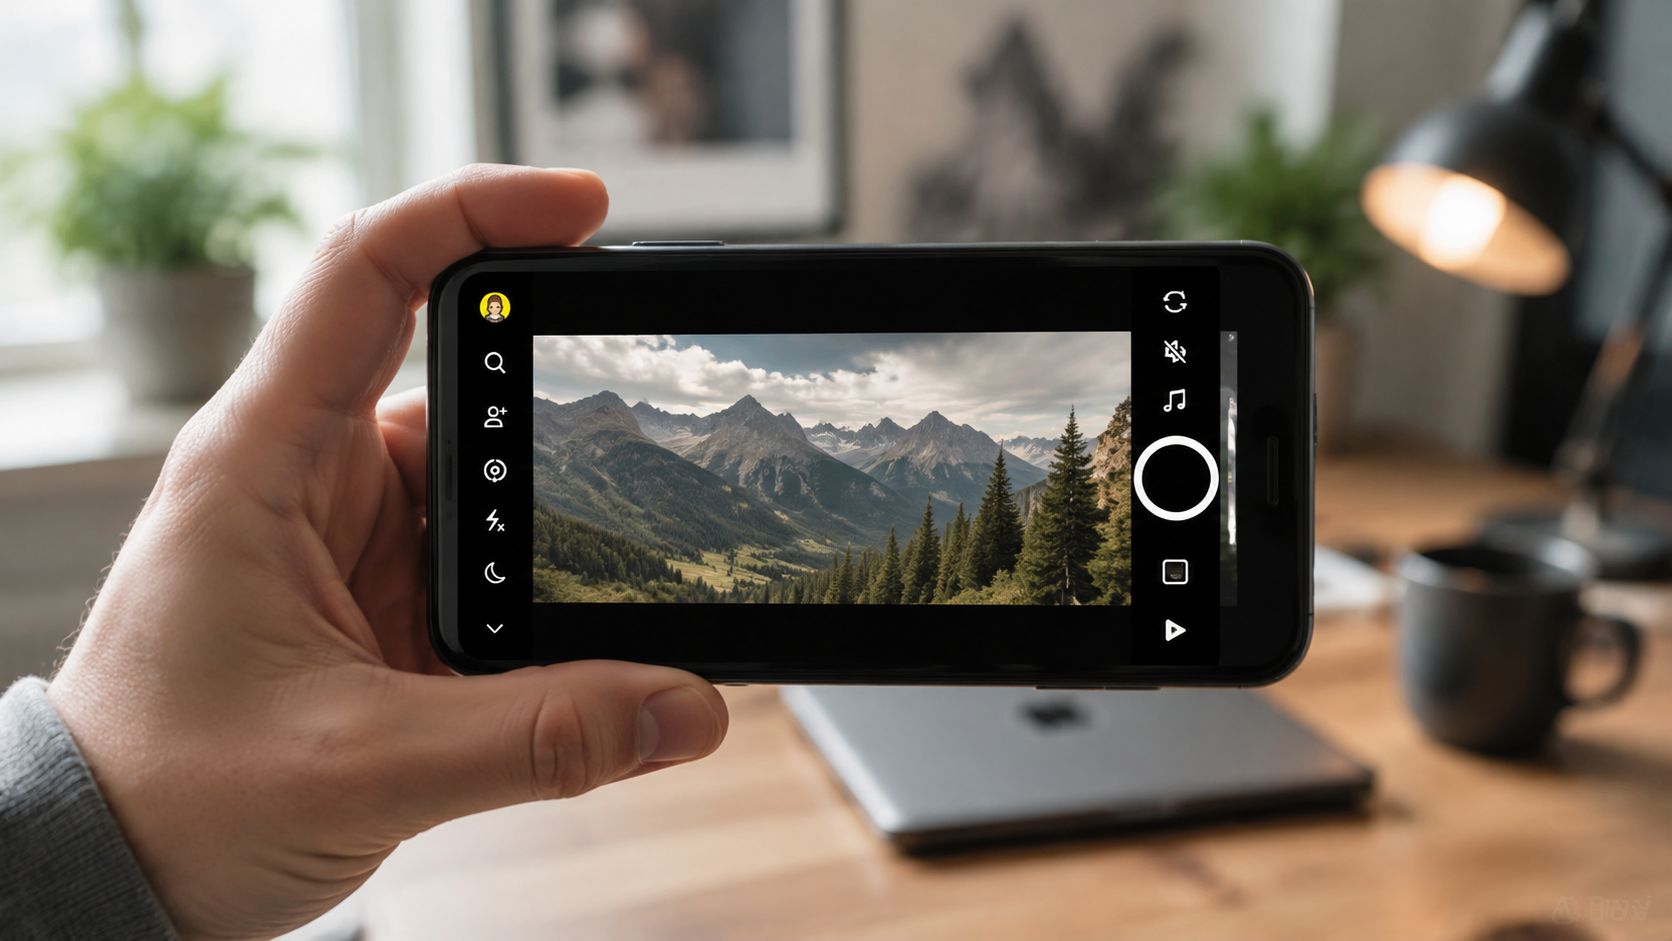
Open Snapchat, go to the camera screen, and hold the record button while you capture the clip. As soon as you let go, the app gives you the familiar editing screen, and that's where the crop decision happens before you share. On iPhone and Android, the labels may feel slightly different, but the gesture logic is the same, you're moving from capture to composition without leaving the app.

On the right-side toolbar, tap Crop. From there, pinch to zoom if you need to tighten the framing, or drag the frame until the subject sits where you want them. If you recorded a room shot or a wide-angle clip, this is usually where you remove the distracting edge detail that steals attention from the main action.
The blue checkmark matters because it confirms the crop inside Snapchat's publishing flow. That little confirmation step is the difference between a quick adjustment and a snap that still opens with the wrong framing. If you're trying to clean up a portrait subject, the same gesture set works just as well, but the crop should feel subtle, not aggressive.

The best results come from staying conservative. Heavy zoom can make the clip feel cramped, especially once Snapchat compresses it for sharing. If the subject already fills the frame, a small crop is usually enough.
Cropping Imported Clips from Camera Roll or Memories
Imported footage behaves a little differently from a fresh snap. Open the saved video from your camera roll or jump into Memories, then choose Edit Snap instead of treating it like a new recording. That's the path that gives you access to Snapchat's crop controls for footage that didn't originate in the app.
Inside that editor, tap Crop and look for the timeline-style controls if the clip is long enough. Snapchat's support docs for Long Snaps say users can “Tap a clip and drag its ends to trim,” which tells you the app now supports more granular editing than a simple one-tap frame adjustment. That matters when you're repurposing footage, because trimming dead space and cropping the frame are related, but not the same job.
If your clip came from camera roll, think of the crop as the final framing pass. If it's from Memories, think of it as the moment where you decide whether the clip is still worth publishing in Snapchat's own format. For longer footage, this is also where imported material starts to feel more like a timeline editor than a quick social upload.
For creators who bounce content between apps, the how to convert iPhone videos to MP4 workflow becomes useful before the snap ever reaches Snapchat. A cleaner source file gives you more room to crop without fighting format issues later.
Aspect Ratios and Safe Areas for Multi-Platform Posting
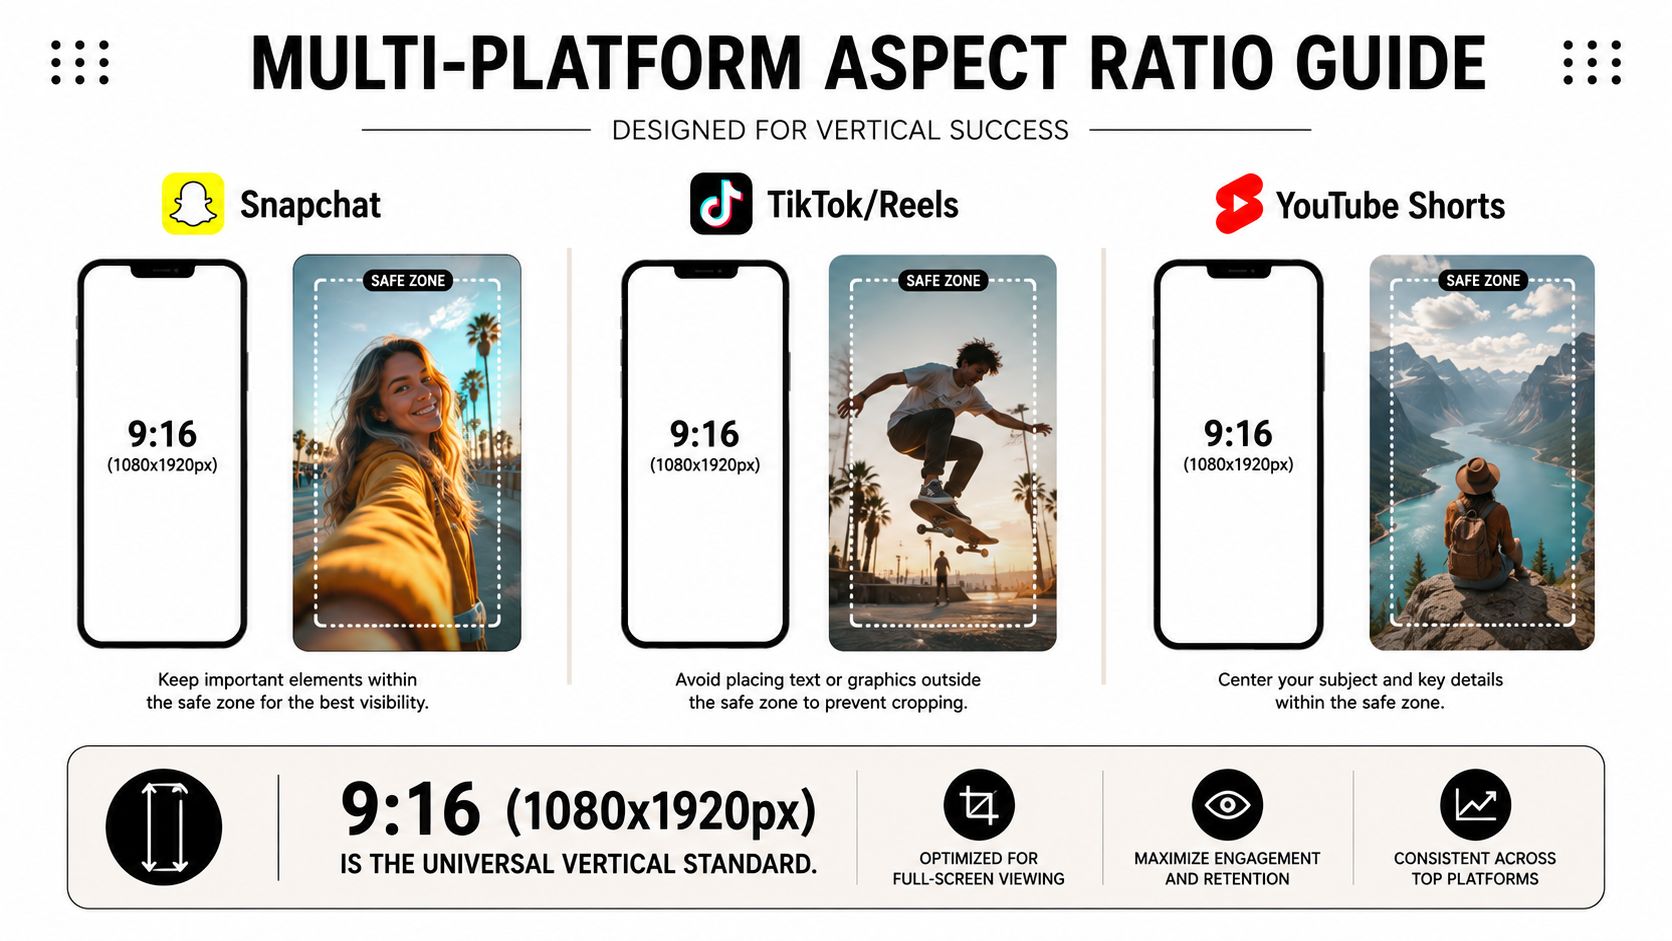
A crop that looks perfect inside Snapchat can still break the second you repost it elsewhere. TikTok, Instagram Reels, and YouTube Shorts all expect the same broad vertical shape, and the common reference point is 9:16. The problem is that the UI on each platform crowds the frame differently, so a subject that looks centered in Snapchat can end up sitting behind a like button, a username stack, or caption text in another app.
What to leave visible
Keep breathing room at the top and bottom of the frame. If the face or product sits too close to the edge, platform controls can swallow it. That's why the safest crop is often a little wider than the one that looks most dramatic in Snapchat itself.
A useful reference point is that 9:16 (1080x1920px) is the universal vertical standard. If you want a technical comparison for how resolution choices shape visibility and playback behavior, the 1080i or 720p comparison gives a helpful frame of reference without changing the fact that your short-form crop still needs to respect safe areas.
What usually goes wrong
Captions are the first casualty. If you place on-screen text too low, Shorts and Reels UI can cover it. If you crop too tightly on the subject's face, a profile icon or action button can visually crowd the shot even when the video technically fits.
The practical move is to preview the crop in the destination app before you publish. Snapchat's crop can be the right first pass, but it isn't the whole delivery strategy for cross-posting. For a wider framing workflow, the video aspect ratio guide is the more durable planning reference.
When to Skip Snapchat's Editor and Crop Elsewhere First
Snapchat's crop tool is fast, but fast isn't always what you want. If you're making faceless shorts, product clips, or anything that needs tighter visual consistency across platforms, a dedicated editor gives you more control before the file reaches Snapchat. That matters because pinching inside the app is good for quick reframing, but it's not the cleanest choice when quality and repeat use are the priority.
Choose the editor based on the job
Use Snapchat when the clip is already close to finished and you just need a mobile-native adjustment. Use a dedicated editor when the footage has to serve more than one platform, because one crop may need to survive different UI layouts, text overlays, and export sizes later. In those cases, starting inside Snapchat can make you fight the frame twice.
The quality trade-off is real. A heavier pinch-zoom can make detail feel softer, especially on footage that already needs careful framing. If the shot includes text, screen recordings, or small objects, cropping earlier in a dedicated tool is usually the safer call because you control the composition before Snapchat re-encodes it for sharing.
If the final destination matters more than the speed of posting, crop before import.
That's also where ClipCreator.ai fits as one option for creators building faceless short-form content at scale, because it can set custom vertical dimensions such as 1080×1920 and reframe imported footage for social formats. For this specific use case, that kind of pre-crop control is often cleaner than trying to force every adjustment inside Snapchat.
Troubleshooting the Most Common Snapchat Crop Issues
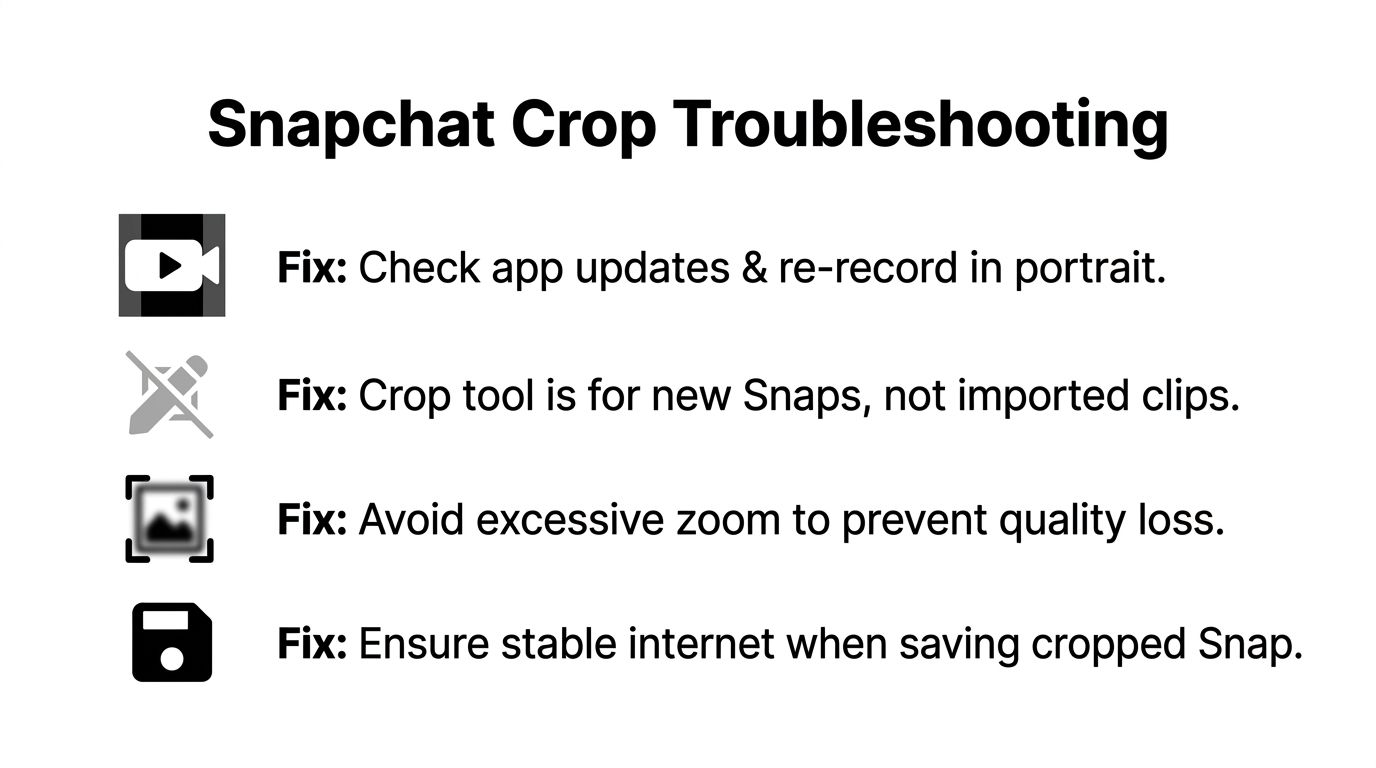
Quick fixes
- Black bars after crop: The video is still sitting in the wrong frame size. Re-record in portrait if the source clip is in a horizontal format, then crop again inside Snapchat.
- Crop tool greyed out: You're probably in the wrong workflow. The crop tool is meant for new Snaps or supported edit flows, not every imported clip.
- Blurry or pixelated frame: The crop is too tight. Back off the zoom a little, because excessive reframing is usually what makes quality fall apart.
- Blue checkmark won't appear: The app hasn't accepted the crop yet. Re-open the editor, confirm the frame is active, then tap the checkmark or save control again.
- Audio feels off after trimming: The clip may need a stable save process before posting. Save first, then re-open if the timing still feels wrong.
The fastest way to solve most crop problems is to stop over-editing. If the frame only needs a small adjustment, keep it small. The more you push the crop, the more likely you are to expose compression issues or awkward positioning that didn't show up in the preview.
Building a Repeatable Crop-and-Publish Workflow
A good crop workflow starts before you open Snapchat. Decide where the video will live first, then choose the framing that fits that platform instead of forcing one version to do everything. For quick snaps, Snapchat's editor is enough. For quality-critical or cross-platform work, crop in a dedicated editor first, then bring the clip into Snapchat only if it still needs a final mobile-native adjustment.
Use a simple decision chain
Start with the destination. If the video is going only to Snapchat, use the in-app crop and post it. If the same clip also needs TikTok, Reels, or Shorts, preview the safe areas before you publish. If the content is faceless, repetitive, or part of a larger content pipeline, automate the parts that don't need your attention every time.
That's where a tool like ClipCreator.ai can sit alongside manual editing. It's built to automate short video creation and publishing, and it can also schedule and auto-post to social accounts, which makes the crop decision part of a repeatable system instead of a one-off fix.
The key habit is simple. Crop once with the destination in mind, don't over-zoom, and check the frame where the audience will watch it. When you do that consistently, Snapchat stops being a place where you rescue bad framing and starts being one stop in a cleaner publishing workflow.
If you want to turn that workflow into something more repeatable, try ClipCreator.ai for automated short-video creation and publishing. It handles vertical short-form output, reframing, subtitles, and scheduling, which makes it a practical fit when you need content that can move from Snapchat-style framing to TikTok, Reels, or Shorts without rebuilding every clip by hand.

Create your first video in under 2 minutes
Pick a niche, and ClipCreator.ai generates and auto-posts faceless videos to your channels every day.
Join ClipCreator.ai