You’ve got a clip that should be ready to post, but one detail ruins it. The shirt logo reads backward. The selfie camera mirrored your face in a way that makes gestures feel off. Or you shot vertically, then realized the final destination is a horizontal layout that looks cramped unless you rework the frame.
That’s the moment most creators search for how to flip videos. The technical part is easy. The part that matters is choosing the right kind of flip, then fixing everything the flip breaks afterward.
A clean flip can rescue a take, improve composition, and even make a short feel more natural on the platform where it’s going live. A careless flip can make text unreadable, subtitles unusable, and framing feel strangely wrong. That’s why the best workflow isn’t just “tap mirror and export.” It’s flip, inspect, and polish.
What It Means to Flip a Video
Start with this practical rule, because it prevents the mistake that wastes the most time in editing.
Practical rule: If words on screen are backward, use a horizontal flip. If the whole shot is sideways, rotate it. If the ceiling is where the floor should be, use a vertical flip or a 180-degree rotation depending on the tool.
Those three actions get grouped together in a lot of apps, but they do different jobs.
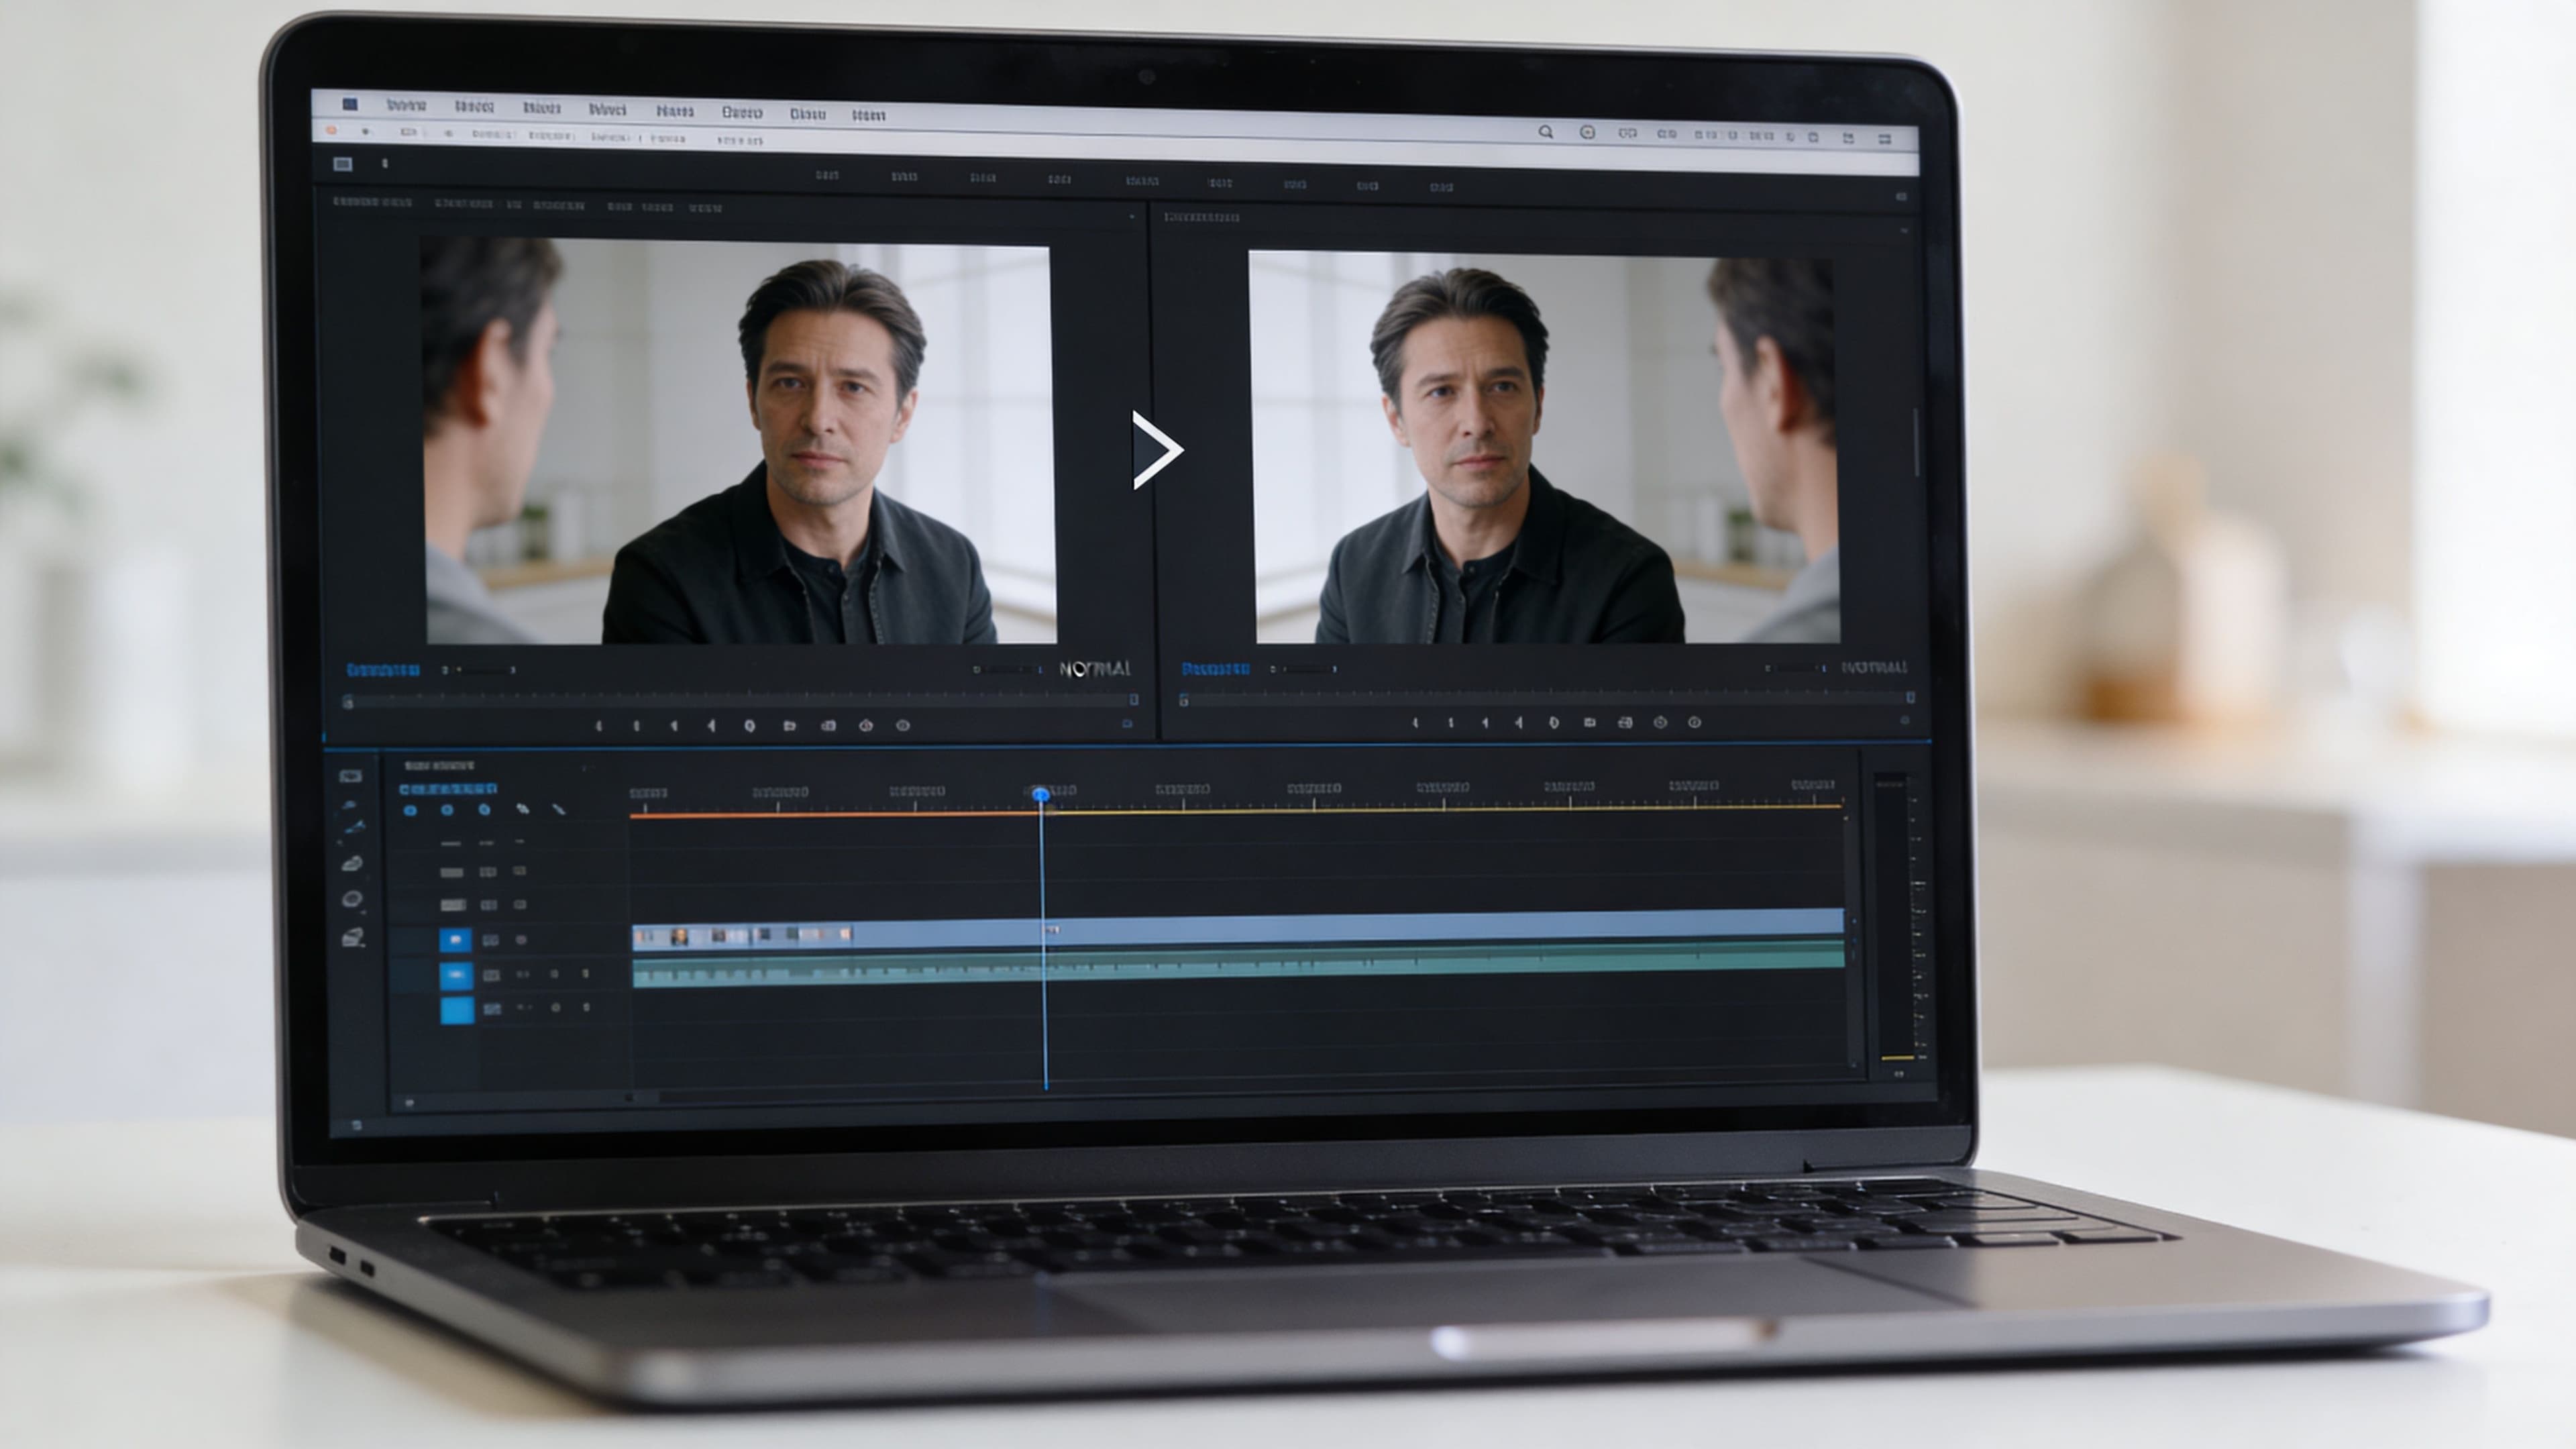
A horizontal flip mirrors the frame left to right. This is the fix for reversed logos, mirrored selfie footage, and shots where a person’s eyeline works better from the opposite side. If the clip looks like a mirror reflection, this is the setting you want.
A vertical flip mirrors the frame top to bottom. Editors use it less often for everyday cleanup, but it shows up in stylized edits, reflection effects, and the occasional correction when footage is inverted.
A rotation changes orientation instead of mirroring the image. Rotate when the camera was held the wrong way or the clip imported sideways. If you flip when you meant to rotate, you do not correct the shot. You just create a different problem.
That distinction matters because the wrong fix often looks acceptable for a second, then falls apart on review. Text stays unreadable. Handedness changes. On-screen layouts feel off. Captions and stickers can also end up on the wrong side of the frame, which is why a proper flip is only the first step, not the last one.
Flipping has been a standard editing control for years, so this is routine work, not a last-ditch rescue. The key skill is choosing the right transformation first, then checking everything the change affects before you export.
The Strategic Reasons to Flip a Video
A creator records a solid talking-head clip, adds captions, then notices the shirt logo is backward and the speaker is now facing away from the headline text. That is usually the moment flipping stops feeling like a minor edit and starts looking like a publishing decision.
Correcting what the camera got wrong
The most common reason to flip is simple. The shot is technically usable, but visually wrong for the final post.
Selfie footage causes this constantly. Front-facing cameras and in-app previews can leave creators with mirrored text, awkward eyelines, or product shots that no longer match reality. A horizontal flip fixes the frame fast, but the primary benefit is downstream. The clip becomes readable, credible, and easier to place inside a layout without fighting the rest of the edit.
This shows up in teaching videos, product explainers, fitness demos, and reaction content. Any format that includes text on clothing, hand gestures, interface references, or a presenter pointing to on-screen elements can break if the left-right logic is off.
Shaping the shot for storytelling
Flipping also changes how a shot reads.
If a speaker faces away from the title card, CTA, or next visual beat, the frame can feel subtly wrong even when viewers cannot explain why. Flip the clip, and the eyeline starts guiding attention where it should go. Same performance, better read.
Editors use that on purpose for a few different jobs:
- Balancing composition when the subject is crowding one side and the mirrored version gives text or graphics cleaner space
- Fixing mirrored details when signs, labels, packaging, or wardrobe text need to appear correctly
- Smoothing continuity when screen direction clashes between adjacent shots and a flip makes the sequence cut more naturally
- Creating tension or stylization when a reflection effect or slightly off feeling supports the concept
A flip does not improve image quality. It improves visual logic.
Making one piece of content work across platforms
Creators regularly adapt the same idea for TikTok, Reels, Shorts, and mobile-first landing pages. The footage may be identical, but the usable version is often different once captions, UI overlays, and safe areas enter the frame.
A mirrored version can open better space for subtitles, product labels, or platform chrome. In practice, that matters as much as the flip itself. If the subject suddenly occupies the same side as auto-captions or a profile badge, the edit feels cramped and the message gets harder to follow. That is also why it helps to review the frame together with your video dimensions and aspect ratio setup, not as a separate cleanup step after export.
Short-form teams do this all the time in repurposing workflows. One version keeps the original orientation. Another gets flipped because the layout reads better on a vertical canvas with burned-in captions and a pinned product callout.
When flipping hurts more than it helps
Some clips should not be mirrored.
Do not flip footage with logos, maps, interface walkthroughs, scoreboards, directional gestures, or any instruction where left and right carry meaning. A tutorial creator pointing to a menu on the right side of the screen can end up pointing at empty space after a flip. The clip may look cleaner, but the instruction is now wrong.
That is the trade-off experienced editors check first. A flip can save framing and improve attention flow, but it can also break trust if the content depends on real-world orientation. The smart move is to judge the shot by function, not just appearance.
Instant Flips on Mobile and Social Platforms
When you need a quick fix, your phone is usually enough. For many creators, the best answer to how to flip videos is the one that gets the clip corrected and posted in under a minute.
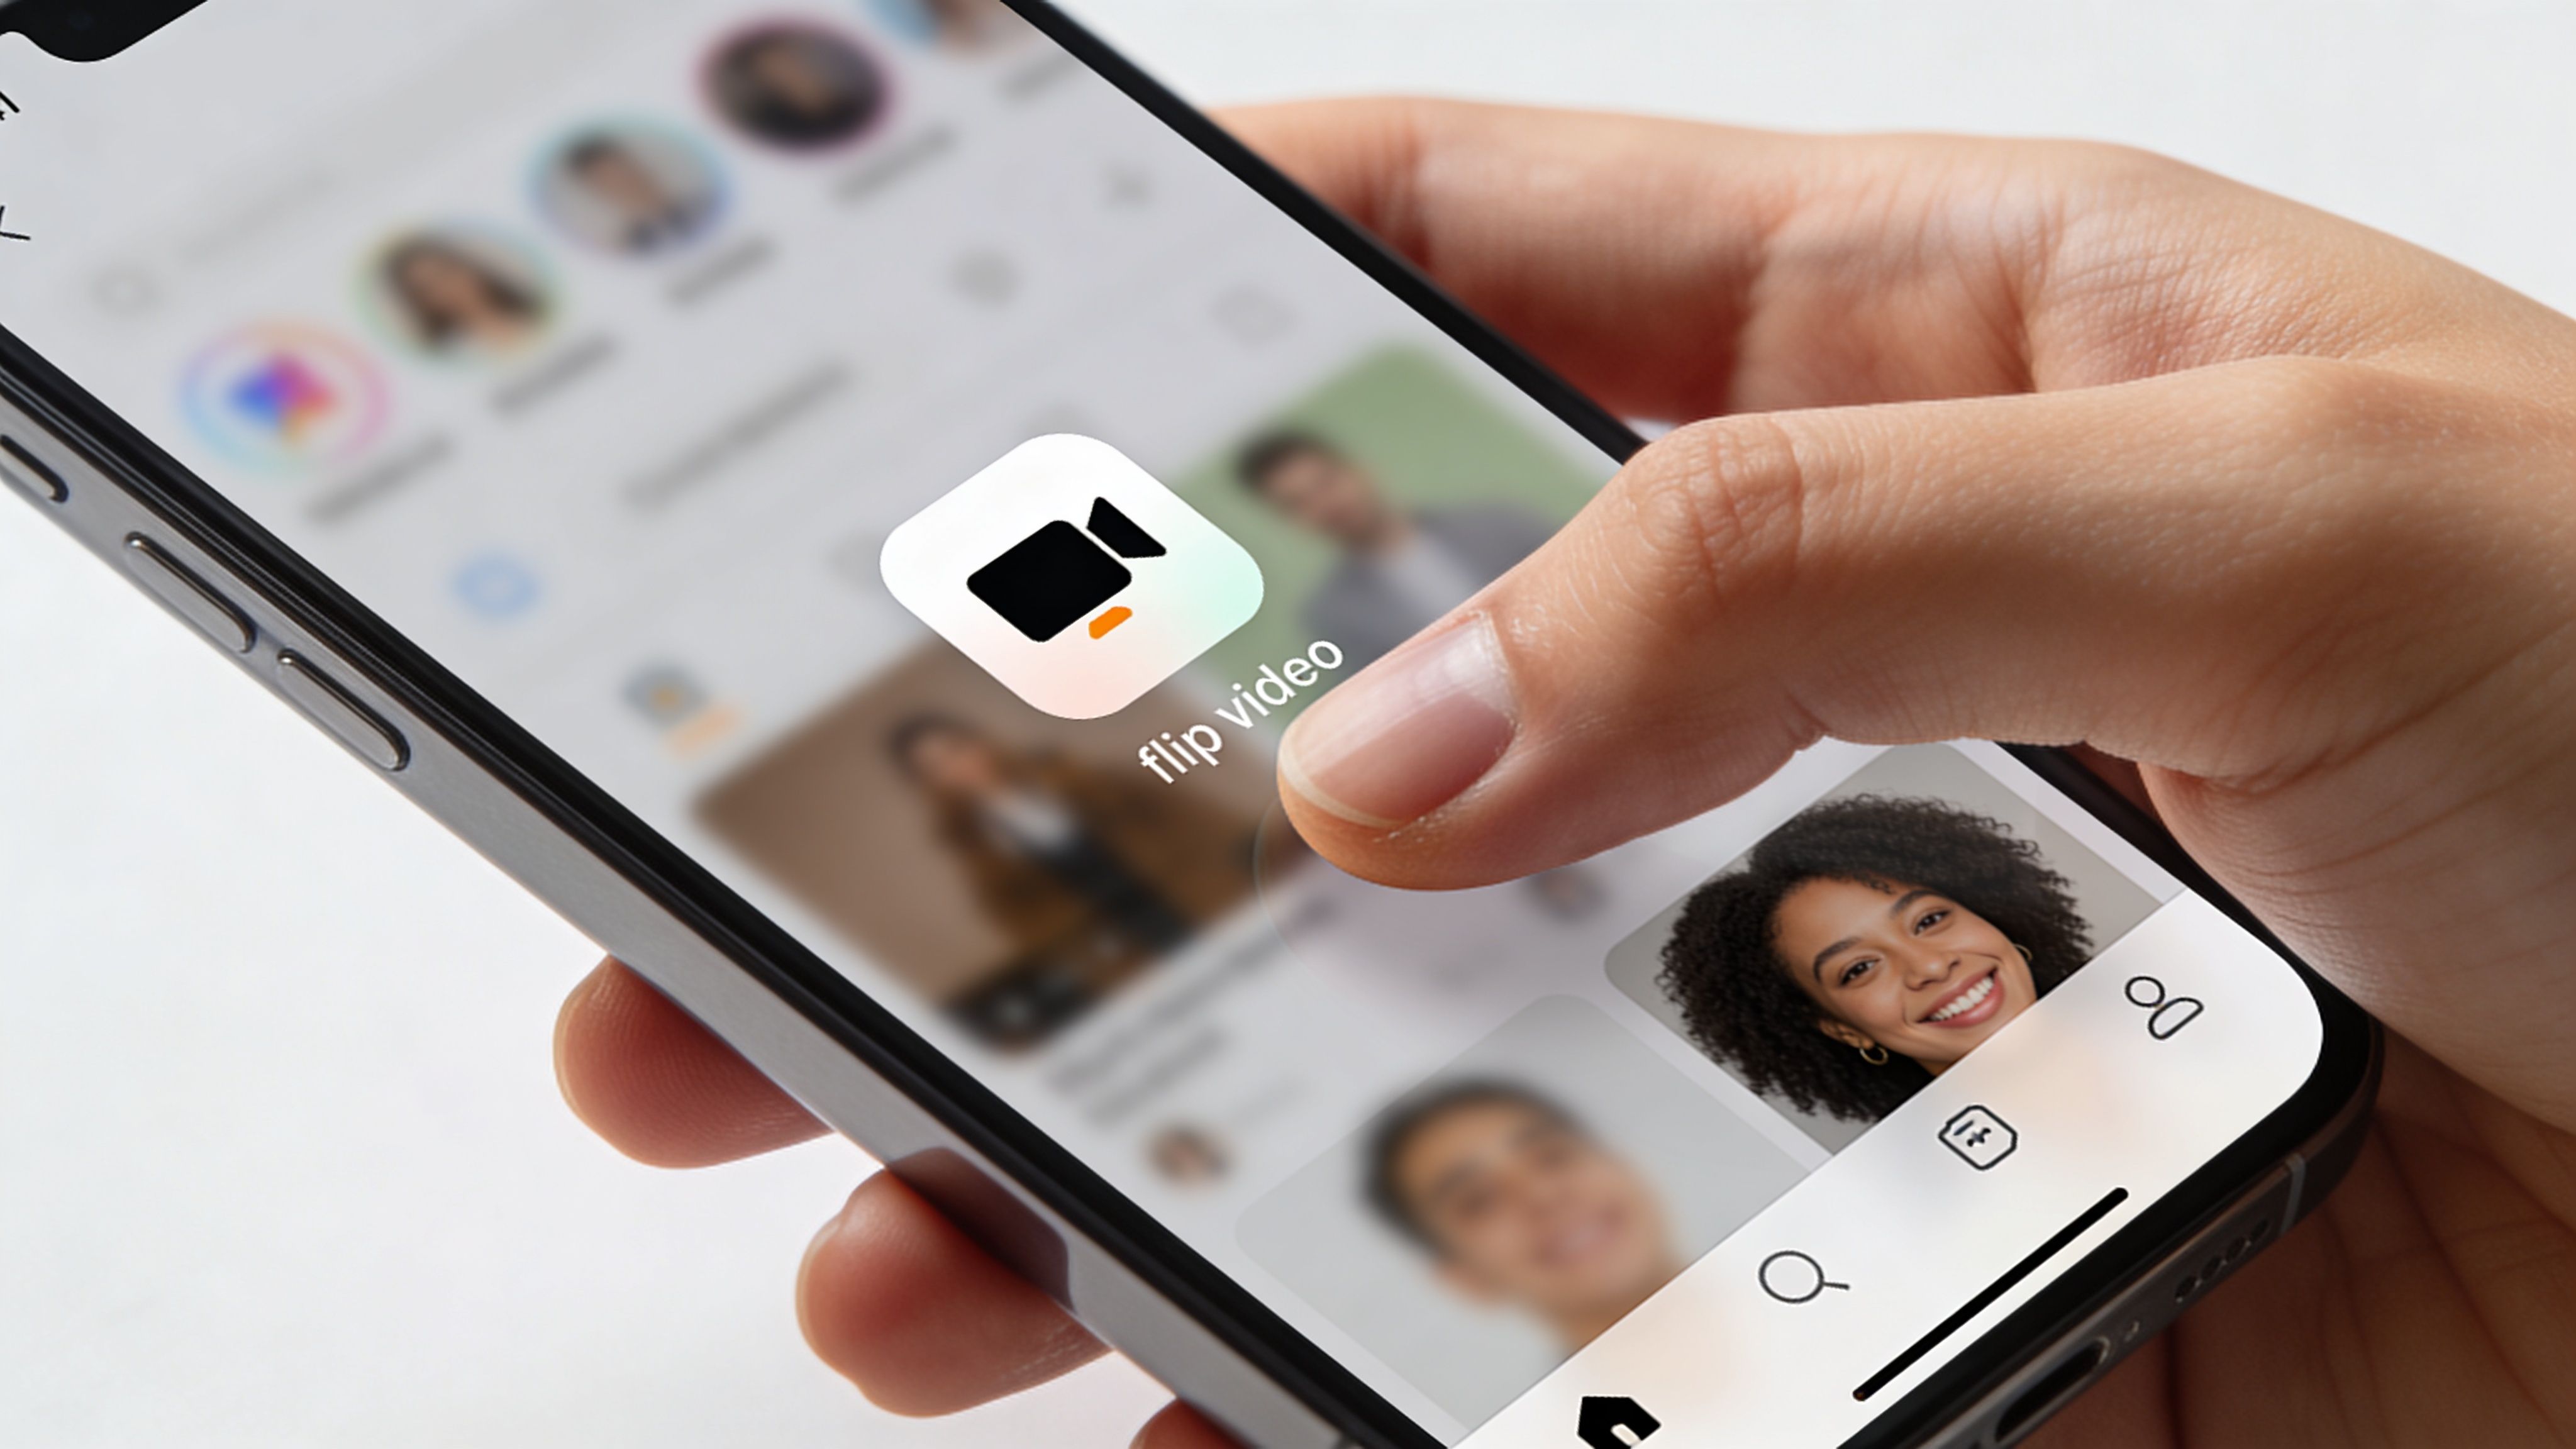
Use your phone’s default editor first
Built-in editors are fast because they don’t force you into a full project timeline.
On iPhone, open the clip in Photos, tap Edit, then check the crop and rotate controls. iOS usually makes rotation simple, but true mirroring options for video can vary by version and workflow, so if you only need to fix sideways footage, start there. If you need a mirror effect and don’t see one, move to the app editor or a lightweight mobile editing app.
On Android, open the video in Google Photos or your phone maker’s gallery app. Many Android gallery editors include rotate controls directly, and some manufacturer skins also add mirror options. If mirroring isn’t present, export to a social editor or a mobile editor that supports horizontal and vertical flip.
This is often the fastest path when the problem is orientation, not style.
TikTok for last-minute posting fixes
TikTok is useful when the clip is already headed there and you only need to correct presentation inside the posting flow.
A practical workflow looks like this:
- Upload the clip into TikTok’s editor.
- Check the adjustment tools available for your account and app version.
- Apply rotate or mirror if available, then scrub the full clip.
- Inspect text and face framing before adding captions or stickers.
- Export or post only after checking the preview on a phone-sized screen.
TikTok’s editing interface changes often, so don’t memorize a single button path and assume it will stay put. Look for edit, adjust, crop, rotate, or mirror controls after import.
If the platform editor doesn’t offer the exact flip you need, do the correction before upload. That usually gives you better control over framing anyway.
Instagram Reels and Stories
Instagram is similar. Reels and Stories tools are fine for quick orientation tweaks, but they’re less reliable for deliberate post-production. If the clip contains text overlays, lower thirds, or tight framing, I wouldn’t do the first and only flip inside Instagram.
Use Instagram’s editor when:
- The clip is simple and mostly face-to-camera
- No embedded text matters inside the frame
- You need speed more than precision
Skip it when the shot needs careful reframing after the flip.
If orientation is your bigger issue, this guide on how to change video dimensions is useful because aspect ratio and flip decisions often need to happen together.
A quick visual walkthrough helps if you want to compare mobile editor behavior before touching your own files:

What works and what doesn’t on mobile
Mobile tools work best when the fix is obvious and isolated. They struggle when one correction triggers three more.
What usually works
- Selfie corrections for mirrored text or awkward handedness
- Simple rotations for clips shot sideways
- Fast social reposts where precision isn’t critical
What usually fails
- Complex framing fixes after a mirror changes balance
- Burned-in subtitle repairs
- Multi-clip edits where one flipped shot has to match several others
If you find yourself pinching, re-cropping, re-positioning text, and second-guessing every shot, stop. Move to desktop. You’ll finish faster.
Flipping with Free and Accessible Desktop Editors
A clip can look fine on a phone, then fall apart the moment it needs to live anywhere else. The mirror is wrong. The speaker is pushed to the edge after the flip. Burned-in subtitles now sit in the worst possible spot. Desktop editors give you enough control to fix the flip and the problems it creates.
Why desktop becomes necessary
A free desktop editor is the right move once the clip needs inspection, not just correction. You can scrub frame by frame, compare before and after, and catch the details mobile apps hide. That matters when a horizontal flip fixes a selfie shot but also reverses on-screen text, throws off composition, or exposes empty space near the frame edge.
I usually move to desktop for one reason. Flipping is rarely the last step. It tends to trigger a second round of decisions about crop, title placement, and subtitle readability. If you are already stitching several clips together, handle that in the same project so the flip does not create a mismatch later. A quick guide to joining MP4 clips into one video helps if your flipped shot is part of a larger edit.
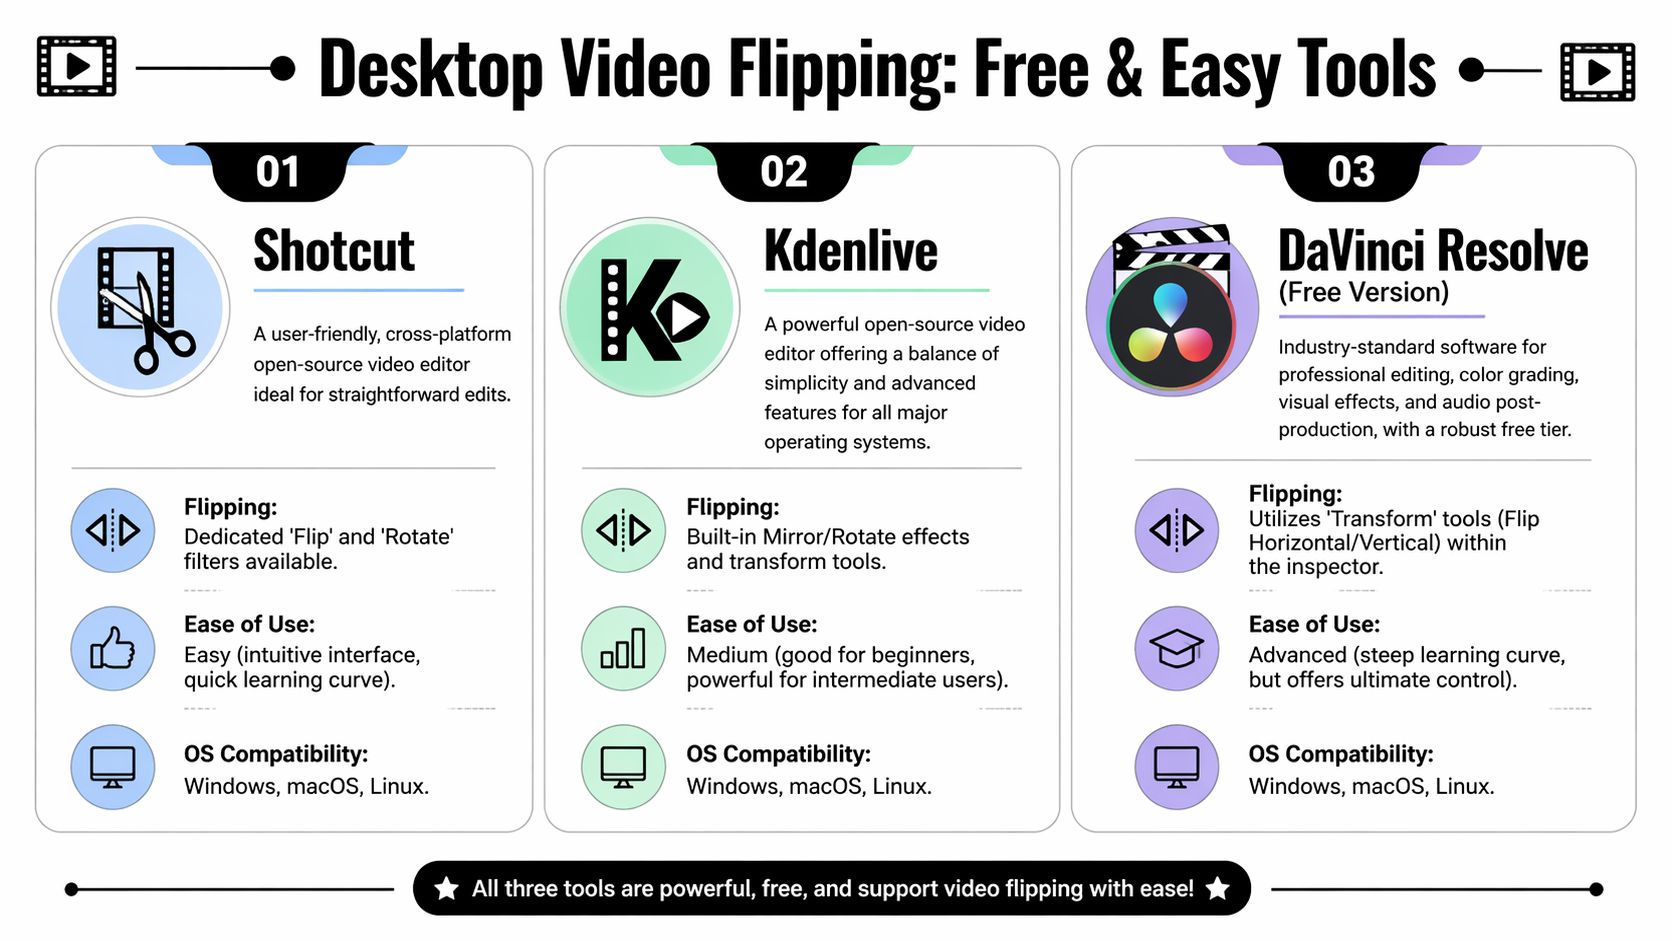
Three solid free choices
These are the free tools I’d point creators to first:
| Tool | Best for | Flip workflow | Main trade-off |
|---|---|---|---|
| Shotcut | Fast utility edits | Add mirror or rotate filters, preview, then export | Functional interface, but not especially polished |
| Kdenlive | Creators who want more control without paying | Stack transform, rotate, and mirror effects | Takes longer to learn than Shotcut |
| DaVinci Resolve Free | Larger edits where the flip is one part of finishing | Use inspector controls and timeline tools | Heavy install if all you need is one correction |
Shotcut is the quickest recommendation for simple fixes. It opens fast, the flip tools are easy to find, and it does not ask you to learn a full post-production workflow first.
Kdenlive gives you more room to adjust the shot after the flip. That is useful when the subject needs to be nudged back into balance or when one mirrored clip has to match several normal ones.
DaVinci Resolve Free makes sense when the project already includes color correction, audio cleanup, or multiple edited shots. If the only task is to mirror a single file, Resolve can feel bigger than the job.
CapCut Desktop and iMovie
CapCut Desktop is a practical option for creators who already edit for short-form platforms. The transform controls are easy to reach, and quick mirror fixes are fast to preview. It is strong for social content where speed matters, but I would still check every text layer and caption after the flip because fast exports can hide small layout problems.
iMovie works for straightforward orientation fixes on Mac. It is fine for a single clip with clean framing. It becomes limiting once you need precise repositioning, replacement subtitles, or multiple flipped shots that have to look consistent.
One simple rule helps here. Choose the editor based on the correction after the flip, not the flip itself.
Online flippers
Browser-based flippers are convenient for throwaway tasks. They are less reliable for real editing work. Upload time, file size limits, privacy concerns, and extra compression can turn a 30-second fix into a longer cleanup job.
They fit a narrow use case:
- Small files
- One-time mirror or rotation corrections
- Footage with no client sensitivity and no quality concerns
They are a poor fit for:
- Long recordings
- Paid client work
- Footage that needs reframing, subtitle repair, or careful export settings
Creators working with aerial footage should be even more careful. Large source files and detail-heavy images expose compression problems quickly, so a desktop workflow is usually safer than a browser tool. If that is your niche, this roundup of drone video editing software is a useful companion.
Free desktop editors often sit in the sweet spot. They cost nothing, give you a real preview, and leave enough control to fix what the flip breaks.
Professional Flipping Techniques in Premiere Pro and FFmpeg
Professional work needs repeatability. That’s where Premiere Pro and FFmpeg stand out. One gives you visual control in a timeline. The other gives you exact, scriptable commands.
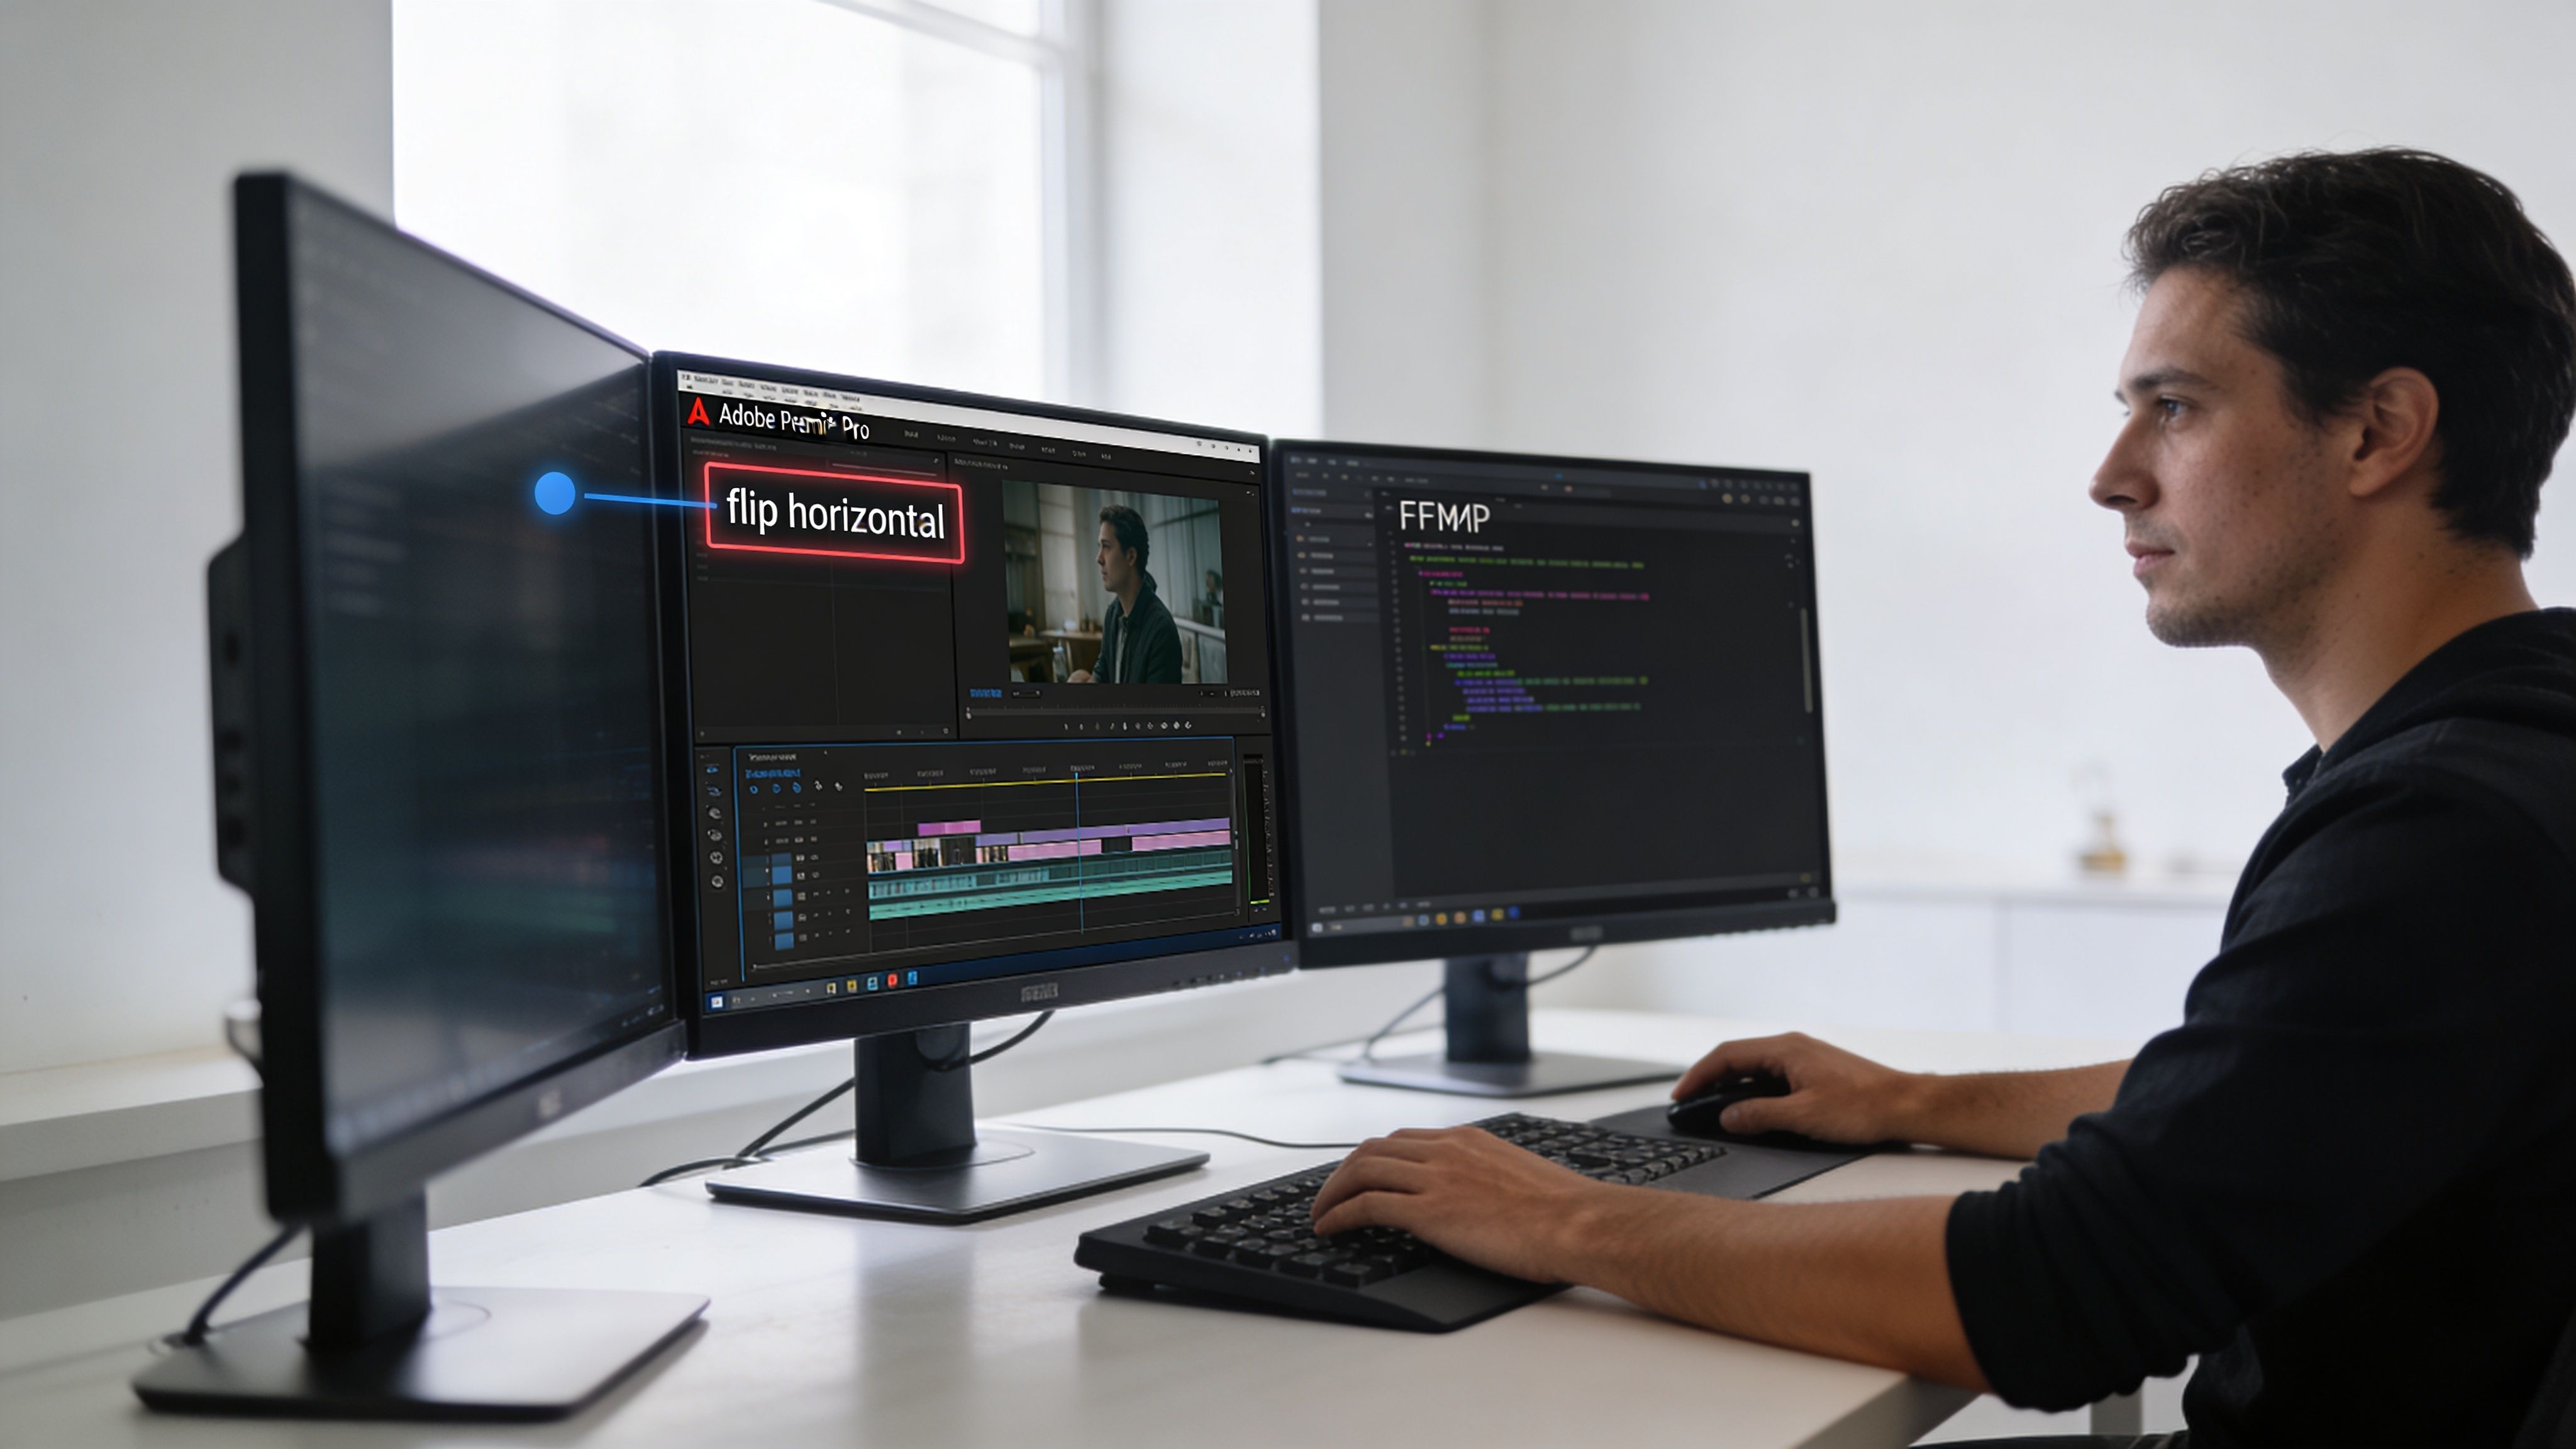
Premiere Pro for timeline precision
In Premiere Pro, the usual method is simple. Drop the clip into a sequence, open the Effects panel, search for Horizontal Flip or Vertical Flip, and drag the effect onto the clip. If you need more control, use Motion settings and keyframes to animate related position or scale changes after the flip.
Premiere is strong because flipping is only one part of the correction. Once the shot is mirrored, you can immediately adjust:
- Position if the subject ends up too close to the edge
- Scale if the crop feels cramped after reframing
- Graphics alignment if titles or callouts now fight the composition
- Masks if only part of the frame needs treatment
That last point matters. Sometimes you don’t want to flip the whole image. You want to isolate a screen, a reflection, or a design element. Premiere handles that far better than mobile tools.
If your project also includes multiple source files that need to become one deliverable before or after flipping, this walkthrough on how to join MP4 files together pairs well with a Premiere-based workflow.
FFmpeg for exact commands
FFmpeg is the best option when you want speed, automation, or batch processing. It doesn’t care about pretty buttons. It cares about doing the job exactly.
Use these core commands:
Horizontal flip
ffmpeg -i input.mp4 -vf "hflip" -c:a copy output.mp4Vertical flip
ffmpeg -i input.mp4 -vf "vflip" -c:a copy output.mp4Rotate 90 degrees
ffmpeg -i input.mp4 -vf "transpose=1" -c:a copy output.mp4Rotate the opposite direction
ffmpeg -i input.mp4 -vf "transpose=2" -c:a copy output.mp4These commands are ideal for repetitive jobs, folder-based workflows, and script-driven production. If you manage lots of content variations, FFmpeg saves more time than any manual editor.
Where advanced interpolation fits
Most flipping jobs don’t require interpolation. A standard mirror or rotation is enough. Advanced methods matter when you’re combining transformations with motion-heavy synthetic processing, frame generation, or restoration.
Research on advanced flipping-related workflows in Video Frame Interpolation describes a two-step process based on motion estimation and pixel-level warping. It also notes that expert methods using optical flow networks such as RAFT can produce PSNR gains of 1.2 to 2.5 dB over baselines on the Vimeo-90K dataset, as described in the arXiv survey on VFI methods. For most creators, the practical takeaway is simple. Fast motion and transformed footage can introduce visual artifacts, so inspect edges, hands, and moving objects before export.
If a flipped clip looks subtly wrong during motion, the problem usually isn’t the flip itself. It’s the crop, the scaling, or the extra processing layered on top of it.
Creators working with aerial footage run into this often because horizon lines, directional movement, and stabilization make orientation decisions more sensitive. If that’s your niche, this guide to drone video editing software is a useful companion.
Post-Flip Polish Framing and Subtitle Integrity
A video isn’t finished when the flip is done. It’s finished when nothing in the frame exposes that flip as a shortcut.
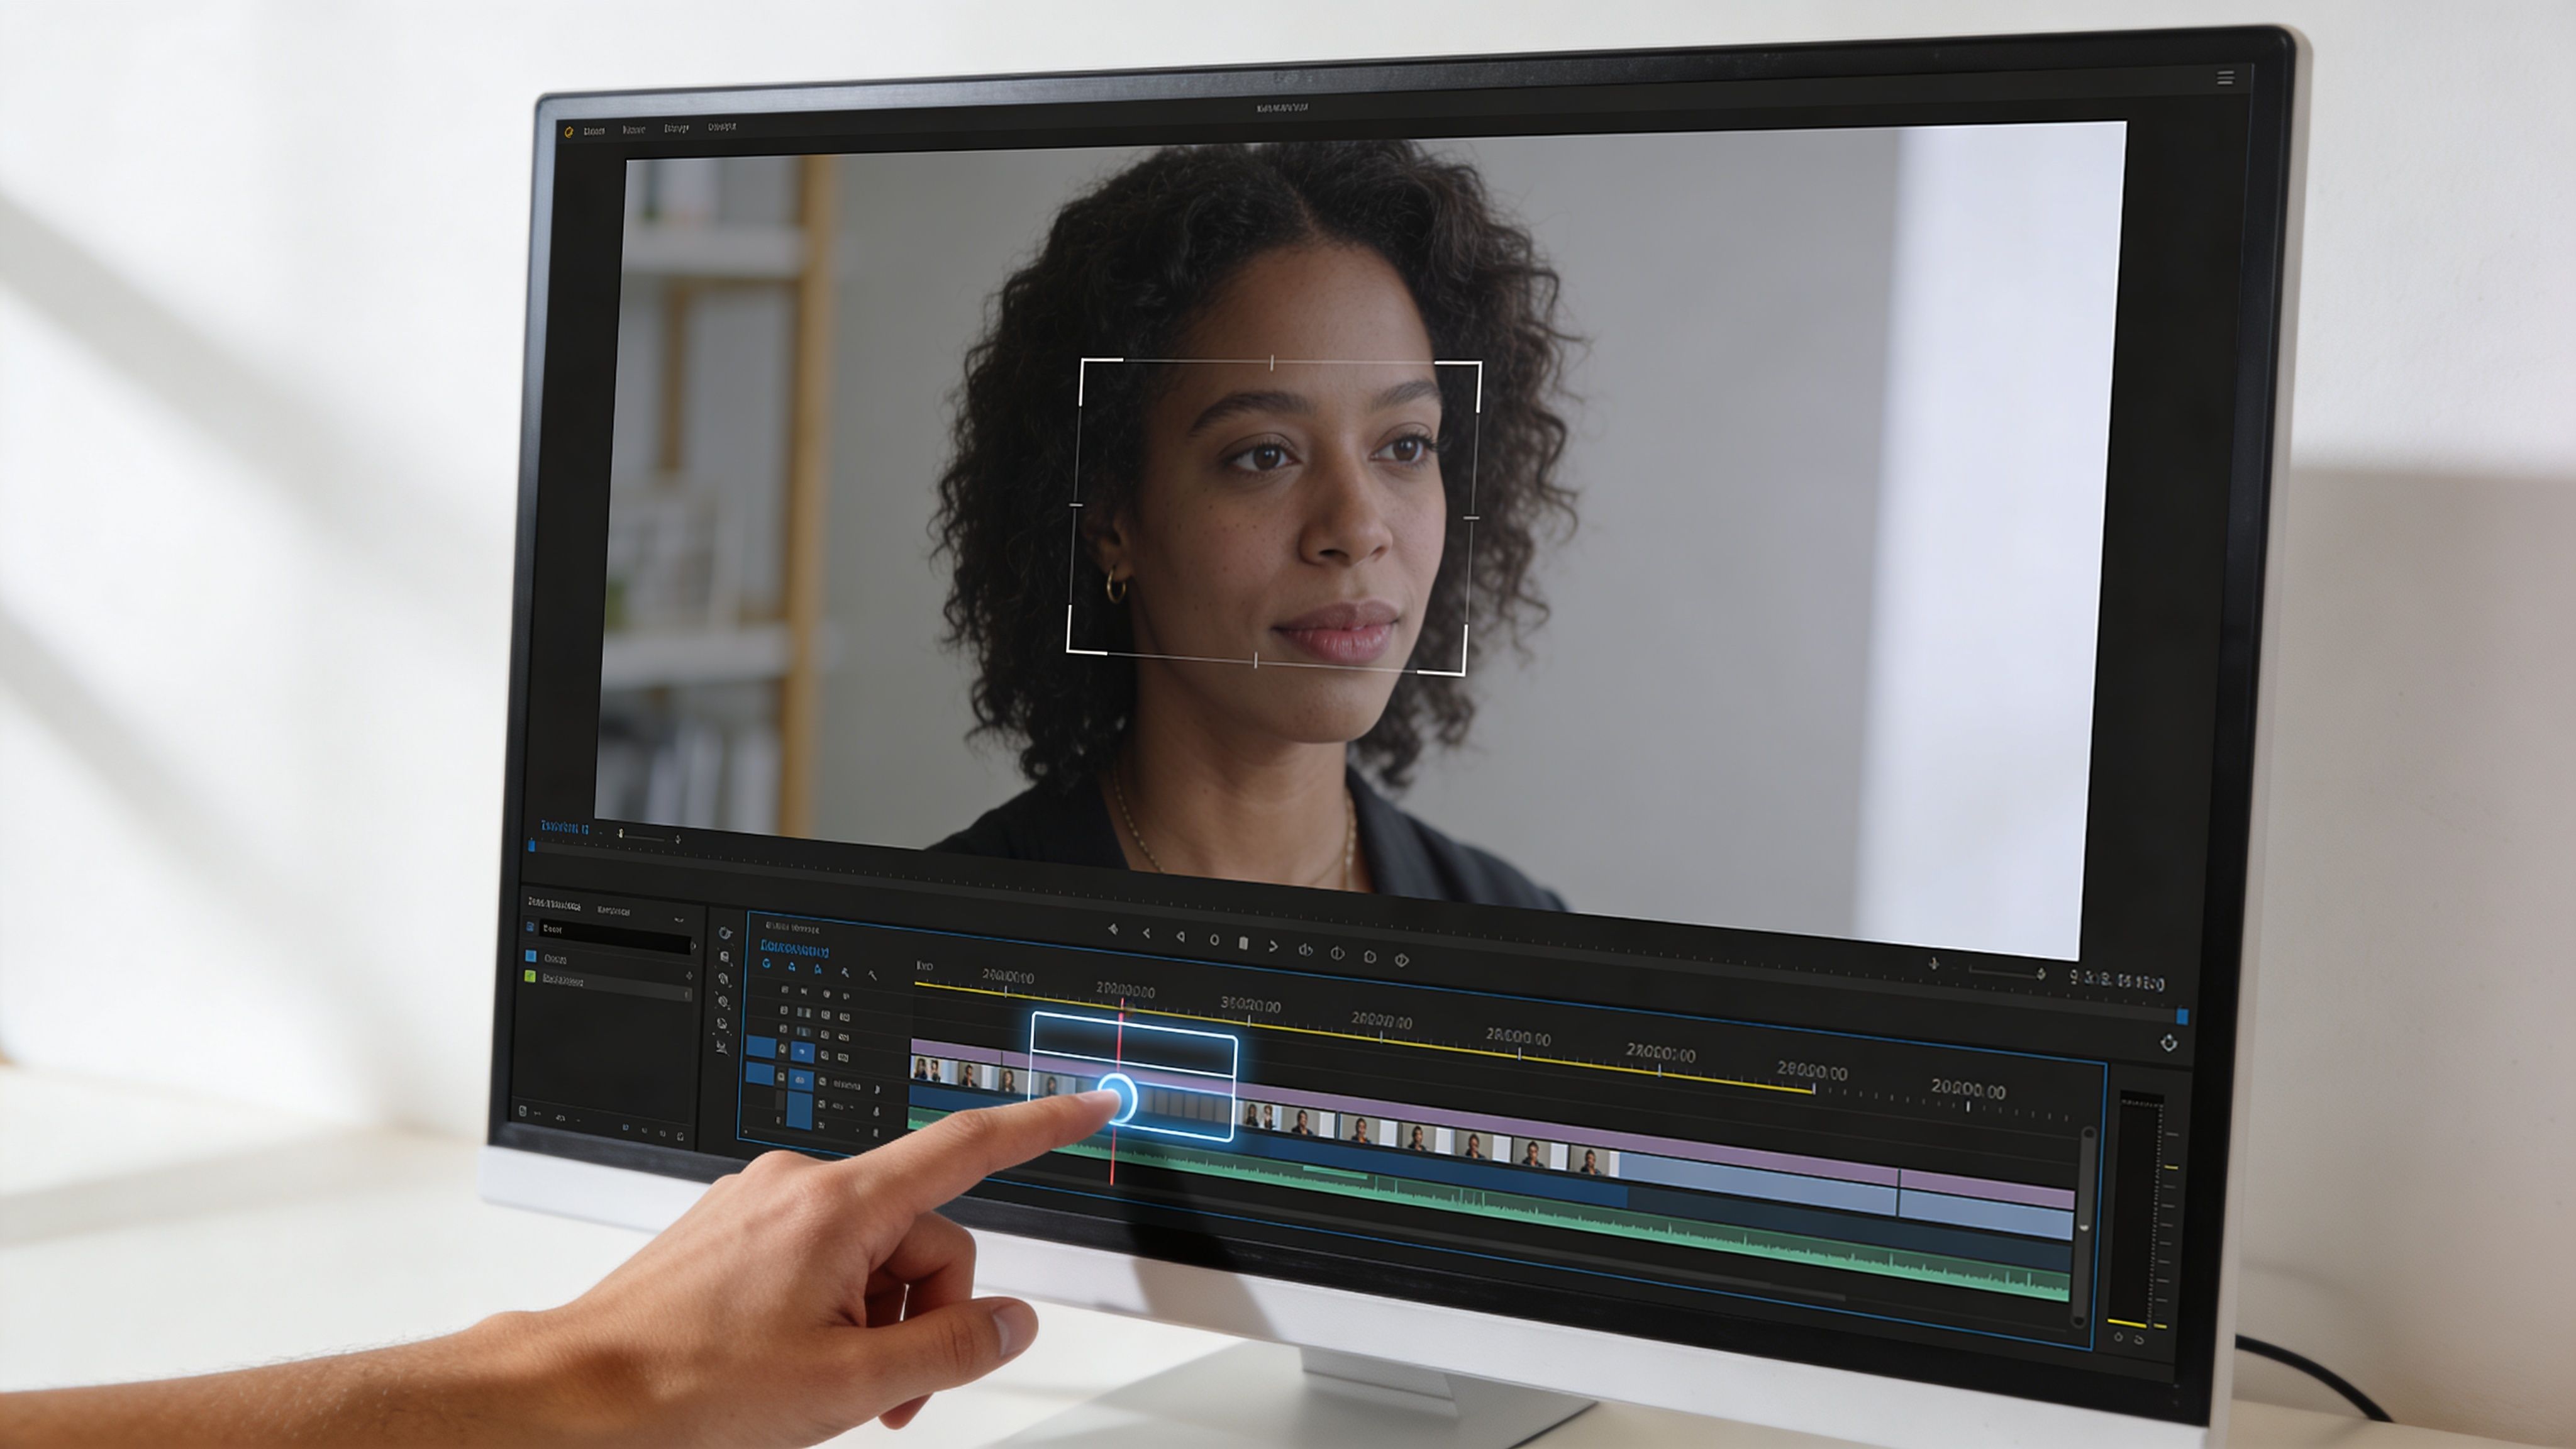
Check the frame like an editor, not like the person who shot it
The fastest way to miss a post-flip problem is to watch the clip only once and focus on the subject’s face. You need to scan the entire frame.
Use this checklist:
- Look for reversed text on clothing, signs, product labels, or UI screens
- Check logos and brand marks because even small mirrored details look amateurish
- Study the eyeline to see whether the subject now appears to look away from the point of interest
- Reassess balance because a shot that felt centered before the flip can feel heavy on one side after it
A mirrored frame can also break visual habits tied to reading direction. Even if the shot is technically fine, it can feel less natural if motion now pushes against the rhythm of your sequence.
Reframe after the flip
A lot of creators stop too early. They flip the image and export without moving anything else.
That’s a mistake because the subject’s position inside the frame matters as much as orientation. If the speaker was comfortably offset before, the mirrored version may put them under a caption block, too close to the edge, or in conflict with platform UI.
Reframing usually means adjusting scale and position, then checking the safe area for on-screen text. If you’re adding captions after the fact, leave clean breathing room where the subtitle lines will sit.
Subtitles are where bad flips get exposed
Subtitles reveal whether you planned this properly.
If the subtitles are burned into the video, a horizontal flip mirrors them too. That makes them unreadable, and there’s no elegant rescue except removing or re-rendering them from the original project.
If your subtitles are added as a separate layer or separate file, the flip is much easier to manage because the text can remain normal while the image changes. That’s why flexible subtitle workflows are safer. If you need a clean process for that, this guide on how to add subtitles to a video is worth keeping in your toolkit.
Burned-in captions lock your mistakes into the frame. Editable captions give you a way back.
The same rule applies to stickers, lower thirds, and callouts. If they’re baked in before the flip, they become part of the problem.
Your Next Step in Effortless Video Creation
A significant takeaway from flipping is not the technical fix. It is how quickly a one-click change turns into a chain of manual cleanup.
A single mirrored clip can still ask for crop changes, caption adjustments, graphic swaps, and another export pass. That is reasonable when you are fixing one post before publishing. It becomes expensive when you are producing short-form content every week across multiple platforms.
The practical question is no longer "can this editor flip video?" Nearly all of them can. The better question is where manual control still helps, and where automation saves time without hurting quality. Phone apps are fine for a quick rescue. Desktop editors give you more room to correct framing. Premiere Pro is the right choice when the flipped shot sits inside a larger edit with layered graphics and timing decisions. FFmpeg is hard to beat when you need the same action applied cleanly across many files.
That trade-off matters.
Good creators do not spend their best energy on repetitive orientation fixes, subtitle cleanup, and export chores. They spend it on scripting, shot choices, pacing, hooks, and publishing consistency.
If your workflow keeps stalling after simple edits like flips, ClipCreator.ai helps automate the heavy lifting so you can stay focused on ideas, output, and videos people finish watching.

Create your first video in under 2 minutes
Pick a niche, and ClipCreator.ai generates and auto-posts faceless videos to your channels every day.
Join ClipCreator.ai