You’ve got a folder full of clips and one simple goal. Turn them into one clean MP4 without wrecking the quality.
That sounds easy until the usual problems show up. A browser tool wants to upload everything first. A free editor adds a watermark or re-encodes your footage. A quick merge works on one project, then fails on the next because one clip came from a different export and doesn’t quite match the others.
For short-form creators, this matters more than people admit. TikTok, Reels, and Shorts punish ugly compression fast. If your footage already looks good, the smartest move is to join it without touching the underlying video stream unless you absolutely have to.
Most tutorials often fall short. They show the easy button, but they skip important decisions: when a lossless join works, what to do when clips don’t match, and how to stop repetitive merging from becoming a production bottleneck. If you're still producing source clips and want cleaner starting files, this walkthrough on how to make MP4 video is a useful companion.
Starting Your Video Merging Journey
Those seeking to join files often start with the wrong question. They ask, “What app joins MP4 files?” The better question is, “Can these clips be joined without re-encoding?”
That one distinction decides almost everything. If your files match in codec, resolution, frame rate, and audio setup, joining them can be fast and clean. If they don’t match, a merge tool may still produce one file, but it often gets there by recompressing everything, which is where soft detail, sync drift, and playback weirdness start.
Practical rule: Treat MP4 as a container, not a guarantee that two files belong together. Two MP4s can still be technically different in ways that break a seamless join.
That’s why the right workflow depends less on brand-name software and more on your source material. A creator stitching together exported short-form segments has different needs than someone combining phone clips, screen recordings, and downloaded assets from three different apps.
When people search for how to join mp4 files together, they usually want one of three outcomes. A quick one-off merge, a dependable no-quality-loss workflow, or a repeatable system for batches. The method should match the job.
Choosing Your MP4 Joining Method
There isn’t one universal best tool. There are three broad approaches, and each one solves a different problem.
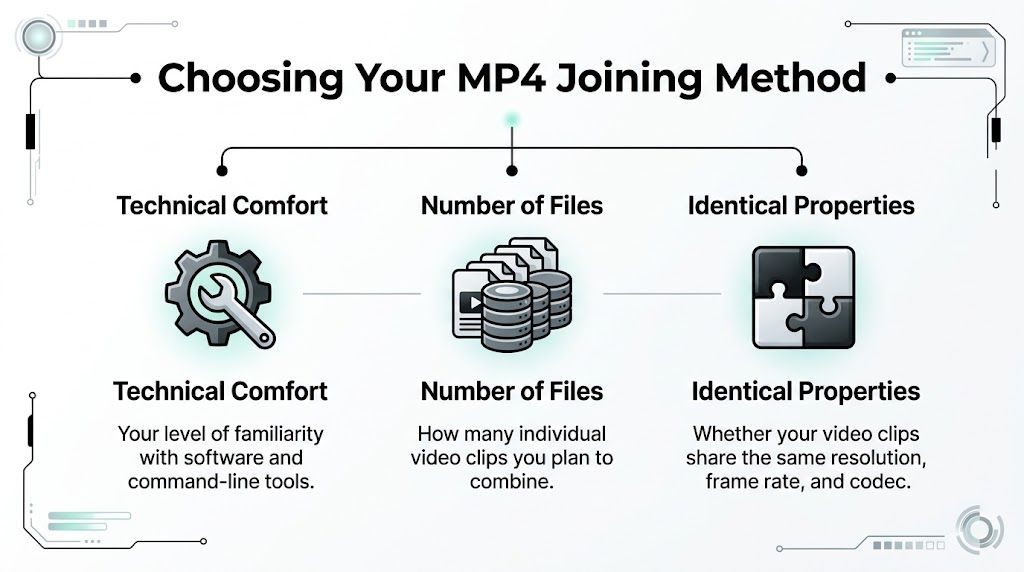
The first filter is technical comfort. Some creators want drag-and-drop and an export button. Others would rather use one terminal command and be done in seconds. The second filter is volume. Joining two clips is one thing. Joining dozens every week is another. The third filter is whether your files have identical properties. If they don’t, many “simple” tools become unreliable.
MP4 Joining Methods Compared
| Method | Best For | Pros | Cons |
|---|---|---|---|
| Online tools | One-off jobs with small, non-sensitive files | Easy to access, no install, simple interface | Upload time, privacy concerns, limited quality control, often re-encodes |
| Desktop GUI apps | Creators who want speed without the command line | Friendly interface, visual clip ordering, often supports lossless export for compatible files | Still limited by mismatched clips, some apps hide export settings |
| Command-line tools | High-volume creators and anyone who cares about maximum speed and control | Fastest workflow, best for automation, strongest control over lossless joins | Steeper learning curve, less forgiving if you skip compatibility checks |
What online tools do well and where they fall apart
Online tools are fine when the job is disposable. If you’re merging a couple of clips for internal review, they’re convenient.
They’re less attractive when the source footage matters or the file sizes climb. The broader problem is that many web tools smooth over technical differences by re-encoding in the background. You get an output file, but not necessarily one that preserves your source as cleanly as possible.
For creators working regularly, that convenience becomes expensive in time. Upload, wait, process, download, then repeat. The friction adds up fast.
Why desktop apps hit a sweet spot
Desktop GUI tools are often the best first serious option. You get visual control without needing to memorize commands, and the better apps can still do stream-copy style joins when your files are compatible.
This is the category I usually recommend to creators who want reliability without becoming terminal people. You can inspect clips, rearrange them quickly, and export a final MP4 with far less guesswork than a browser tool.
If you want speed and quality but don't want to live in a command window, a good desktop app is the practical middle path.
Why professionals keep coming back to FFmpeg
FFmpeg wins when repeatability matters. It’s precise, fast, and easy to automate once you know the pattern.
It also forces good habits. You check compatibility first. You build the file list deliberately. You choose whether to copy streams or re-encode instead of letting some hidden preset make that choice for you.
If your workflow involves regular publishing, the command line usually stops feeling “technical” and starts feeling efficient.
The Command Line Powerhouse FFmpeg
FFmpeg is the cleanest answer when your clips already match. It doesn’t need a heavy project file, timeline rendering, or hidden export preset. It joins compatible streams into one MP4.

For this job, the tool to use is the concat demuxer. According to this guide on lossless FFmpeg merging, it offers the fastest lossless way to join MP4 clips with identical specifications. The same source notes that mismatches cause 80-90% of failures, that the method achieves a 100% success rate for compatible files, and that processing can reach up to 1000x realtime, with 90-second clips joining in under 1 second on modern CPUs.
Step one checks compatibility first
Before joining anything, inspect the files. Use:
ffprobe clip1.mp4
Run that on each clip and compare the basics:
- Codec: H.264 is common, but the key is that all clips match
- Resolution: for example, 1080x1920 for vertical video
- Frame rate: for example, 30fps across every clip
- Audio channels: stereo and mono shouldn’t be mixed casually
If one file differs, stop there. The concat demuxer expects sameness. That same FFmpeg reference also notes that non-matching specs lead to playback errors in 70% of cases when people try to force the issue.
Step two builds the list file
Create a plain text file called mylist.txt and list each input file like this:
file 'clip1.mp4'file 'clip2.mp4'
Add more lines as needed. If you’re using absolute paths, use -safe 0 in the command.
Small mistakes in the list file cause outsized headaches. Check filenames carefully, especially spaces, apostrophes, and folder paths.
Step three runs the join
Use this command:
ffmpeg -f concat -safe 0 -i mylist.txt -c copy output.mp4
That -c copy part is the whole point. It tells FFmpeg to copy the streams instead of re-encoding them. That preserves the exact source quality and makes the process dramatically faster than a traditional editor export.
The same benchmark summary linked above reports 5-10x faster performance than GUI tools like Filmora while preserving exact quality and avoiding GOP boundary artifacts. If your clips came from a consistent export pipeline, this is usually the fastest professional-grade solution. If your final merged file is too large for upload targets, a separate pass using a guide on how to compress a MP4 video is the safer move than merging through a low-quality preset.
When FFmpeg is the wrong tool
FFmpeg isn’t magic. It’s strict. If one clip has different settings, the lossless method can fail or produce a broken result.
That’s not a flaw. It’s a signal that your inputs need to be normalized first. When quality matters, that honesty is useful. A lot of consumer editors hide the mismatch, export anyway, and leave you debugging the output later.
User Friendly Desktop Apps for Windows and Mac
Not everyone wants a terminal open just to join a few clips. That’s where desktop apps earn their keep.
The best ones don’t try to be giant editing suites. They focus on arranging, trimming, and exporting fast, with as little recompression as possible.
Why LosslessCut stands out
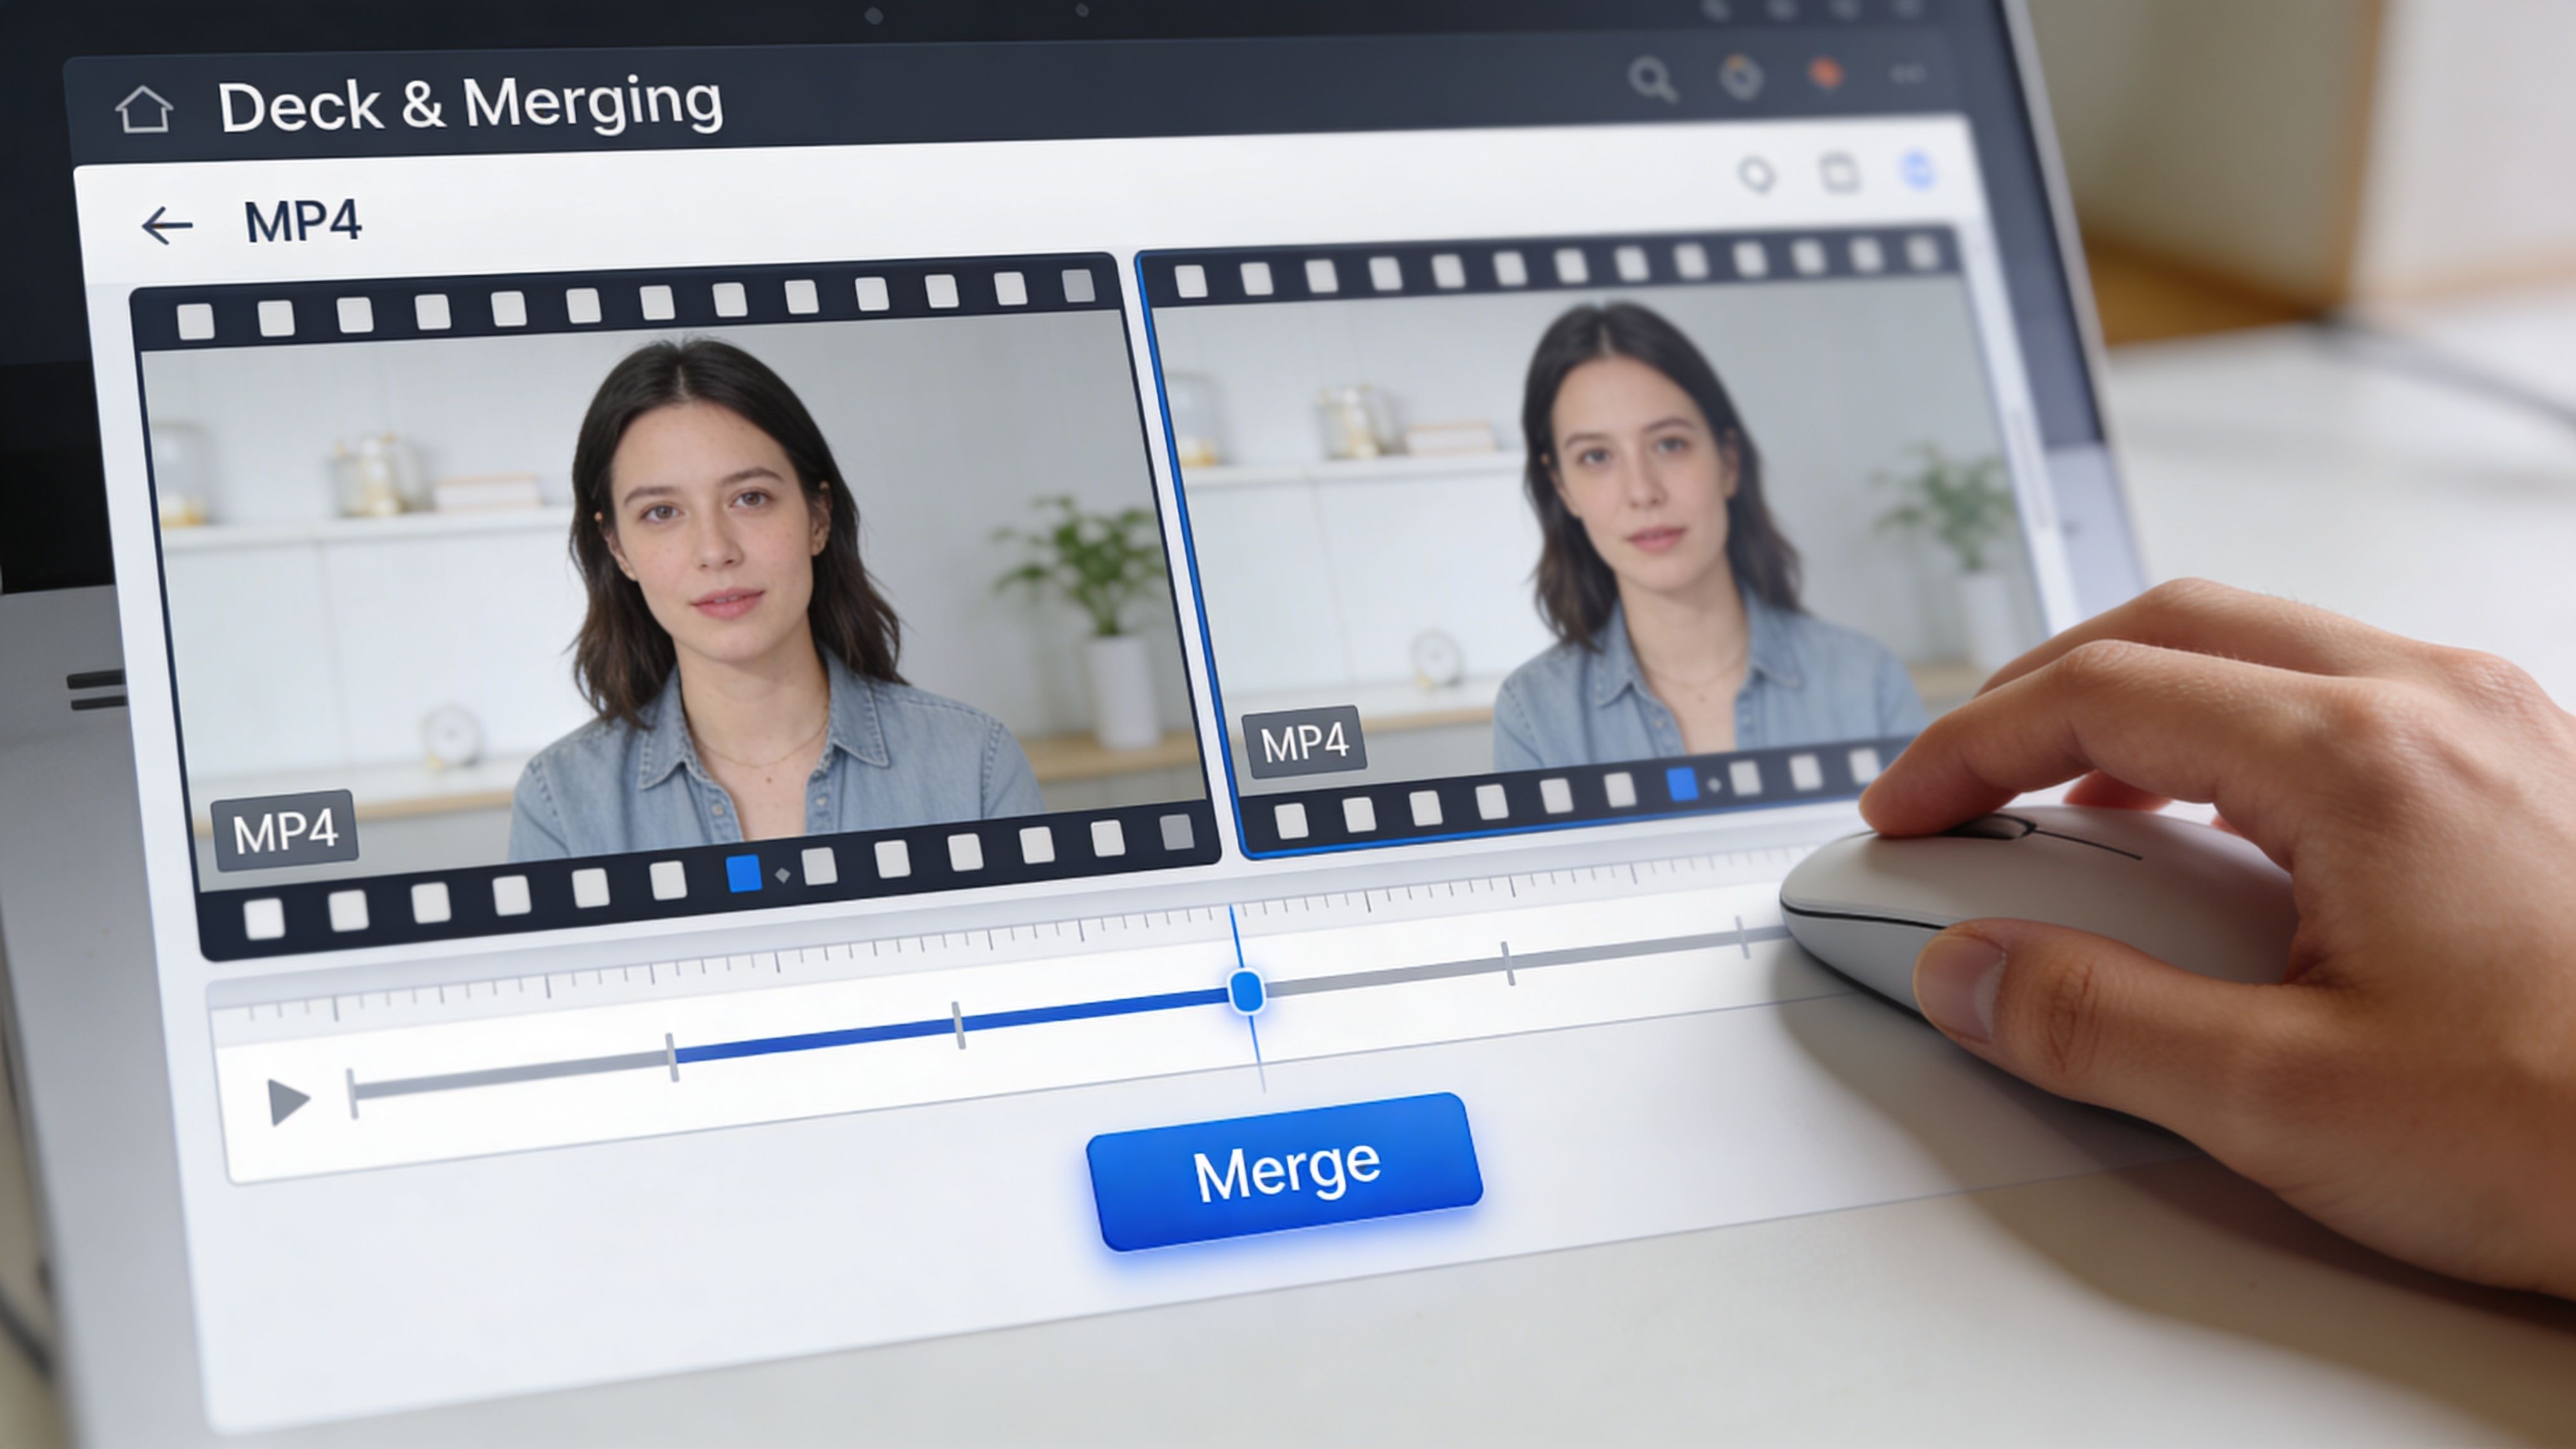
LosslessCut is the desktop tool I’d put in front of most creators first. It’s built around the idea that you shouldn’t have to re-encode just to trim or join files.
According to this LosslessCut overview and demonstration, the app provides a GUI alternative for joining without re-encoding. The same source states a 95-99% success rate for matching clips, with failures mainly tied to variable bitrate audio, and reports that it can join 10 clips of 90 seconds each in 2-5 seconds instead of the 30 seconds or more often seen in re-encoding editors.
How to use it well
The workflow is simple, but there’s still a right way to do it:
- Install the app: It’s free and cross-platform.
- Load all MP4 files: The app checks compatibility, which matters more than people think.
- Arrange the order: Drag the clips into sequence on the timeline.
- Trim only if needed: It supports frame-accurate trimming without quality loss.
- Export one MP4: It uses stream copying under the hood when the clips match.
That same source notes the app requires identical resolution, frame rate, and codec for best results. It also says 60% of issues come from mismatched specs such as camera clips mixed with screen recordings.
A GUI doesn’t remove the technical rules. It just makes those rules easier to work with.
LosslessCut also handles practical delivery details well. The reference above notes it uses FFmpeg for faststart moov atom relocation, which helps the exported MP4 start playing quickly on platforms like YouTube and Instagram.
For creators trying to decide when to use a lightweight joiner versus a full editor, this roundup of best video editing software for beginners is useful context. It helps separate tools meant for actual editing from tools meant for fast assembly.
When a full editor makes less sense
A timeline editor like Premiere Pro is great when you’re mixing formats, adding graphics, fixing audio, or reframing clips. It’s not automatically the best tool for a simple merge.
The same LosslessCut source contrasts it with Adobe Premiere Pro and notes re-encoding can lead to 20-50% quality loss at high speeds. It also reports that with files larger than 1.8GB, RAM usage stays under 2GB in LosslessCut, and mentions a 15% failure rate on large files in Filmora based on Apple forum reports.
A quick visual walkthrough helps if you prefer seeing the interface in action before installing anything.

Understanding Lossless Joining Versus Re-encoding
If you’ve ever merged files and ended up with blurry footage, choppy playback, or odd sync behavior, the issue usually sits here.
Lossless joining means the software keeps the original encoded video and audio streams intact, then stitches them together inside a new container. Re-encoding means the software decodes the footage and creates a newly compressed file. That second path is more flexible, but it’s also where quality slips.

Why identical clips join cleanly
Think of lossless joining like binding several matching printed sections into one booklet. Nothing on the pages changes. You’re only combining them.
That only works when the sections match. If one clip uses a different codec profile, frame rate, or resolution, the software often has to convert everything into a common format before it can produce one output file.
Why mismatched clips are where tutorials fail
Most basic guides tell people to upload files or drag them into an app and export. They skip the technical condition that decides whether a clean stream copy is even possible.
According to this discussion of MP4 merge limitations, many existing guides ignore quality preservation when clips have mismatched codecs, resolutions, or frame rates. The same source says forced re-encoding can bloat file sizes by 20-50%, and notes that 65% of “MP4 merge failed” queries in Stack Overflow threads stem from codec mismatches.
Re-encoding isn’t bad by itself. It’s just the wrong default when your source files already match and quality matters.
When re-encoding is actually the correct move
Sometimes your clips don’t match and you still need one file. Maybe one segment is vertical, one is horizontal, and one came from a screen recorder with a different frame rate. In that case, re-encoding is the honest solution.
The right way to think about it is this:
- Use lossless joining when files match and speed plus quality matter most
- Use re-encoding when files differ and consistency matters more than preserving the exact original stream
- Avoid mystery exports from tools that don’t tell you what they’re doing
Once you understand that trade-off, troubleshooting gets easier. A failed merge isn’t random. It usually means the clips weren’t fully compatible for a lossless join.
Automation and Batch Processing for Creators
Joining a few clips manually is fine. Doing it every day across multiple projects is where the process breaks down.
High-volume creators run into a bottleneck that casual tutorials rarely address. According to this overview of video-combining workflows, most tutorials only cover 2-5 files max, while high-volume short-form workflows often need automation for 50+ clips. The same source notes 40% longer export times in browsers for inputs above 10GB, that Clideo’s unpaywalled tier is limited to 500MB, and that FFmpeg’s concat demuxer can process 100+ files in seconds, including a benchmark of 2 minutes for 50 one-minute MP4s.
Why scripting beats drag and drop
Once you’re repeating the same action, the tool should do it for you. Automation gives you three things that manual merging doesn’t:
- Consistency: The same command behaves the same way every time.
- Speed: You stop spending time building the same timeline repeatedly.
- Scalability: One folder of clips can become one finished output with almost no hands-on work.
For creators building repeatable production systems, a documented video editing workflow matters as much as the merge command itself.
A simple batch pattern
On macOS or Linux, the logic usually looks like this:
- Collect the files: Target one folder that contains the MP4 segments for a single finished video.
- Generate the list file: Write each filename into a concat-compatible text file in the correct order.
- Run FFmpeg with stream copy: Export a single joined MP4.
- Log failures: If the join breaks, inspect the files rather than rerunning blindly.
On Windows, the same pattern works with a batch file. The point isn’t fancy scripting. The point is reducing repeated manual work.
The bigger your publishing calendar gets, the less sense it makes to merge by hand.
The real workflow shift
This isn’t just about saving clicks. It changes how you organize projects.
Instead of treating merging as a last-minute chore, you can standardize clip naming, folder structure, and export settings so batches become predictable. That’s how creators avoid late-stage problems when they’re producing series content, educational sequences, or multi-part story videos.
Frequently Asked Questions About Joining MP4s
A few problems come up again and again. Most of them trace back to compatibility, ordering, or mistaken assumptions about what “MP4” means.
| Question | Answer |
|---|---|
| Can I join MP4 files without losing quality? | Yes, if the clips have matching codec, resolution, frame rate, and audio settings. In that case, use a lossless stream-copy workflow such as FFmpeg concat demuxer or a GUI like LosslessCut. |
| Why does my merged file play with glitches or no audio? | The clips may not actually match, even if they all end in .mp4. Audio format mismatches are a common trouble spot, especially when one file was exported from a different app. |
| Can I combine vertical and horizontal clips into one MP4? | Yes, but not as a clean lossless join. You’ll usually need to re-encode and choose a final canvas size, then fit or crop the clips deliberately. |
| Why does a tool merge some files but fail on others? | Many tools work only when streams are identical. If one file uses a different profile, frame rate, or audio layout, the merge can fail or export a problematic result. |
| Is FFmpeg better than a video editor for this job? | For straightforward joining of compatible clips, usually yes. It’s faster, cleaner, and easier to automate. For mixed media projects with effects, graphics, or reframing, a full editor is the better fit. |
| What’s the safest first step before merging? | Inspect the files. If you confirm that the specs match before joining, you avoid most failed exports and playback surprises. |
| Should I use an online merger? | Use one when convenience matters more than control and the files are small and non-sensitive. For routine creator work, desktop or command-line tools are usually the safer long-term choice. |
If you’re producing short-form videos regularly, the best merge workflow starts before export. ClipCreator.ai helps create consistent faceless videos for TikTok, YouTube, and Instagram, which makes downstream tasks like joining, scheduling, and publishing much easier to manage.

Create your first video in under 2 minutes
Pick a niche, and ClipCreator.ai generates and auto-posts faceless videos to your channels every day.
Join ClipCreator.ai